13 Tips And Tricks For Irrigation Success
Psst… Don’t Tell Anyone!
This article provides irrigation tips and tricks to help you plan, install and maintain your irrigation system. Toro professionals have compiled a list of tips to make designing, installing, and maintaining your irrigation system easier.
1. Use 5 – 6 Wraps Of Teflon Tape On Threaded Fittings
- This will allow parts to be assembled hand-tight and not leak. It also allows for heads to be rotated to adjust them.
2. Poly Pipe & PVC Pipe
Shop at Sprinkler Warehouse for:
- Poly pipe should be used in areas where the ground freezes more than a few inches deep.If you install PVC pipe in an area where the ground freezes it may be broken by frost heaves even if the system is dry.
- If using poly pipe (the black stuff in a coil) consider having an irrigation company install the pipe. They use a vibratory plow to pull the pipe through the yard and do a lot less damage to the lawn than a trencher. The price is usually reasonable.
- When installing a funny pipe or the regular poly pipe it is easiest if the pipe is warm. Leave it in the sun on the driveway or have a bucket of hot water to put the ends in to make it easier to attach fittings to it
- You can include more than 1 pipe in a trench. Depending on local codes, we suggest using 1-inch Schedule 40 PVC upstream of the control valves. Use at least 3/4 inch Class 200 PVC or 3/4 inch Poly Pipe downstream. Learn more about how to dig trenches.
- The smaller the pipe, the faster the water flows. The faster the water flows the more friction it has with the pipe. More friction means you lose more pressure. Larger pipe results in water flowing slower through the pipe and with less friction. Larger pipe results in less pressure lost. Learn how to determine what pipe size you need & how to determine what pipe you already have
Funny Pipe
- A funny pipe is typically run for 2-3 feet between the head and the pipe. The closer you are to the valve, the farther you can go. The first head on the zone may be able to use 5-6 feet of funny pipe without a problem. Shop Funny Pipe & Swing Joints
3. Know When To Blow Out Your System
- If you live in an area where it gets below freezing you will want to have your system blown out in the fall. Put a tee in the supply pipe where it exits the house, before the Pressure Vacuum Breaker (PVB) and screw a cap on the extra leg. This will provide an easy place to attach an air line.
- Don’t blow out a system at more than 40 PSI or for more than two minutes if the system has rotors (heads that turn). The gear drives are lubricated by the water and if run dry will be damaged.
- Learn more about how to winterize your system in general
4. Check Water Before Choosing A Rotor
- Multi-stream rotors are the most sensitive to dirty water. City water is typically fine. If you have dirty water, the 570 series is the most forgiving. To check your water, fill a clean white, five-gallon bucket and look for sand or debris. If you see any contamination do not use the multi-stream head.
Learn more about: How to select the right sprinkler head
5. Use PVC Tubing Cutters
- Use PVC tubing cutters, not a hack saw. Tubing cutters are like a rose bush pruner with a ratcheting handle. They give an extremely clean cut on 1″-1 1/4″ PVC pipe. They also work well on Funny Pipe.
6. Sprinkler Head Placement
- Put in more heads than you think you need. They are inexpensive and easy to remove if you decide you don’t want one.
- Heads should be placed so each area of the lawn is watered by at least two heads.
- This is called head-to-head coverage. This means if the head has a radius of 15′, the next head should be no more than 15′ away. A little closer is better to allow for adjustments. You can reduce the throw distance by up to 25% on all of our heads.
- Water large areas with single-stream rotors, small or irregular areas with 570 series. Use multi streams on slopes, windy areas, and because you like the look.
- Don’t mix different types of sprinklers on the same zone or valve. The watering times for rotors vs. fixed-spray heads are very different. You will want to have control over how long each type is watering.
Learn More In Related Articles
- How to Stake your property
- How to Measure the slope
- Where to place rotors and sprays
- Step by step, installing an irritation spray or rotor
Shop Here
7. Use A Bigger Valve Box
- When using in-ground valves use a big valve box. This will make installation easier and will help if you ever have to service a valve.
- Don’t limit yourself to the standard valve boxes. A wood box made with 2×8 lumber and a wood or plywood lid works well. Rake wood chips or gravel over it to hide it. Two feet by three feet is a nice size for four to six valves.
8. Be Aware Of Future Neighborhood Development
- When doing a flow test to determine the capacity of your water supply be aware of changes in the neighborhood that are planned. If you are the first house in a new development you may find the pressure and flow drop in the coming years as more homes are built. Call your local municipality to find out what they plan the pressure and flow to be once development is complete.
9. Know The Pressure Of Your System
- Static pressure does not help design a system. What you need to know is the gallons per minute at 35-40 PSI. Either use the Toro flow tester (#53351) or test with a pressure gauge and a bucket. Put the gauge on one outside faucet and open the faucet.
- Now go to another outside faucet and open it till the gauge reads a steady 35-40 PSI with the water flowing. Measure how many gallons per minute you are getting using a five-gallon bucket.
- If you have 1/2 inch pipe going to the faucet you will probably get an unrealistically low reading.
- You may want to install your PVB and a 3/4 inch faucet on it to get a more realistic reading. One-inch pipe is pretty standard for plumbing in the PVB for up to 15 gallons per minute. Shop Pressure Vacuum Breakers
- Over 80 PSI static may result in valve problems. A plumbing supply place in your area should be able to provide a pressure regulator to bring the pressure down below 80 PSI.
10. Open The PVB Inlet Valve Quickly
- When opening the PVB, open the inlet valve as fast as you can. This will result in the internal float sealing the vent. Opening it slowly may result in the float not sealing the vent and lots of water surging from the vent area around the top of the PVB. Some water leakage is normal when opening the valve but it normally stops in a few seconds.
11. Plan Ahead- Installing An Irrigation System
- Leave room for more valves. you may want to add irrigation to a garden or a drip system and it’s a lot easier to allow for it now.
- Buy a couple of spare heads. Sooner or later one will be damaged and need to be replaced. It’s nice to have them on hand. Shop for extra sprinkler heads
A. Prepare To Dig
- Call before you dig. You may think you know where buried utilities are but it’s not worth the risk of injury, or the cost of repair if you are wrong.
- Bury your pipes 8-10 inches deep. This should put them below the sprinkler body and out of reach for lawn aeration.
- Take some pictures when all your digging is complete and you are putting the pipes in. They will help you locate the pipes if you ever want to change something. Put the pictures in a plastic bag by the timer. Learn more about how to dig trenches
- To dig a trench under a sidewalk or driveway, take a length of PVC pipe and attach a hose to one end. Use the power of the water along with the strength of the pipe to dig your way under the concrete. Learn more about how to dig and run the pipe under a driveway or sidewalk
Shop for Root Slayer and trenching Shovels or pick up sidewalk sleevers
B. Controller Placement Matters
- Put your timer in a convenient place. Easy access and good light make it easier to change the program. Just inside the garage door or in a carport may be convenient. Shop Controllers & Sensors
Learn more about how to choose an irrigation controller
C. Wiring
- Leave extra wire at your timer and in the valve box. This will make servicing and/or replacing parts easier.
- When you run the wires from the timer to the valve box, run a couple of extra conductors. This will make it easier to expand the system and will give you spare wires if anything goes wrong.
Learn more about how to wire an irrigation valve to an irrigation controller
12. Replacing A Sprinkler Head
- Dig out a donut of sod about 18 inches in diameter.
- Dig out the dirt around the head.
- Remove the old head. Install the body only for the new head.
- Keep the cap, spring, riser, etc off to the side.
- Turn on the zone for a few seconds to flush the system.
- Install all the parts for the new head. Put the dirt back in the hole Shop concrete donuts
Related Articles:
- Step by step routine maintenance
- How to replace a pop-up irrigation spray head
- How to fix sprinkler heads that don’t pop up
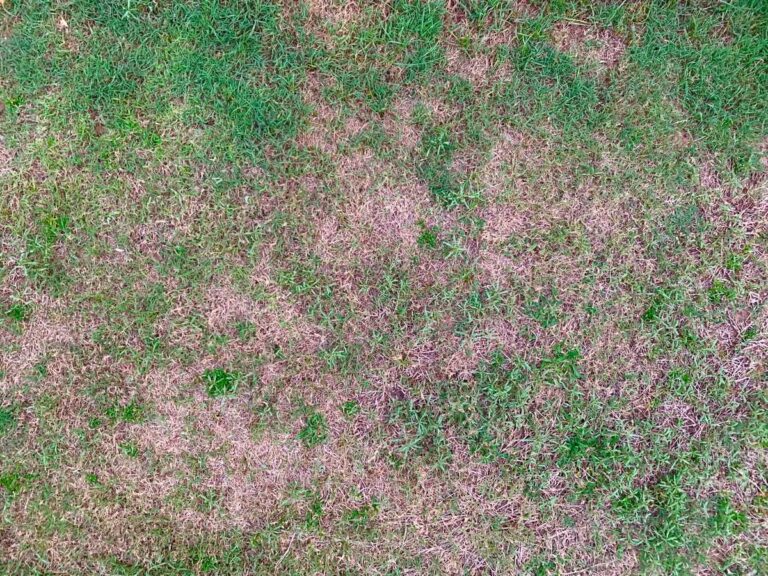
13. When To Run Your System
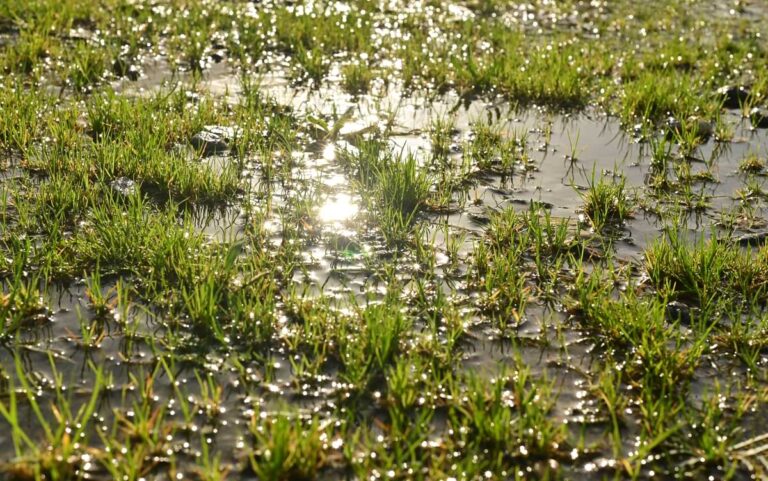
- Run the irrigation system early in the morning. This is when water pressure is typically at its best. It is also best for the lawn.
- If you water in the evening the blades of grass will stay wet much longer and make it easier for fungus to grow.
- Early morning also has the least wind. Wind can easily blow a spray pattern several feet off target resulting in dry areas.