Once you have laid the mainline throughout the yard according to your plans and fitted it with the desired drain valves and risers then you are ready to install your sprinklers of choice.
Installing A Spray Or Rotor For A Sprinkler System: A Complete Instructional Guide
Each sprinkler will have its own unique installation circumstances, so you must evaluate each one and decide what the best type of riser is for you. Each riser style serves a specific purpose and offers specific benefits. Click here for more information about installing sprinkler heads at variable heights using risers.
Step By Step: Basic Install of An Irrigation Spray Or Rotor
- With the riser attached to the mainline pipe saddle, line up the sprinkler you wish to install with the ground and the end of the riser. Be sure to use Teflon tape to wrap the threads on the male end of the riser prior to screwing the sprinkler onto it, creating a water-tight seal.
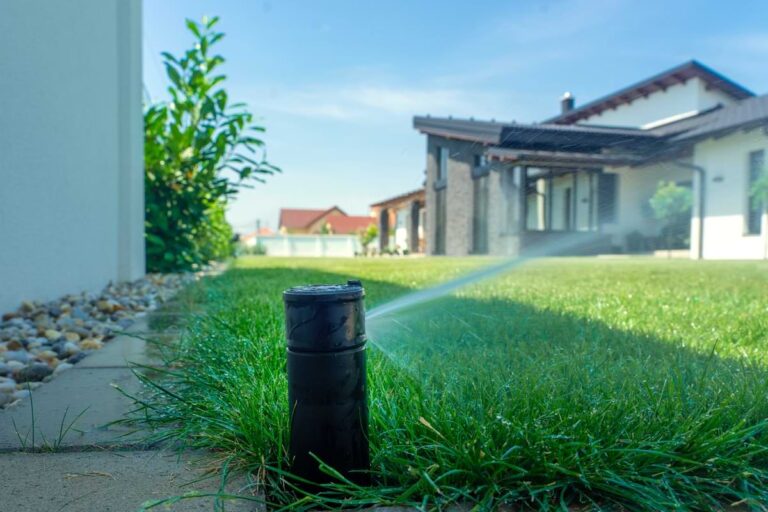
- With the sprinkler attached to your riser of choice hold the sprinkler head in the place where you desire it to remain and begin to fill back in the dirt around it till the sprinkler is held securely in place with the top of the sprinkler head flush with the top of the dirt and the base of the grass. Ensure the sprinkler is setting perfectly up and down.
- This means that whether the sprinkler is on flat ground or on a sloping hillside, the body of the sprinkler is perpendicular to the ground.
Instructions Specific To Rotors:
Once you have installed a new rotor there are only a few more steps that you must take before the sprinkler will be ready to go into full-time use.
- Using the appropriate adjustment tool for your brand of spray rotor ensure that the nozzle retaining screw has been twisted up and out of the way, allowing for a new nozzle to be inserted.
- With your desired nozzle in hand simply slide the nozzle into the rotor and push it all the way back into the hole till it sets securely and flush with the body of the rotor.
- Next, using the same tool as before turn the retaining screw clockwise, this will spin the screw downward and in front of the nozzle where it will perform two important functions.
- First, the screw will retain the nozzle, keeping it in place and preventing the water pressure from shooting it out.
- Second, the screw can be used to baffle the spray pattern. The further down into the head the screw is inserted, the more baffled the stream will become.
- Adjust the rotor by first finding the right stop position. Rotors (except for 360-degree designs) have a hard-set right side and adjustable left side. This means that you must turn the entire body of the sprinkler to change the right stop; however, the stopping point of the left side can be adjusted by using the adjustment key.
- Simply insert the tool into the top of the rotor into the hole with corresponding markings that indicate +/-.
- Turn the key on the top of the rotor and the adjustable arc will increase accordingly. (Typically 1 turn is equal to a 90-degree increase or decrease in the arc.) For ease of installation, it is recommended that the arc be set prior to connecting the rotors to the system
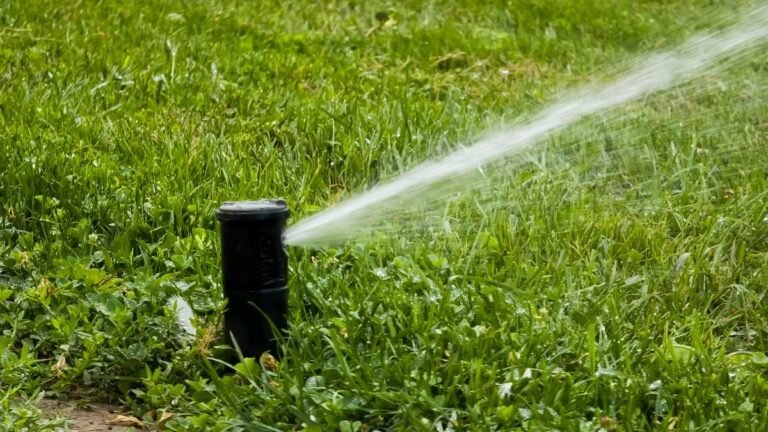
Instructions Specific To Sprays:
The installation process of an irrigation spray is simpler than that of a rotor. All that is required is that the spray head is flushed out prior to starting up your system. Each spray-style sprinkler comes pre-installed with a flush cap. Most Flush caps have a handle, tab, or ring, making it easy to hold onto and pull the riser up.
- Once you have installed the sprinkler(s) turn on the water to the zone and allow the spray heads to flush out through the flush cap. Flushing the system prevents any dirt, sediment, or bits of tape to get into the spray head.
- Next, turn off the water and remove the flush cap from each sprinkler. Replace it with the included screen and corresponding nozzle. Make sure the screen is installed correctly before attaching the nozzle. *Do not use Teflon tape on nozzle threads. If you are using pressure regulating screens it is extremely important to make sure the correct color screen has been used to maintain the correct operating pressure for the spray head. Each spray nozzle comes set to spray a specified pattern. You cannot adjust the arc of the spray however; you can adjust the overall spray distance of the head by turning the screw in the top of the spray head.
Spray heads should be checked occasionally to ensure the filter screen has not become clogged. Simply unscrew the spray nozzle and lift the nozzle and screen out of the spray body. Rinse the screen off and return it when clean
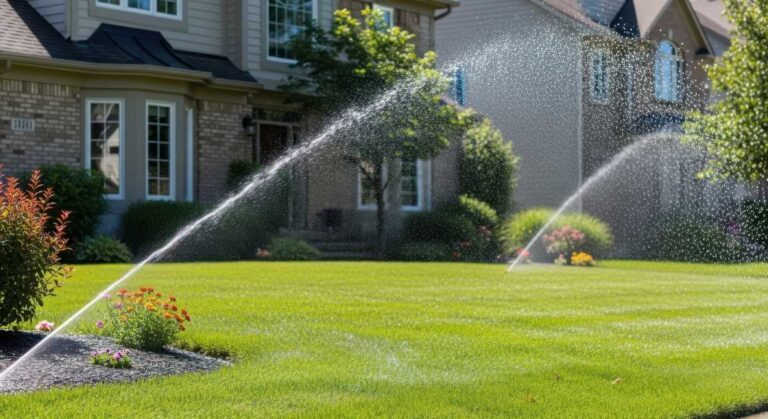
Positioning Heads On A Slope:
Special considerations should be made if the placement of a head is on a sloped area. Make sure to tilt the head perpendicular to the slope, unless the slope is greater than a 3:1 ratio (rise:run). Gravity causes the water being sprayed on a slope to be distributed unevenly. Pulling the throw a further distance downhill and throwing less of a distance uphill.
Do:
- Make Sure You Angle The Position Of Your Heads So That They Are Set Perpendicular To The Slope.
Do Not:
- If You Don’t Angle Your Heads Perpendicular You Will Erode Areas On The Slope
- The spray will throw water a longer distance when it sprays down from a sloped area.
- The spray will throw water a shorter distance when it sprays up on a sloped area.
Note:
Pipe laid out downhill is not a good idea. Water is constantly moving downhill. The water pressure is going to be greater at the bottom and the pressure will be less at the top. It is better to place the pipes perpendicular to the slope direction itself. Read here to learn more about how to measure slope.