Steps To Replace A Pop-up Spray Head
There are two ways to go about replacing a pop-up irrigation spray head sprinkler; either replace the entire spray body or simply replace the guts of the existing spray.
Replace the Entire Pop Up Head
To replace the spray with an entirely different spray (model, size, or brand), simply unscrew the entire faulty unit and screw in the new spray model.

Replace Just the Guts of Your Existing Head
To replace just the spray guts of your existing spray head, simply unscrew the top of the faulty unit and screw the new spray guts into the existing spray casing. Note: the same spray brand and model must be used.

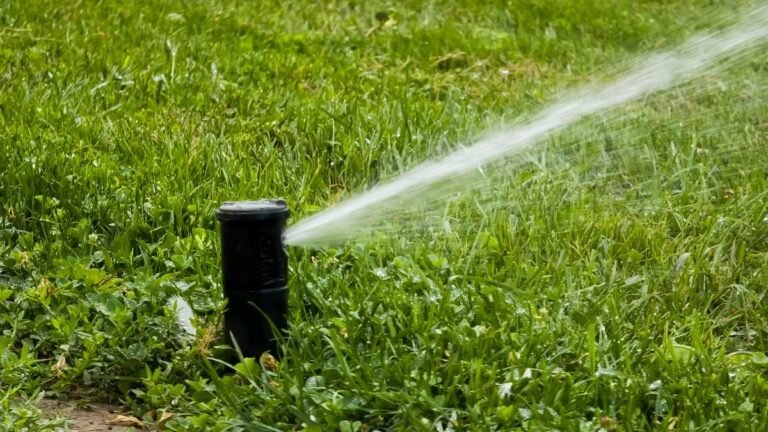
Replacing the guts is a quick fix if the casing is not broken and the replacement unit is the exact same model. Simply unscrew the top of the spray head and insert the new spray guts into the existing spray body. Replacing the guts of the spray will eliminate digging the spray completely out of the ground. Instead, dig just slightly deeper than the top section of the spray cap. Keep in mind that you need to use the same brand and model to replace the guts or interior contents of the spray body.
Replace the Whole Spray Head
If your intention is to replace the faulty spray with a different brand, model, or size you may run into problems with the difference in height between the existing spray and the replacement spray. If the new spray is taller or shorter than the spray you are replacing it will sit too low or too high in the ground (ex. replacing a 4″ shrub with a 12″ spray).
Even if you are replacing the spray with the same size spray using a different manufacturer or a different model you still may run across enough of a height difference to cause a problem with the spray’s position in the ground. A difference that could, for example, pose a problem when mowing the lawn.
If a swing joint is connecting the spray to the pipe much of this will not be of concern. The swing joint is flexible and so you can easily change the height of the spray. If the spray body is connected directly to the pipe fitting and the replacement spray body is positioned incorrectly you can add a swing joint to correct the height discrepancy or attach a cut-off nipple.
A cut-off nipple is a threaded fitting that connects the spray and the pipe fitting on the pipe in the ground. Pieces can be cut off using a pipe cutter to allow you to position the spray at the correct height. A swing joint allows you more flexibility than a cut-off nipple.
You can always save the incorrectly cut-off nipple for future use… but who needs the clutter. Another added feature that makes a swing joint appealing is its flexibility and durability. If you run over a spray head with a lawnmower or a car and have used a swing joint the risk of damaging the pipe or fitting in the ground is not really an issue because the material is flexible.
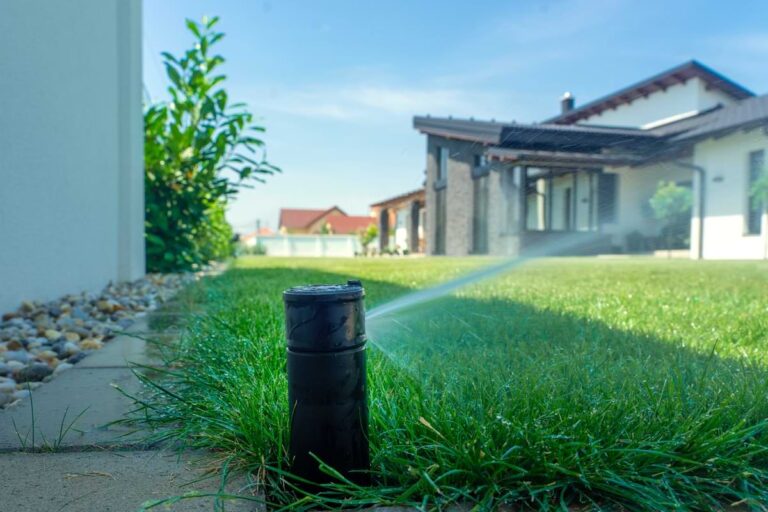
Anatomy Of A Sprinkler Spray

Steps To Replace A Spray Head

Determine which sprinkler head needs replaced. Sometimes it’s in an obscure place, and the only symptom is low water pressure for other sprinkler heads. Once you’ve identified the culprit, purchase the correct replacement head.

Dig out a small section of grass and dirt around the sprinkler head to expose the entire piece. You need to dig only about 6 inches or so. Anything deeper than that will expose the sprinkler lines.

Twist the top off of the sprinkler head, which allows you to see the rest of the sprinkler head’s components. You may have to gently pull on the head or, if the entire component housing is broken, unscrew the component housing and lift it up out of the ground.

Pull the broken head out of the component housing, unless it’s missing, in which case you need to have previously identified what type of spray head you need for the specific area.

Install the new sprinkler head by dropping it into the component housing and screwing the top back on. Don’t forget to add a new spray nozzle and filter. Typically spray nozzles are sold separately. They are inexpensive so purchasing a brand new nozzle makes sense when replacing a spray. You can purchase the same exact nozzle as the one which was on the faulty spray. The goal is to choose a nozzle that covers the pattern and distance which suits the placement of the spray in the yard.

Turn on the sprinkler system to make sure the head sprays properly. If everything is working properly, shovel the dirt and sod back into place.