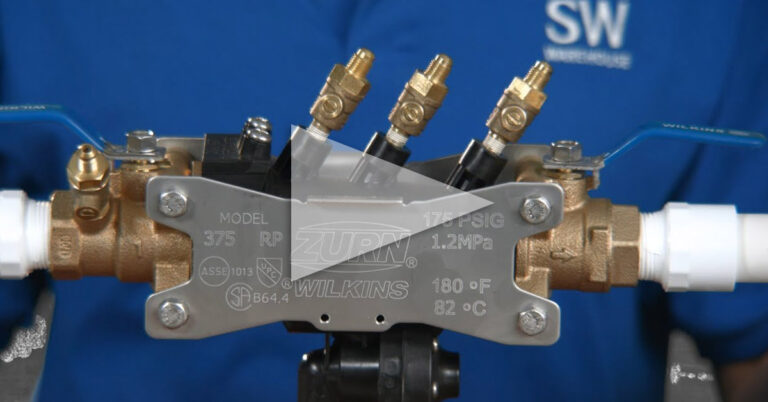
Repairing Your Backflow Device
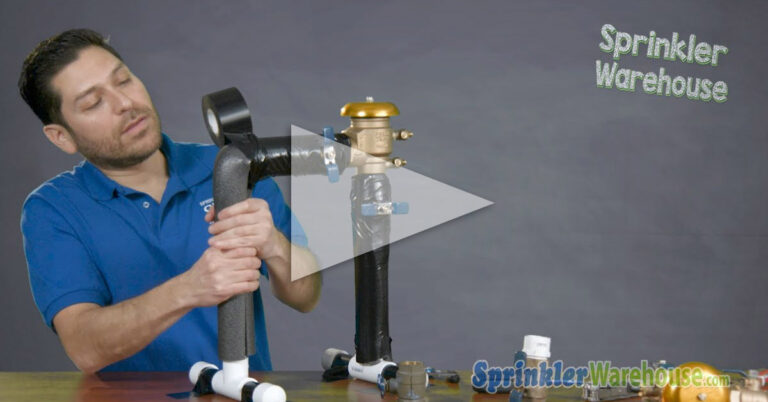
This article explains how to repair a backflow by installing a new bonnet and poppet. Cold weather is finally here and regardless of where you live there are certain things you need to know about your sprinkler system that will help you to avoid unwanted repairs or costly repair service calls.
If you have a sprinkler system, chances are that you also have a backflow preventer. A majority of backflow preventers are designed with a fail-safe in mind to prevent irreparable damage. The following guide will outline the steps necessary to repair your own backflow preventer if freezing temperatures have damaged it.
The Bonnet & Poppet Are A Simple Necessity For A Fail-Safe Backflow Preventer
1. Shut off the water supply to the backflow preventer.
- Turn the water supply off to the backflow by turning the lower handle (as shown)
2. Remove all broken plastic parts from inside the device.
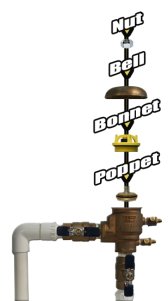
- Unscrew plastic bonnet
- Remove any broken pieces from the inside
- There should not be any plastic pieces remaining inside the device
- DO NOT mess with the metal piece at the bottom inside the device as it has a spring below it that would hurt you.
3. Screw in new bonnet/poppet kit hand tight ONLY.
- Place the bell on top of the metal screw and tighten the small nut just enough to hold the metal bell on the device and still rotate by hand with some tension. DO NOT OVERTIGHTEN!
4. Cover the device with a blanket if freezing temperatures persist
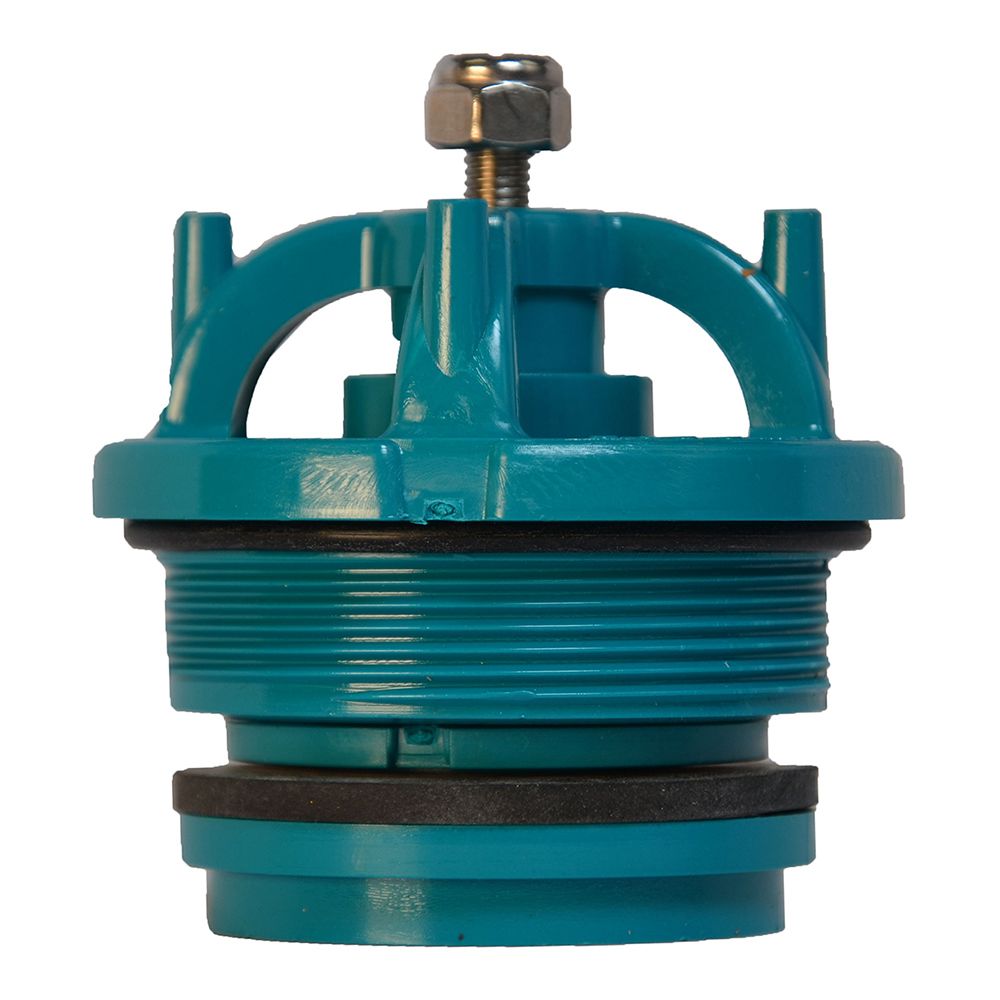
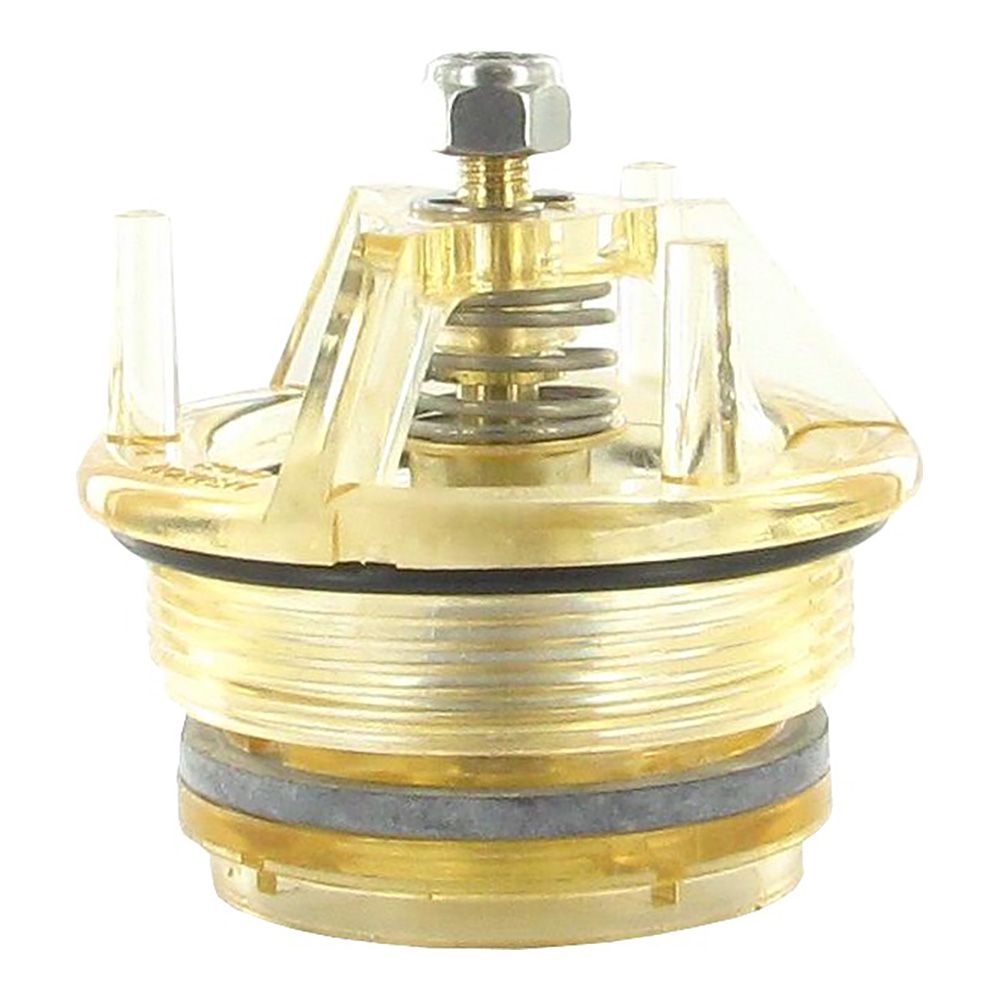
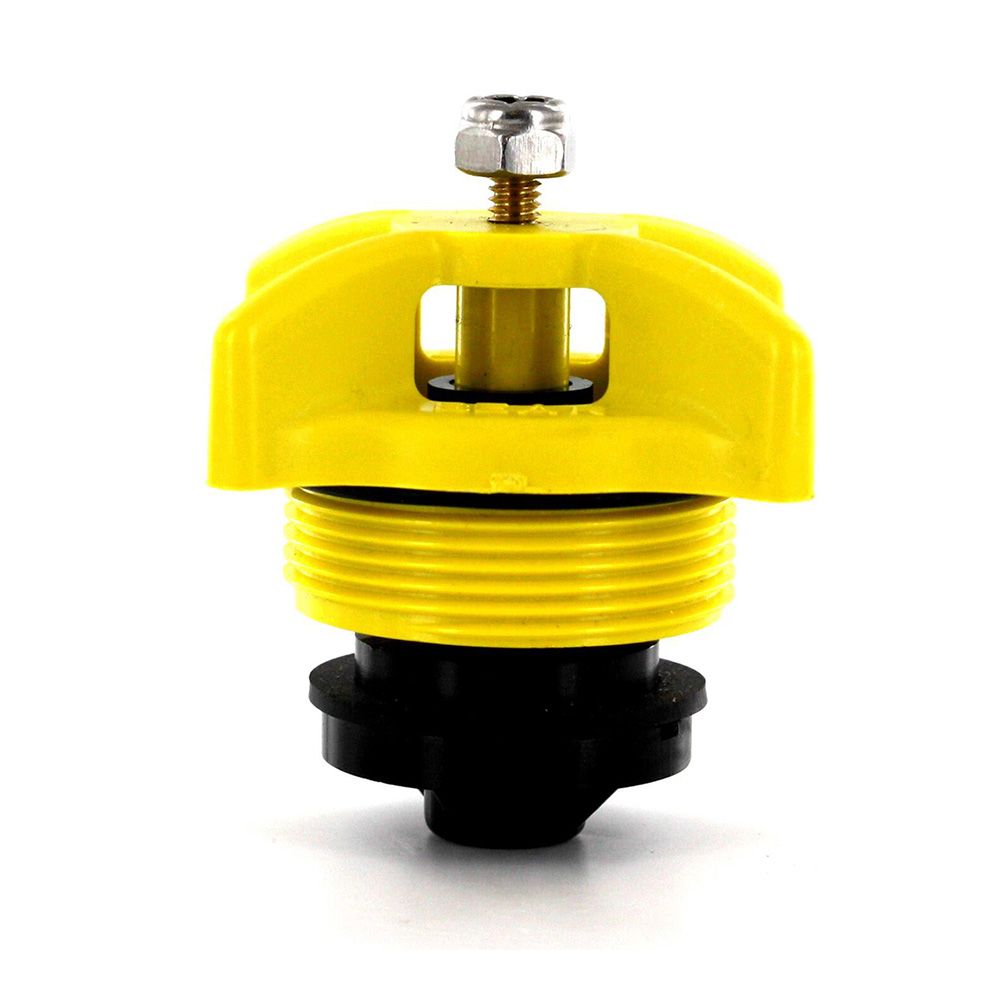
Sprinkler Warehouse carries a couple of brands of backflow repair kits. Click on the images below to learn more about each and purchase at a guaranteed low price.
Browse Backflow Repair Parts At The Sprinkler Warehouse


