


Broken Backflow Preventer? Let’s Fix It.
A backflow preventer keeps irrigation water from flowing back into your home’s clean water supply, so knowing how to repair a broken backflow preventer is pretty crucial, to say the least.
If a backflow preventer leaks, freezes, or stops working, you may be able to fix it by replacing damaged parts instead of the entire device. The repair depends on the type of backflow preventer and which parts are worn, broken, or no longer working properly.
Table of Contents
How to Repair a Backflow Preventer: Common Problems and Solutions
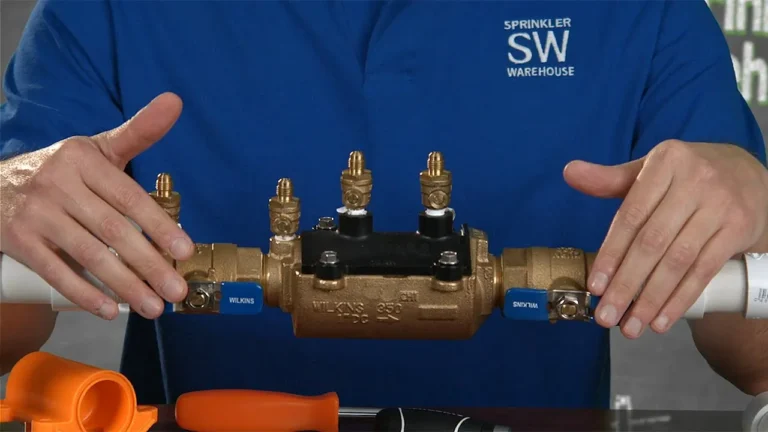
Before repairing a backflow preventer, identify its type and figure out what’s wrong. Pressure vacuum breakers (PVBs), reduced pressure zone assemblies (RPZs), and double check assemblies (DCAs) have different parts, so you’ll need the right repair instructions and replacement parts for your device.
Follow these steps to find common problems, replace damaged parts, and know when you should call a professional for help.
1: Shut Off the Water and Inspect the Device
Before repairing a backflow preventer valve, shut off the water supply and release any trapped pressure according to the manufacturer’s instructions. Never remove the bonnet, cover, or internal parts until you’re sure the water pressure is off, as water can spray out when you open the device.
- Shut Off the Water Supply: Close the valve that supplies water to the backflow preventer, following the manufacturer’s instructions. If the device has multiple valves or pressure-release points, check the instructions to see which ones to close and how to release trapped pressure safely.
- Identify the Device Type: Check the manufacturer’s label or model number to see whether you have a pressure vacuum breaker (PVB), reduced pressure zone assembly (RPZ), or double check assembly (DCA). This helps you find the right repair kit, seals, springs, and other replacement parts.
- Check for Visible Damage: Look for cracks, broken plastic parts, leaks, rust, damaged fittings, or water coming out of the relief valve. If the body is cracked or the device is badly damaged, you may need to replace the entire assembly instead of repairing individual parts.
2: Replace a Damaged Bonnet and Poppet
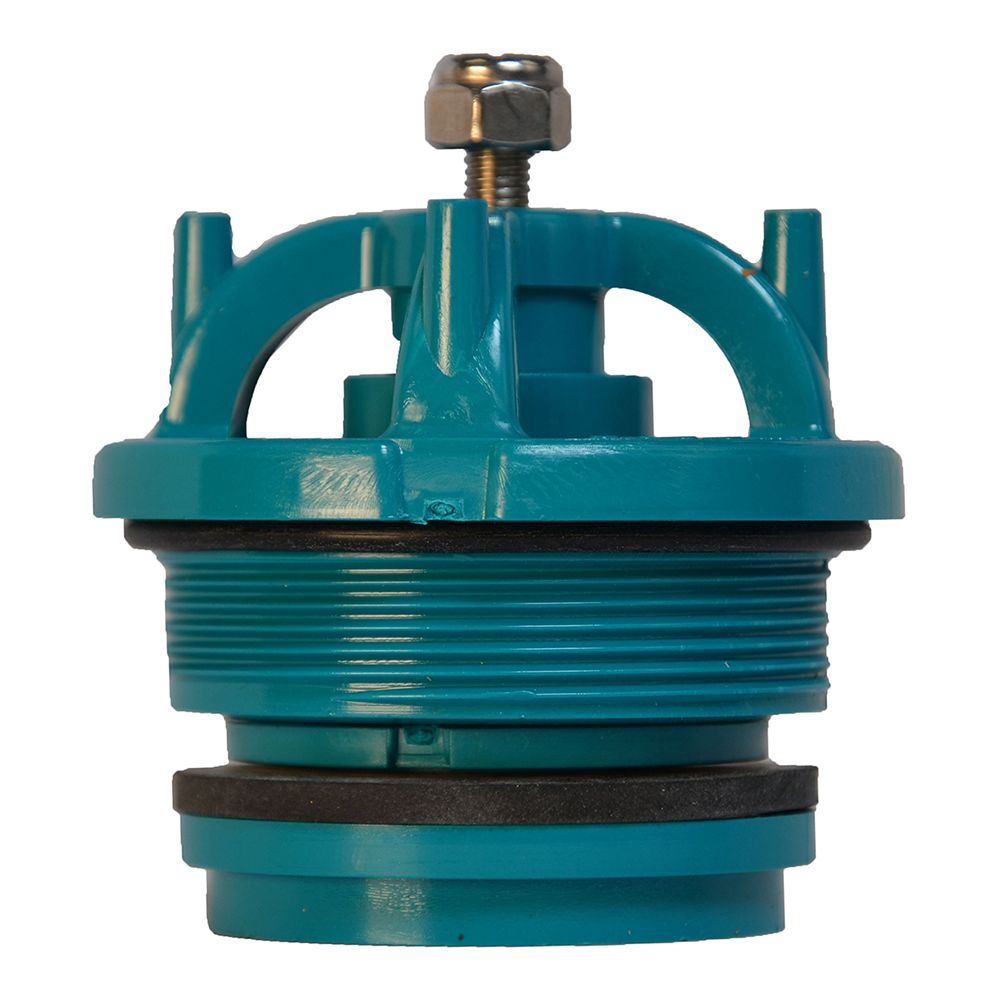
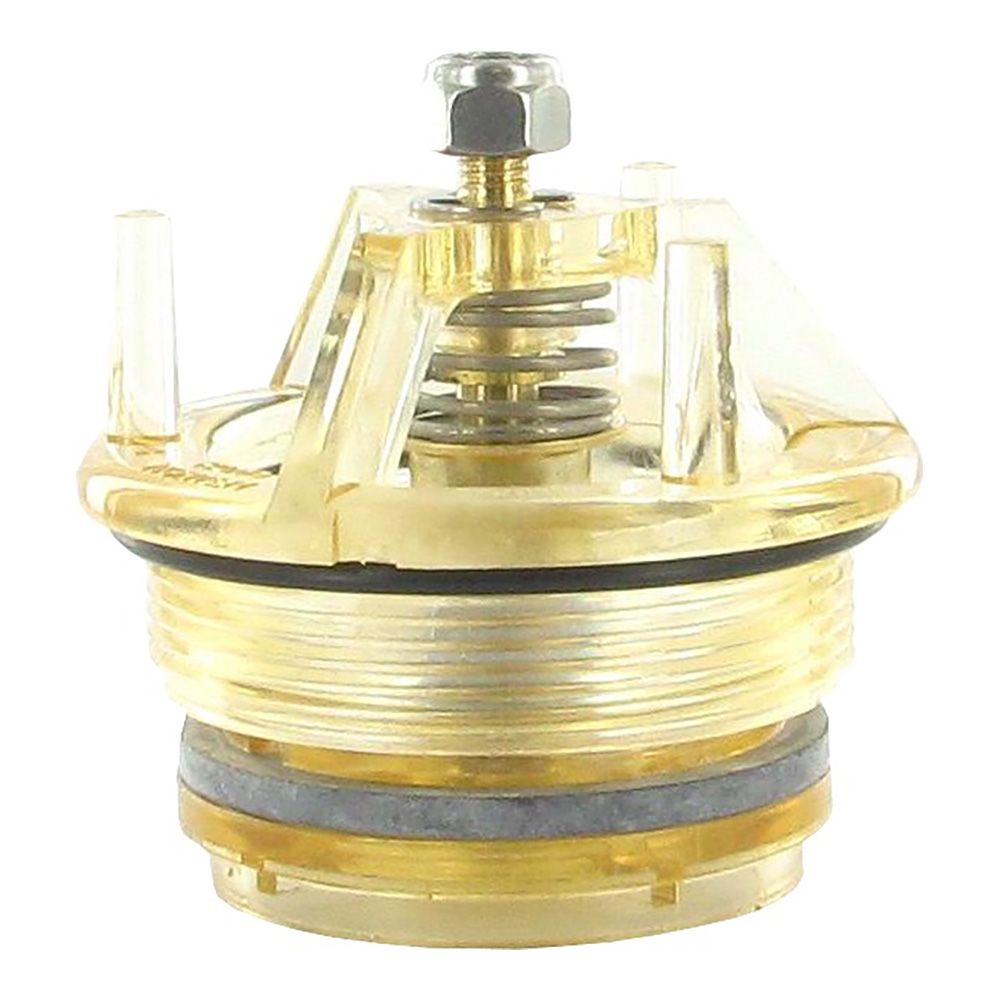
Some pressure vacuum breakers need a new bonnet and new poppet when freezing temperatures break their plastic parts. Before removing the old parts, make sure the replacement kit matches your exact model because these parts vary by manufacturer.
- Remove the Damaged Bonnet: After shutting off the water and releasing any trapped pressure, remove the bonnet according to the manufacturer’s instructions. Carefully remove broken plastic parts, and avoid touching spring-loaded parts unless the repair requires it.
- Clear Broken Pieces: Check the inside of the device for loose plastic pieces that could interfere with the new parts. Don’t reach inside blindly or force out stuck pieces, as internal springs or other parts may cause injury.
- Install the Replacement Kit: Install the new bonnet and poppet according to the manufacturer’s instructions, making sure each part fits properly. Tighten any nuts or fasteners as directed, since overtightening can damage the parts.
- Test the Repair: Turn the water back on slowly and check for leaks and proper operation. Replacing the bonnet and poppet doesn’t guarantee the entire device works correctly, so arrange any required backflow testing before using the irrigation system again.
3: Repair Leaks From Seals, O-Rings, and Connections
Leaks around a backflow preventer do not always mean the entire device is broken. The source and location of the leak help determine whether you need a replacement seal, a new fitting, or a more extensive repair.
| Problem | Possible Cause | Typical Solution |
| Leak Around a Cover or Bonnet | Worn or damaged seal | Replace the compatible gasket or O-ring |
| Leak at a Threaded Connection | Loose, damaged, or poorly sealed joint | Inspect threads and reseal or replace parts as appropriate |
| Leak at a Shutoff Valve | Worn stem seal or damaged valve components | Service the valve with its approved repair kit |
| Leak from an RPZ Relief Opening | Debris, worn seals, or failed internal checks | Inspect and service the relief valve and check assemblies |
| Leak After a Freeze | Cracked body, fittings, or internal components | Replace damaged parts or the complete assembly |
4: Service a Pressure Vacuum Breaker (PVB)
A pressure vacuum breaker stops irrigation water from flowing backward by letting air into the device when water pressure drops. If water leaks from the air inlet or bonnet, the internal check valve or air-inlet valve may need to be checked.
- Inspect the Air-Inlet Valve: If water leaks from the air inlet, dirt, worn seals, or damaged parts may be the cause. Shut off the water and release any trapped pressure before opening the device, then clean or replace parts according to the manufacturer’s instructions.
- Check the Internal Assembly: Look for worn or damaged springs, poppets, seals, and other parts, especially if the device has been exposed to freezing temperatures. Use a repair kit made for your exact model instead of mixing parts from different backflow preventers.
- Replace Freeze-Damaged Parts: Freezing can crack the bonnet, break plastic parts, or split the device’s body. Replace damaged parts if the manufacturer allows it and the rest of the device is still in good condition.
5: Repair a Reduced Pressure Zone Assembly (RPZ)
An RPZ backflow preventer uses two check valves and a relief valve to keep contaminated water from flowing backward into the clean water supply. If water keeps leaking from the relief valve or the device fails a backflow test, one or more check valves, the relief valve, or their seals may be damaged.
- Inspect the Relief Valve: Dirt or damaged parts can cause water to keep leaking from the relief valve. If the leak continues after you turn the water back on, have a qualified technician inspect and repair the valve according to the manufacturer’s instructions.
- Check Both Check Valves: Dirt, worn seals, or damaged parts can keep either check valve from working properly. Clean or replace the affected parts with compatible replacements, then test the assembly to make sure it works correctly.
- Arrange Professional Testing: RPZ backflow preventers need special equipment to check that both check valves and the relief valve work properly. Have a qualified backflow technician test the device when required by local rules, and don’t put it back into service if it fails the test.
6: Repair a Double Check Assembly (DCA)
A double check assembly uses two check valves to stop water from flowing backward into the clean water supply. Unlike some other backflow preventers, it doesn’t have an air vent or relief valve, so you need to check for problems differently.
- Inspect the Check Valves: Dirt, worn seals, or damaged springs can keep either check valve from closing properly. Shut off the water, release any trapped pressure, and inspect the valves according to the manufacturer’s instructions.
- Replace Worn Components: Repair kits may include check valves, discs, springs, seals, and O-rings, depending on the model. Use parts made for your device and install each one in the correct position.
- Verify Operation: A double check assembly can look fine and have no leaks but still fail to stop backflow. Have a qualified technician test both check valves to make sure they work properly.
7: Prevent Further Damage and Know When to Replace the Device
After repairing a backflow preventer, take steps to keep the same problem from happening again. If the body is cracked, badly corroded, keeps failing, or has damage that can’t be repaired, replacing the entire device may be the better option.
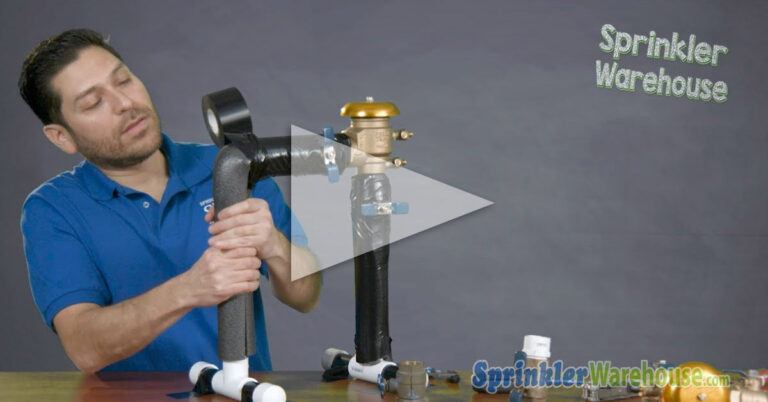
- Protect Against Freezing: Winterize exposed irrigation parts before freezing weather arrives, following the manufacturer’s instructions. Insulated covers can help protect some devices, but they don’t replace proper winterization or guarantee protection from freezing.
- Use the Correct Repair Parts: Choose replacement parts that match your device’s brand, model, size, and type. The wrong bonnet, poppet, check valve, or seal can cause leaks or keep the device from working properly.
- Check for Leaks and Schedule Testing: Turn the water back on slowly and check for leaks around the repaired parts. Have the device tested after repairs and as often as local rules require to make sure it still prevents backflow properly.
Get the Right Parts for Backflow Preventer Repair
Repairing a backflow preventer can be as simple as replacing a damaged bonnet and poppet or as involved as servicing internal check valves and relief mechanisms.
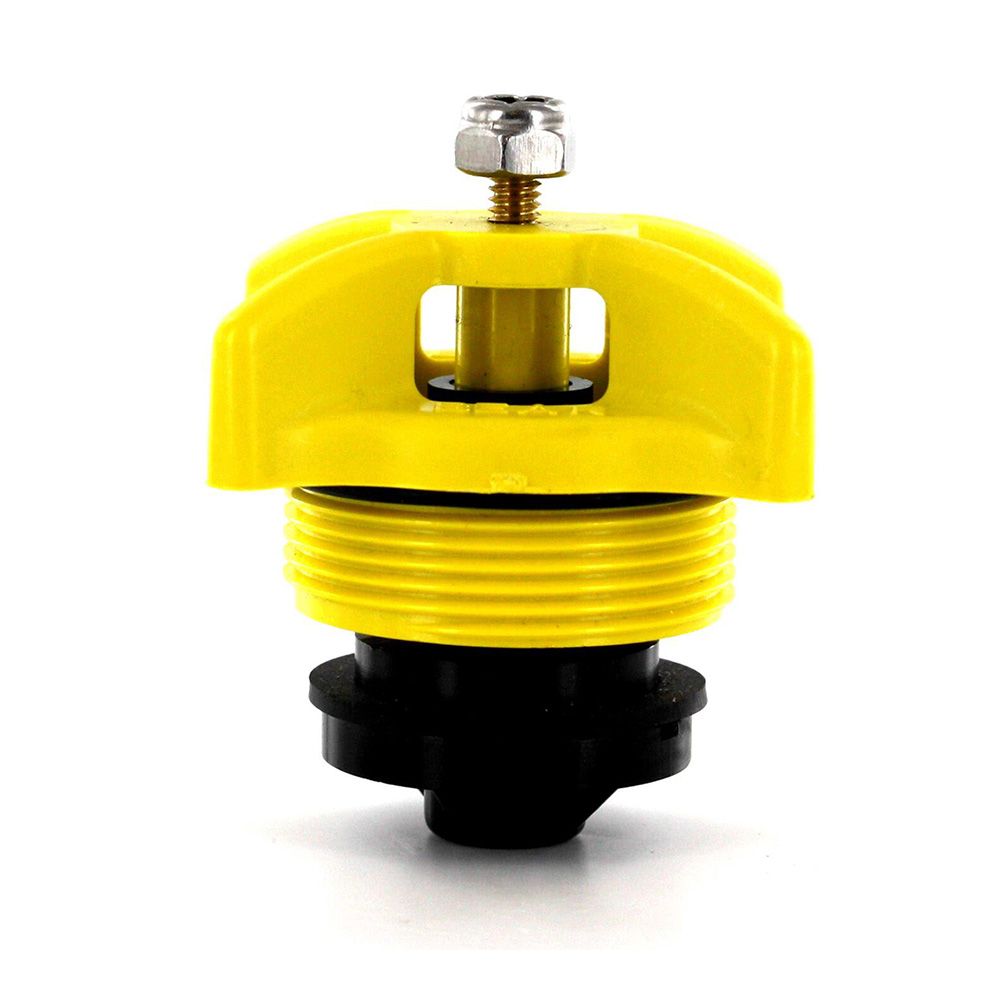
Identify the device, isolate the water supply, follow the manufacturer’s instructions, and use compatible replacement parts. If the assembly is cracked, continues leaking, or fails a backflow test, consult a qualified technician to determine whether further repairs or complete replacement are necessary.
FAQs for Repairing Backflow Preventers
Can I repair a backflow preventer?
Yes, you can repair some backflow preventers by replacing worn seals, broken plastic parts, springs, or check valves. The repair depends on the device type and the damage. If the body is cracked or the device fails a backflow test, contact a qualified technician to determine whether it needs professional repair or replacement.
What is the typical lifespan of a backflow preventer?
A backflow preventer typically lasts 5 to 15 years, depending on the device type, water quality, weather exposure, and maintenance. Regular inspections and timely repairs can help extend its life. Freezing temperatures, corrosion, and worn internal parts can shorten its lifespan.
What causes a backflow preventer to fail?
Backflow preventers can fail because of freezing temperatures, worn seals, damaged springs, dirt buildup, corrosion, or normal wear and tear. Poor installation and high water pressure can also cause problems. Regular inspections, proper winterization, and replacing worn parts can help prevent failures.
If you want to stay up-to-date on the latest Sprinkler Warehouse news and make the most of all of our one-of-a-kind promotions, join the Irri-Gator community today. Happy watering, Irri-Gators!