How to Replace a Sprinkler Head
Are you tired of that one sprinkler head that just won’t cooperate? Do you cringe every time you see your lawn missing a crucial spot?
We all want our lawns to be picture perfect, but it’s easy to fall behind on the ins and outs of lawn care, especially when our old sprinkler heads aren’t doing us any favors. At Sprinkler Warehouse, we believe in empowering homeowners to take matters into their own hands and tackle those pesky irrigation issues head-on—without the headaches. In this DIY guide, we’ll show you how to replace a sprinkler head in eight simple steps so that your lawn stays lush and green all season long.

Why Should You Replace a Sprinkler Head?
If you’re on the fence about replacing a faulty sprinkler head because you don’t want to deal with the hassle, it’s probably easier and more cost-effective to fix the issue than you think.
Whether the sprinkler head in question has become clogged with debris, damaged by lawnmowers, or worn out from years of regular use, the end result isn’t pretty. Over time, uneven watering becomes very apparent. And if you don’t do anything about the source of the problem, it can lead to long-term consequences like dead grass—not to mention a ton of wasted water!
When you take immediate action to replace the faulty head as soon as you notice the snag in your sprinkler setup, you’re giving your lawn the fighting chance to stand out as the work of art that nature intended it to be.
Types of Sprinkler Heads
When it comes to choosing a replacement head that will return your sprinkler system to its former glory and take your yard to new heights, you’ll find plenty of options out there on the market.
Each type of sprinkler head has its own unique features and benefits that make them the ideal candidate for different lawn sizes, sprinkler shapes, and watering needs. Deciding the right sprinkler head for the DIY task at hand will depend on these factors, along with your personal preferences.
Here are the 4 main types of sprinkler heads that you are likely to come across in the wild.
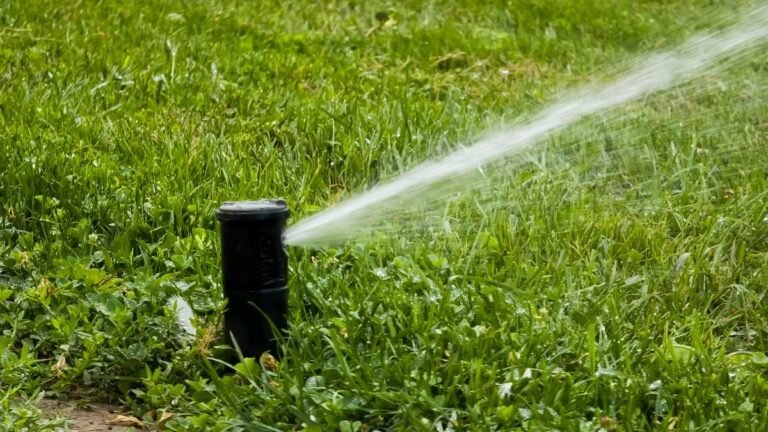
1. Fixed Spray Heads
Fixed spray heads are the tried and true sprinkler head option and first line of defense for countless lawns struggling to stay green. As traditional sprinkler heads, they pump water in a fixed pattern, covering a specific area with a steady, consistent spray. Fixed spray heads are ideal for smaller lawns or specific areas that require more precise watering.

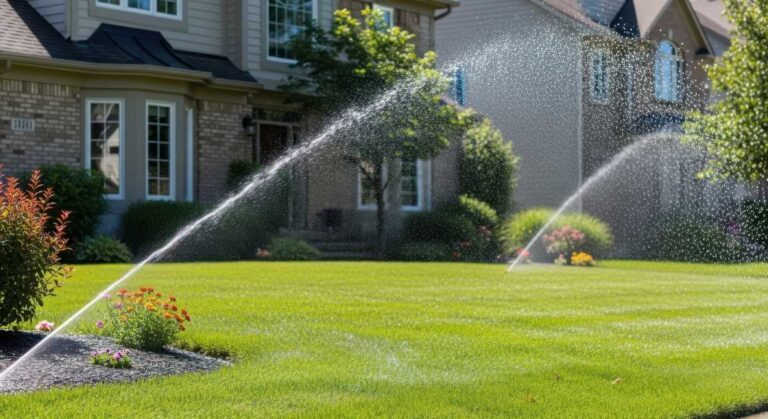
2. Rotary Spray Heads
Rotary spray heads—frequently referred to as rotors—do the exact opposite of fixed spray heads, in terms of how they irrigate. Unlike fixed spray heads, rotary spray heads rotate as they spray your lawn, covering a larger area with a more uniform distribution of water. Rotors are perfect for medium-to-large lawns and can be adjusted to create custom watering patterns and make the biggest impact.
3. Impact Sprinklers
Impact sprinklers are another popular option for sprinkler heads that you’ve probably seen in your travels. Most notably, you might recognize impact sprinklers from their clicking sound as they rotate. These sprinkler heads are durable, versatile, and are perfect for large areas, like athletic fields or expansive landscapes.
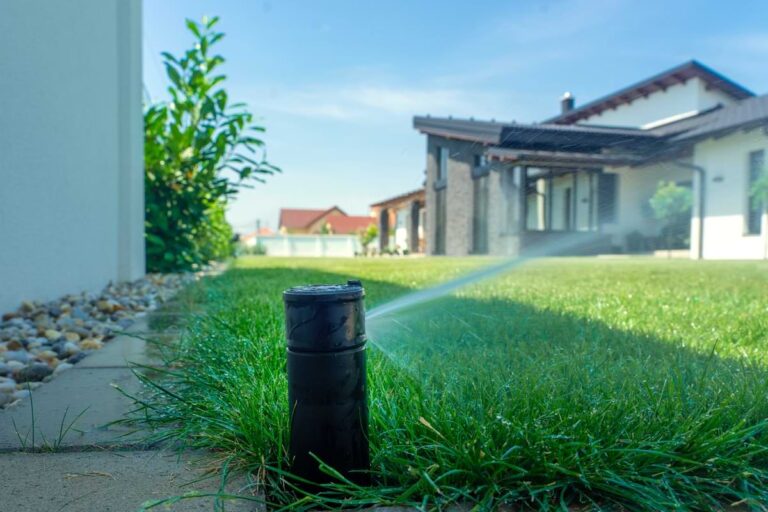
4. Pop-Up Sprinkler Heads
Pop-up sprinkler heads are another type that you will find popping up in plenty of settings. They are installed flush with the ground and “pop up” whenever they are activated, which minimizes the risk of these heads taking damage from lawnmowers or foot traffic. They’re commonly used in residential lawns, thanks to their discreet watering abilities.
How to Replace a Sprinkler Head: A User-Friendly, Step-by-Step Guide
Now that you’ve familiarized yourself with some of the more prominent types of sprinkler heads, it’s time for us to dive into the step-by-step process of actually replacing your faulty sprinkler head. Like we mentioned above, it’s easier—and less costly—than you might assume!
Step 1: Gather Your Tools and Materials
Before you begin the replacement process, make sure you have the following tools and materials on hand:
(B) Adjustable wrench or pliers
(C) WD-40 (if necessary)
(D) Teflon tape (optional)
(E) Shovel or trowel (if applicable)

Step 2: Turn Off the Water Supply
Something that you don’t want to experience is a bunch of water getting in the way while you’re trying to work, so it’s time to turn off the water supply for good measure.
Locate the main water shut-off valve for your sprinkler system and turn it off to prevent any water flow while you work. You can usually find this valve located near the water meter or inside a utility box.
Step 3: Remove the Old Sprinkler Head
Now that we’ve shut off the water, let’s take the first step to officially replacing that faulty old sprinkler head.
Using an adjustable wrench or set of pliers, carefully unscrew the old sprinkler head from its riser. If the head is stubborn, you may need to use a little elbow grease or some penetrating oil (like WD-40) to loosen it up. Once you have this removed, set the old sprinkler head aside.
Step 4: Prepare the New Sprinkler Head
With the old sprinkler head out of the picture for now, it’s time to get its replacement ready for duty.
If necessary, wrap Teflon tape around the threads of the new sprinkler head to give it a watertight seal. This step is very important for threaded connections to prevent leaks.
Step 5: Install the New Sprinkler Head
With the new sprinkler head all primed and ready to go, you can begin the quick installation process.
Screw the new sprinkler head onto the riser in a clockwise direction until it feels snug and secure. Just make sure to avoid over-tightening it, since this can damage the threads or cause leaks down the road.
Step 6: Adjust the Spray Pattern (If Applicable)
Depending on the type of sprinkler head that you’ve chosen, you may need to adjust the spray pattern to make sure that you get the coverage that you want.
We always recommend that you refer to the manufacturer’s instructions for guidance on adjusting the precise spray distance, angle, and rotation for best results.
Step 7: Test the System
Before you clean up and head inside to enjoy the rest of your day, let’s make sure that everything is working properly with your new sprinkler head.
Once the new sprinkler head is installed, turn the water supply back on and test the system. Look for any leaks or anything irregular in the spray pattern, and then make adjustments as needed.
Step 8: Backfill (As Needed)
We mentioned cleanup—everyone’s favorite part of the job—but the good news is that this should also be a quick and simple process.
If you had to dig up any soil to better access the faulty sprinkler head, now is the time to carefully backfill the hole and pack the soil around the new head to keep it secured in place.
Enjoy Your New Sprinkler Head and Your Future, Greener Lawn
Congratulations! You’ve successfully replaced your sprinkler head and restored your sprinkler system to proper working order. All that’s left to do now is to sit back, relax, and enjoy a healthy lawn for years to come.
Whether you’re a seasoned DIY enthusiast or a first-time homeowner, Sprinkler Warehouse is here to help you achieve your landscaping goals without you breaking a sweat. If you have any questions or concerns, like which sprinkler head is best for your needs, don’t hesitate to reach out to our Customer Service team for expert advice. Happy watering, IrriGators!