



Fixing a Hole for Irrigation Drip Tubing
How to seal a hole in drip tubing is one of those quick irrigation fixes that can save gallons of wasted water and keep your system running efficiently. Whether an emitter was installed in the wrong spot, a layout changed, or a stray puncture appeared during maintenance, sealing the hole properly prevents leaks, pressure loss, and uneven watering across your landscape.
The good news is that this is usually a fast repair that does not require replacing an entire section of tubing. With the right plug and a few simple steps, you can restore your drip irrigation system in minutes and keep your garden beds, hanging baskets, or greenhouse plants watered exactly where they need it.
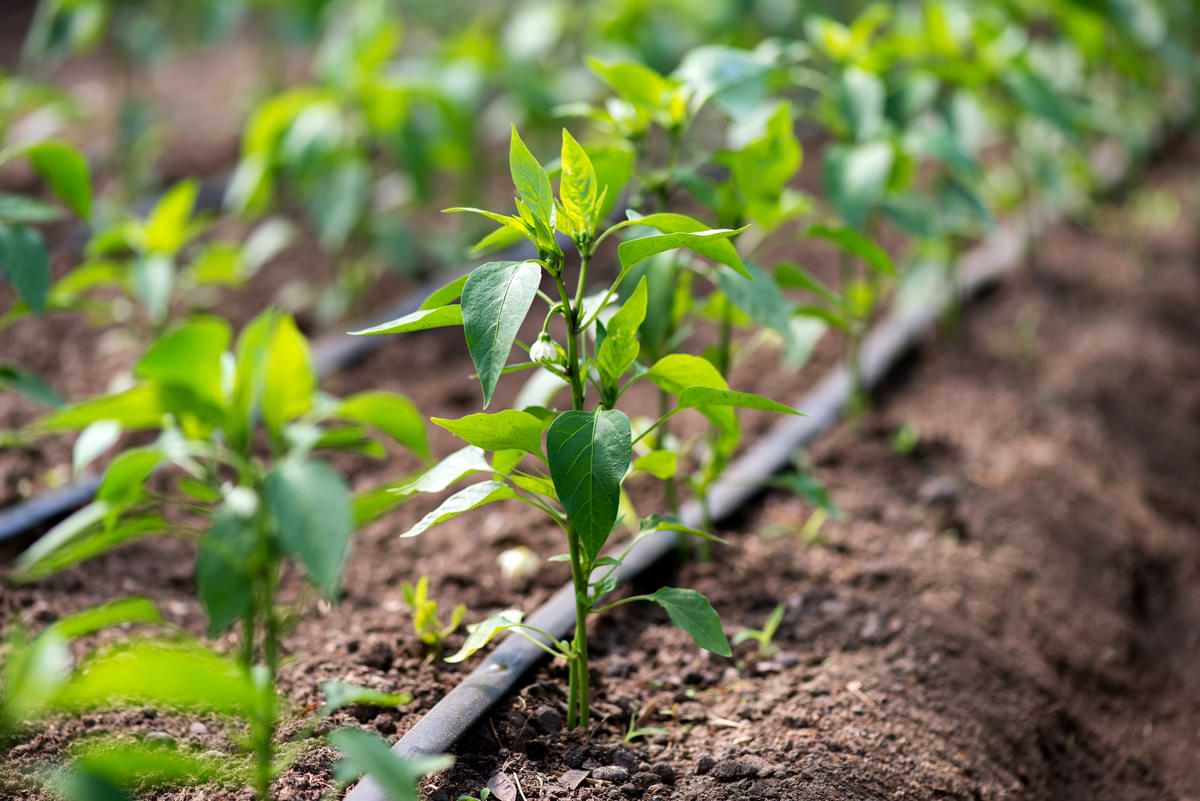
Why Holes Happen in Drip Tubing
Small holes are a normal part of working with drip irrigation systems, especially as your landscape evolves over time. Knowing what causes them can help you fix the issue quickly and avoid future leaks.
- Emitter Relocation: Moving emitters to accommodate plant growth often leaves unused holes behind.
- Installation Errors: Accidentally punching the wrong location is one of the most common causes of tubing damage.
- Wear And Tear: Repeated adjustments or environmental exposure can weaken tubing over time.
- Landscape Changes: Adding or removing plants often requires rerouting your irrigation layout.
The Best Solution: Using Goof Plugs
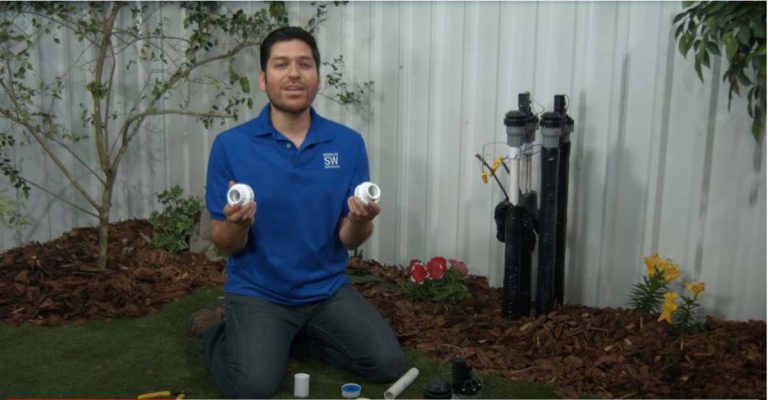
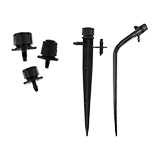
Goof plugs are designed specifically to seal unwanted holes in drip tubing quickly and securely. They are inexpensive, easy to install, and should be a staple item in every drip irrigation repair kit.
- Dual-Sided Design: Many goof plugs feature both a small and large plug for different hole sizes.
- Small Plug Use: The smaller side is ideal for sealing the end of 1/4-inch tubing or smaller punched openings.
- Large Plug Use: The larger end creates a tighter seal for standard 1/4-inch holes when extra pressure resistance is needed.
- Reusable Option: Plugs can often be removed later if you decide to reposition emitters again.
How to Choose the Right Plug Size
Selecting the correct plug helps ensure a watertight seal and long-term performance. If the fit is too loose, leaks may continue.
Before inserting a plug, inspect the hole and test the smaller end first. If water still seeps out after installation, switch to the larger side for a tighter fit.
Hole Type | Recommended Plug Side | Best Use |
End of 1/4-inch tubing | Small Plug | Closing unused feeder lines |
Standard emitter punch hole | Small or Large Plug | Relocated emitters |
Slightly stretched hole | Large Plug | Extra-tight seal |
Damaged widened opening | Large Plug | Leak prevention repair |
How to Seal the Hole
Once you have the right plug, the repair process is simple and takes only a few minutes. A careful installation ensures the tubing remains leak-free.
- Turn Off Water Supply: Shut down the irrigation zone before making repairs.
- Inspect The Hole: Check for cracks or stretching around the puncture.
- Insert The Plug: Push the correct plug firmly into the opening until fully seated.
- Test The Seal: Turn water back on and inspect for leaks.
- Monitor Performance: Recheck after one watering cycle to confirm a secure seal.
How to Repair a Hole in Drip Tubing: Keep Extra Goof Plugs On Hand
Drip irrigation systems are designed to adapt as landscapes change. Keeping extra goof plugs nearby makes it easy to adjust your layout, move emitters, and seal old holes without interrupting your watering schedule.
For gardens, greenhouses, and hanging baskets, these simple repair tools offer a fast, effective solution for plugging unwanted holes and keeping your drip system efficient season after season.
FAQs for How to Seal a Hole in Drip Tubing
What is the best fitting for repairing drip tubing?
Compression couplers are one of the best options for repairing drip tubing because they create a strong, leak-resistant seal without glue or special tools. Lock fitting couplers are also popular since they can be removed later for adjustments or maintenance. For micro tubing repairs, barbed couplers are typically the best choice.
How do you stop a drip irrigation line from leaking?
Stopping a drip irrigation line from leaking usually involves cutting out the damaged section and installing the proper repair fitting. Small holes can often be sealed with goof plugs, while larger cracks or gashes need couplers or replacement tubing. Flushing the line after repairs also helps prevent debris from causing future leaks.
Can damaged drip tubing be reused?
Damaged drip tubing can often be reused if the compromised section is removed and the remaining tubing is still flexible and in good condition. Repair fittings make it easy to reconnect usable sections without replacing the entire line. However, brittle or heavily cracked tubing should typically be replaced to avoid recurring leaks.
If you want to stay up-to-date on the latest Sprinkler Warehouse news and make the most of all of our one-of-a-kind promotions, join the Irri-Gator community today. Happy watering, Irri-Gators!