What Is A Drip Emitter
I know what you’re thinking. But this is not the thing Chewie and Han destroyed on Hoth. This is the Xeri-Bird 6 Multi-Outlet Drip Emission Device. You can use it with a retrofit kit to convert a popup head to a drip system. Or you could install it on an existing shrub stick.
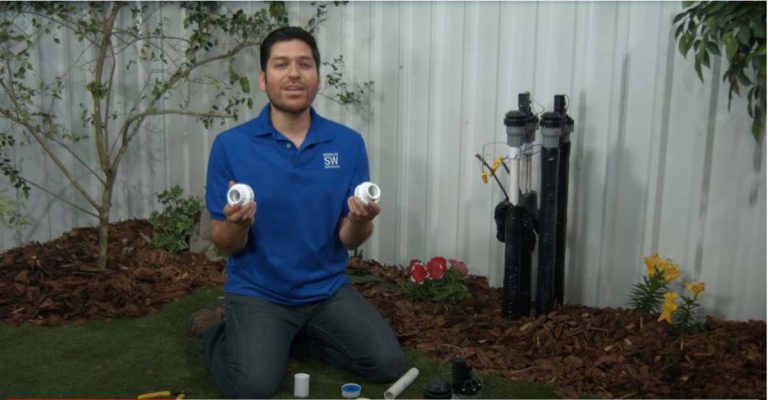
Adrian Sanchez here, for SPRINKLER WAREHOUSE. Let’s get started.
So this is the way a Xeri-Bird 8 arrives. You also need:
- micro tubing
- Rainbird Xeri-bug emitters or PC emitters
- half-inch riser or pop-up retrofit kit
The Xeri-Bird Barb Emitter Extends Your Drip System
The Xeri-Bird operates anywhere from 15 to 50 PSI. Rain Bird makes a pressure regulator that’s built like a riser that regulates your water pressure to 30 PSI. So it’s a good idea to use one to keep everything running smoothly.
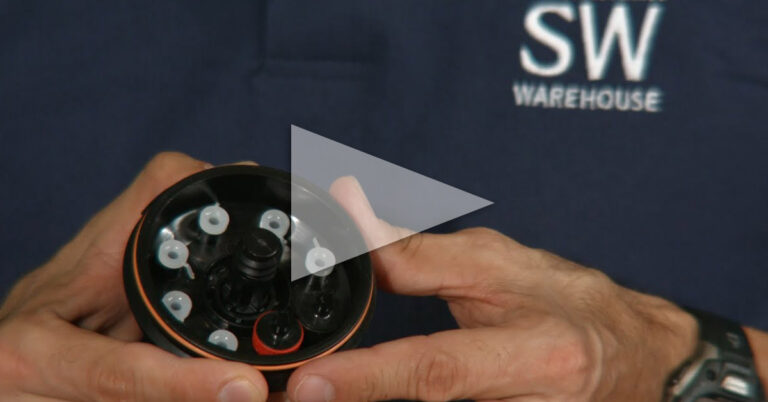
Here’s where you screw in a nipple riser or pressure regulator. You attach micro tubing here to these little barbs sticking out. Let’s look inside. Here’s your mesh filter and these are removable plugs. So you don’t have to use all 8 ports if you don’t need them.
The idea is that you insert Rain Bird Xeri-bugs or PC Emitters to fill in the little holes. This allows you to completely customize the flow rate for each port anywhere from half-gallon per hour to 24 gallons per hour. So let’s throw some in there.
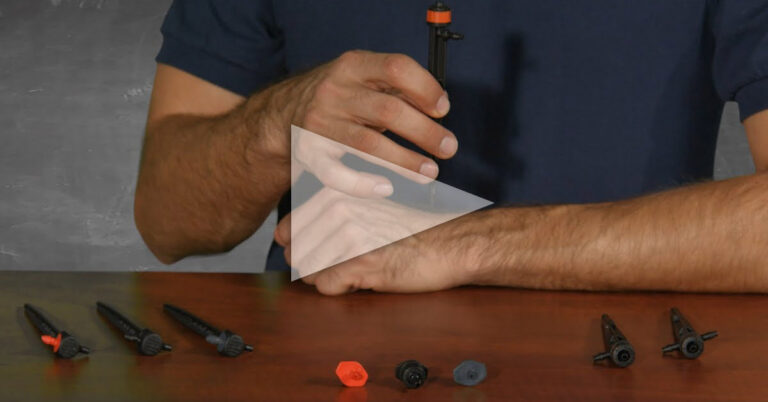
Here’s a black one-gallon per hour Xeri bug. The pointy end goes up. Now I’ll remove one of these plugs. Let’s put in a red two-gallon per hour here. Next a blue half gallon per hour. And let’s put in a PC module. 7 gallons per hour.
DO keep these plugs somewhere, just in case in the future you wish to cap off one of your ports. Now let me run some emitter tubing to each of the ports where I’ve installed an emitter. For the purposes of this illustration, I’ve cut the microtubing fairly short. You can run your microtubing significantly longer if need be. The tubing is a little tough to wiggle on. If you’re having difficulty you can soften the micro tubing in some warm water. Now we’ve got the micro tubing in place. If I screw the Xeri-Bird on at this point I’ll tangle all my microtubing. Luckily Rain-Bird is one step ahead of me.
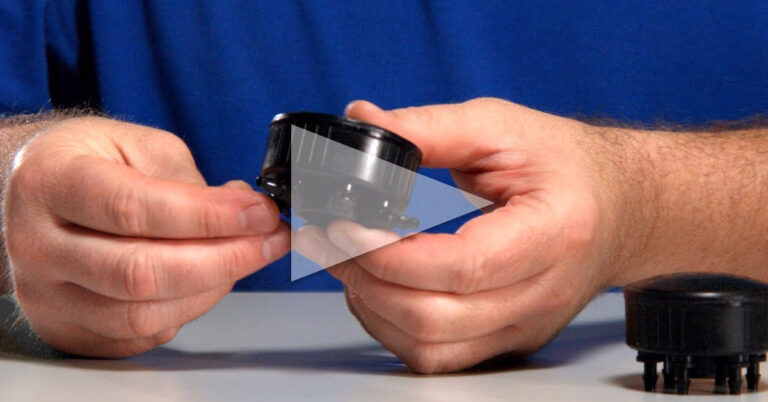
This bottom part pops right out. I can screw it in place. And then put the rest of it together afterward. And there are a couple of ways to put it back together. What?! I can put the bottom half on first. And then screw the top half on or I can screw the two halves of the flying saucer together.
Push it down on the riser and then screw down this little cap on top. You can attach emitters to the end of the micro tubing. But keep in mind that you’ve already restricted the flow back here in the Xeri-Bird. So putting a 4-gallon emitter at the end of this microtube that’s being restricted by a 1-gallon an hour emitter would be superfluous. It is a good idea however to use one of these Diffuser Bug Caps at the end of your micro tubing. It’ll help keep out creepy crawlies and debris. It also diffuses the drip at the end helping to prevent the emitter from washing away soil at the roots of your plants.
At the emission point of your micro tubing do use one of these stakes to hold the tubing in place and point the water exactly where you want it to go. You can also use a tee to branch off the tubing.
Questions? Chat with one of our incredible customer service agents on Sprinkler Warehouse dot com. They really know their stuff and they’ll get you squared away. Remember, SPRINKLER WAREHOUSE has EVERYTHING for your irrigation needs so your trees, lawn, flower beds, and gardens are lush and beautiful.
Shop Rain Bird Xeri Emitters At Sprinkler Warehouse
Subscribe to our YouTube channel for helpful tips, tutorials, and general sprinkler instruction. For Sprinkler Warehouse, I’m Adrian Sanchez. Peace, love, and sprinklers.