The Benefits Of Using Union Repair Fittings
Got A Bad Valve?
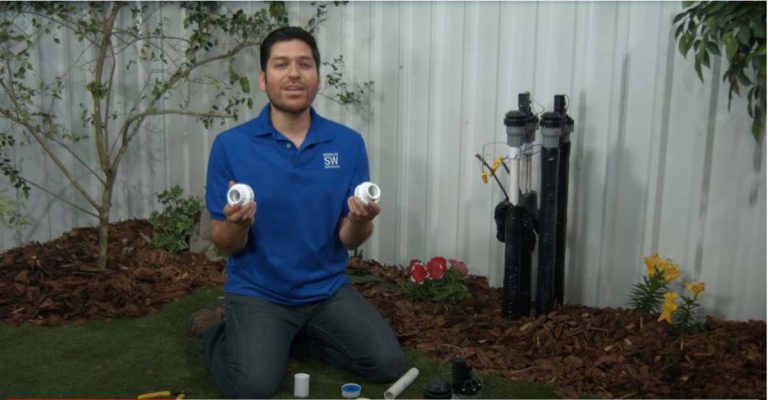
I have a bad valve and need to replace it, and since I’m pulling it out anyway I thought I’d add in some unions. If I have a reason to pull this valve out in the future it’ll make the job quick and easy and adding the unions is simple to do. I’m the Sprinkler Warehouse Pro, let’s talk about unions.
Coupler Versus Union
Some folks use the words coupler and union interchangeably and that’s not quite correct. A coupler creates a permanent connection between two pipes whereas; the union allows you to make a connection that’s capable of being taken apart without any special tools or having to cut anything.
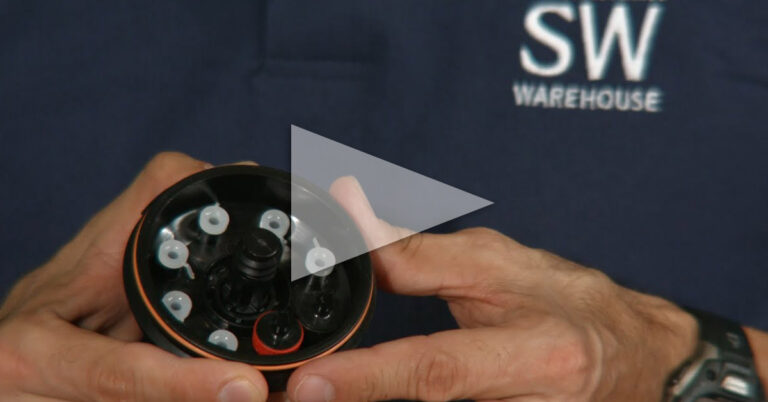
This part I’m unscrewing is called the collar. Now you’ll see that I have two tailpieces. This one has an O-ring and threads. When I begin to cement the non-threaded tailpiece on, I’ll need to be sure I put the collar on first. Likewise, I need to make sure the collar gets cemented on with the correct tailpiece otherwise… Houston we’ve got a problem.
Think It Through Before You Glue
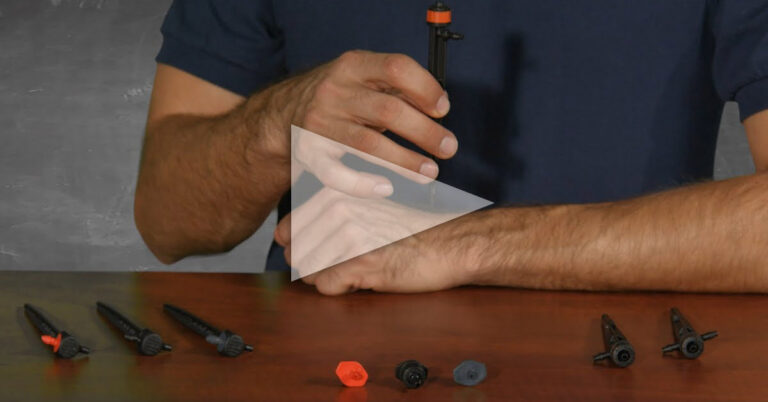
For this repair, we’re going to need a pipe cutter or hacksaw, two slip unions, PVC cement, glue, and the replacement valve. Before you get started always remember to turn off the water and relieve the pressure in the lines. One way to relieve the pressure is to open one of the valves for a few seconds. You could also go to your system controller and activate one of your zones for a few seconds. This will allow some of the water to evacuate the system.
How To Replace Your Valve
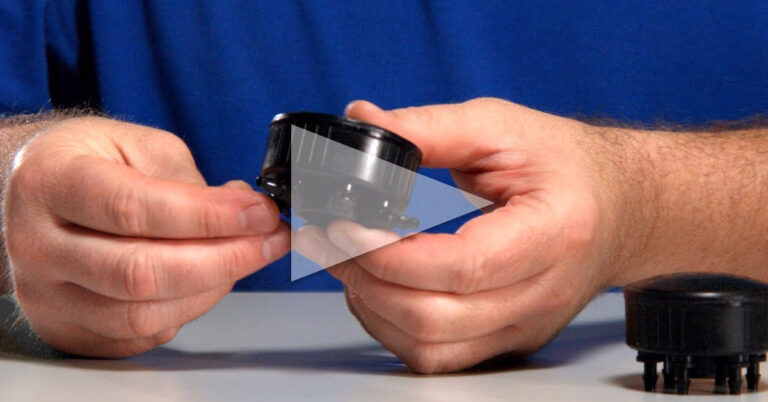
As part of replacing your valve, you’ll need to cut the solenoid wires. I’m going to cut this pipe right here next to the coupler and on the other side as well. I’ll reuse this piece of PVC and the adapter. Here’s the new anti-siphon valve and I’ve got my two unions disassembled. Now I’m going to submit both smaller non-threaded tailpieces along with the collar to this piece. Doing it this way means that the collar will be covering the thread and that will help to keep debris out of the threads. You don’t have to do it that way, it’s a personal preference.
First, I’ll put on the collars and now I’ll place primer on both threaded tailpieces and now submit. Next, turn a quarter turn to ensure a good seal. I’ll let that set up while I begin working on the pipes. Now, I’ll apply primer to both of my pipe cuts and then to my tailpieces. Then, cement on the pipe cuts and then the tailpieces, slide them on, and quarter turns to make a good seal.
Now, let’s put everything together. Finally, the job is complete! Remember, Sprinkler Warehouse has everything you need to keep your irrigation system up and running so that your trees, lawns, flowerbeds, and gardens are lush and beautiful.
Learn More At Sprinkler Warehouse
If you have any questions about our products, give us a call or chat with one of our friendly customer service experts on SprinklerWarehouse.com. They really know their stuff and they’ll get you squared away. Please subscribe to our YouTube channel to get the most out of our user-friendly shop.