Everything You Need To Know When Repairing Drip Tubing
Don’t Lose to a Leak
Example Of How To Seal A Gash In Drip Tubing

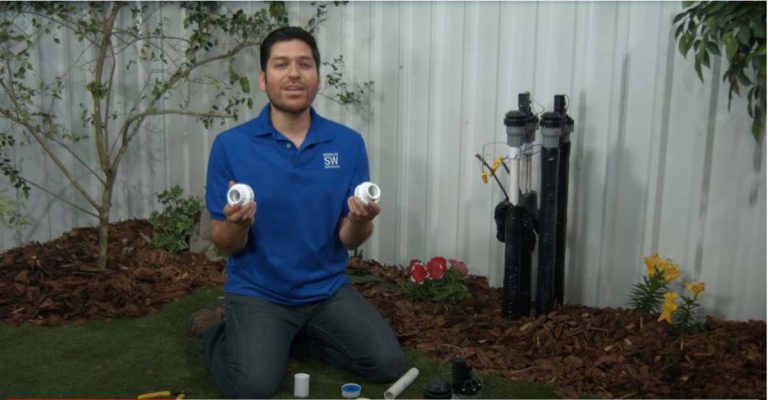
Repairing a gash in drip tubing is a simple operation. Before you begin to seal a gash in drip irrigation tubing, it is important to know the different types of couplers.
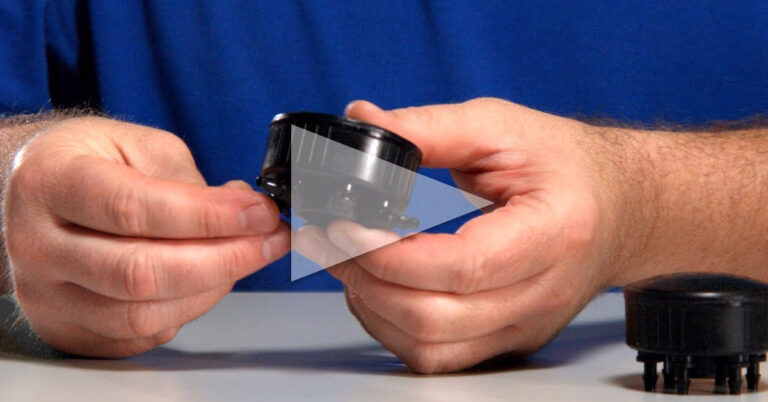
- The compression coupler requires slight force to connect. Once it is attached, it cannot be removed. However, it will not change the interior dimension of the tubing. Compression fittings are a fast and easy way to install without glue or other tools.
- A lock fitting coupler can be removed but it will make the interior of the tubing in the repaired area smaller.
- To seal a gash in drip irrigation, first make a clean cut on either side of the gash.
- Insert a coupler into the tubing between the two ends of tubing.
You can use a compression coupler or a lock fitting coupler.
How To Use A Lock Fitting Coupler :
- To use a lock fitting coupler simply insert the tubing into the fitting and turn the locking mechanism at the end of the fitting.
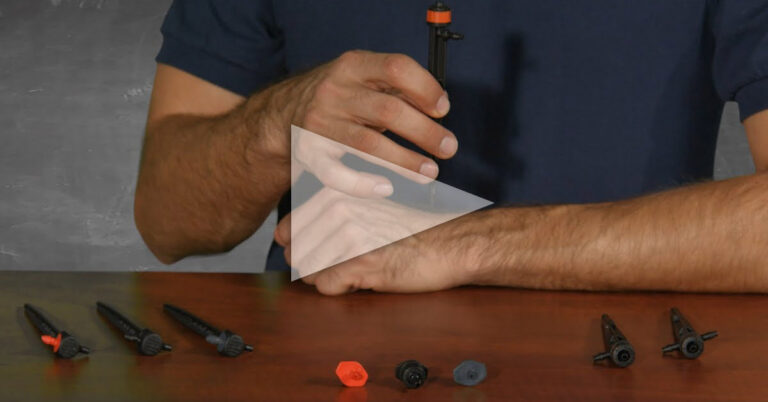
- If you are repairing micro-tubing you will use a barbed coupler to make the repair.
Then you will want to remove the end caps from the tubing line and flush the line of dirt and debris that may have gotten inside the tubing.


