SHOP FOR ALL IRRIGATION SUPPLIES ON SPRINKLER WAREHOUSE
SHOP NOW

Home > Parts & Repair > How To Add Modules To A Modular Irrigation Controller

Expand Your Stations For More Irrigation Coverage

Modular controllers make it easy to add additional zones to your sprinkler system without having to purchase a brand new controller. Homeowners can quite easily add additional modules to a modular irrigation controller. This makes it possible to add zones to your existing system.

Most irrigation controllers have a factory-installed base module with the option to add more modules if desired. You can add additional modules to expand the controller capabilities. Many models have enough slots to allow for up to 15 valves total. Additional sprinkler modules and expansions are sold separately.

HOW TO INSTALL IRRIGATION STATION MODULES

You can install optional modules in any open position in the modular irrigation controller cabinet. The valve numbers associated with each terminal (e.g. 5, 6, and 7) are on the cabinet.

  1. Open the front panel and then locate an open slot in the cabinet.
    Irrigation controller open with an open modular spot.
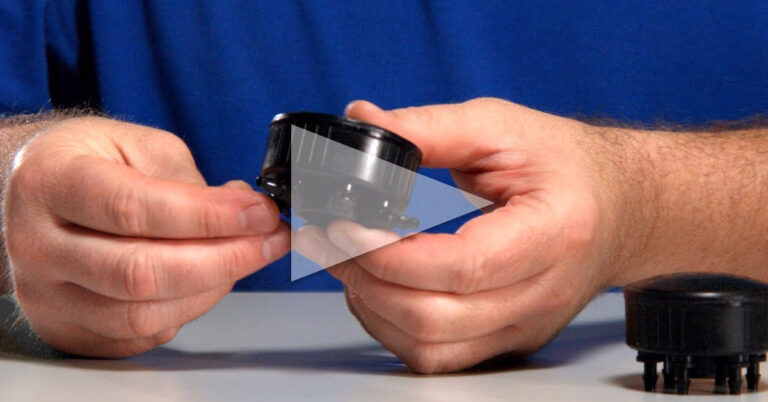
  2. Make sure the lever on the module is in the unlocked position (pointing to the left). And then place the module in the slot between the plastic rails.
    Irrigation controller open with a new expansion module added to open spot.

  3. Push the module toward the top of the cabinet. Then slide the lever to the locked position (to the right).
    Irrigation controller open with and expansion module being locked into place.
  4. Rewire your zone leads and you are finished!
Irrigation controller open with completed wiring


HOW TO REMOVE STATION MODULES

  1. To remove a module, slide the lever to the unlocked position. Then pull the module out of the slot.Irrigation controller open with an expansion module being removed.