Raised Bed Drip Irrigation: A Getting Started Guide
Table Of Contents
Save With A Raised Bed Drip Irrigation System
Raised Beds Vs. In-Ground Gardens
Who Benefits From A Raised Garden Bed?
Assembling A Raised Bed Drip Irrigation System
Get Creative With Your Raised Garden
Save With A Raised Bed Drip Irrigation System
Time, money, space, control-these are only a few things you’ll gain from a well-curated raised bed drip irrigation system. Before we jump into why raised bed gardening has emerged as the Nancy Regan-approved vice of the gardening world, let’s briefly go over what exactly drip irrigation is.
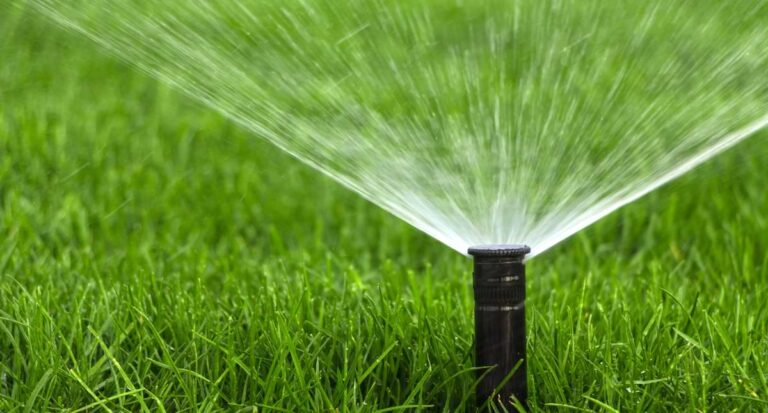
Think of a conventional sprinkler system. Whether that sprinkler executes a fixed spray pattern or one that rotates, it still sends a lot of water into the air, right? Almost half of that water is wasted by evaporation, which consequently wastes money. Not to mention the erratic results produced from uneven watering.
A drip system, on the other hand, uses microtubes to apply water directly to the root of the plant, edging out the standard sprinkler system in terms of efficiency and uniformity alone. By initiating precise, uniform water flow through these tubes, a drip system eliminates water waste, thereby cutting your energy bill in half, making drip irrigation a bipartisan champion for both environmentalists and capitalists alike.
Other benefits of drip irrigation include:
- Drip tubing is an ideal solution if you’re working with rough terrain.
- Because the tubing navigates water directly to the plant’s root zone, drip irrigation also limits disease. By minimizing water interaction on the plant’s leaves and fruit, waterborne diseases are essentially eliminated.
- Drip irrigation keeps rows between plants dry, allowing for easier access to the plant and reducing weed growth.
- Drip tubing prevents the leaching of nutrients and water under the root zone.
Raised Bed VS In-Ground Gardens
Applying drip irrigation to a raised bed is action-packed with efficiency. Though the concept has been in the chamber since the early 1970s, the popularity behind raised beds has shot off in the last decade. You may have seen a raised garden bed in your neighbor’s yard or heard Drew and Jonathan Scott reference one on HGTV, but what is a raised bed and how can it benefit your situation compared to a traditional in-ground garden?
A raised garden is, well, a garden that is raised – the bunk bed of the gardening galaxy, if you will. Though a slew of prefabricated planters and innovative, homespun beds have crashed the horticulture scene, they essentially fall under three categories.
- Raised ground beds are excellent for gardeners who have large areas to plant but don’t want the added expense of building support frames. They’re simplified forms of raised beds with flat-topped mounds, usually 6 to 8 inches high, and require no additional materials other than soil.
Pro-tip: Never use pressure-treated lumber for raised beds. Though it will hold up longer than untreated wood, it can leach harmful chemicals into the soil and into your vegetables, herbs, and other plants. Sure, you’ll have to repair or replace the raised beds more frequently, but some types of untreated wood, like cedar and redwood, can have a life span of up to 10 years. - Supported raised beds have an edge or frame surrounding the bed that functions as a fence for the soil. Typically made of wood, stone, plastic, and metal, they’re suited for sloped or uneven yards and give gardens an attractive, finished appearance.
- Containerized raised beds have taller sides that stretch 10 inches or more and can be placed just about anywhere, including lawns, walkways, or decks. While they require more soil to fill, their versatility and ease of use make them ideal for high-traffic areas or for people with accessibility issues.
Let’s get one minimally-argued opinion out of the way: raised beds look cooler than commonplace garden beds. More importantly, they make life easier. The minor disadvantage of occasional clogged tubes is outsized by the laundry list of benefits when stacked against their in-ground counterparts.
What are the advantages of raised bed garden beds?
- Fewer weeds
- Capable of housing a diverse range of plants
- Popular habitats for growing fruits and vegetables
- Better water retention
- Less soil erosion, especially if the bed is framed
- More growing space
- Store more heat, entailing a longer growing season
- Keep kids and pets from stepping onto plants
- Bottoms can be screened to keep out gophers and rodents
Who Benefits From A Raised Bed Garden
The greatest advantage of having a raised bed or vegetable garden is that it makes life easier, particularly for certain types of people and environments. It’s especially optimal for places where the soil isn’t sustainable, such as rocky soil in the Appalachians or gumbo soil in southeast Texas. The most prevalent ingredient in gumbo soil isn’t sausage, chicken, or rice – it’s clay.
With its heightened clay content, gumbo soil becomes dense and sticky when wet and remains wet for long periods. The trapped moisture makes the soil swell until it finally dries, leading to slow draining and slow warming in the spring that manifests a huge hurdle for plants to break through the soil and grow. Outside of the green thumb veterans entangled in a Man vs. Clay battle, who else can benefit from a raised garden bed drip system?
- People who want a controlled environment
- People with back issues or a disability that precludes them from hunching over
- Building managers who want a garden in their parking lot or storefront
- People who are working with a small space, such as an apartment, patio home, or retirement community
Assembling A Raised Bed Drip Irrigation System
So, you’ve decided to embrace the raised bed subculture. What’s the next step? Make drip irrigation kits your best friend. Manageable and affordable, a drip kit is the perfect pairing for a first-time drip line endeavor. A complete kit includes everything a fledgling drip system dabbler has to have from hoses to mainline tubing. Don’t worry about buying additional equipment because our selection of low-maintenance kits doesn’t require special tools.
Basic Raised Bed Garden Installation
As far as the bed itself is concerned, Sprinkler Warehouse has the supplies and the expertise required to address your particular gardening needs.
Supplies Needed:
Universal Compression Fittings/Adapters
Directions:
- Trench beds 2 – 6 inches deep.
- Cut and lay out tubing.
- Punch SPB 025 connector into the tube’s laterals (tubes branching/converging from the main supply line). Attach tubing to outlet barb and run tubing to the edge of the bed.
- Determine desired watering pattern and punch nozzle base to match planting area.
- Grasp orange pull-ring on top of micro-spray before pulling the stem up exposing the thread area for the nozzle. Drop a 30-mesh screen into the stem and thread the nozzle onto the stem.
- Drop the micro-spray into the hole so the cap is at grade. Pour dirt around the micro-spray so the body is supported in the soil, confirming the exit port for the nozzle is in the correct position.
- Flush the system for approximately two minutes to test for leaks.
- Install the planting material.
Get Creative With Your Raised Garden
When you’re pinching pennies, your kitchen can see some brave culinary stuff. Why can’t the same apply to your garden? Whether you’re ballin’ on a budget or chasing creative juices, we encourage your DIY wings to take flight. Start by fashioning your own soil with these tips:
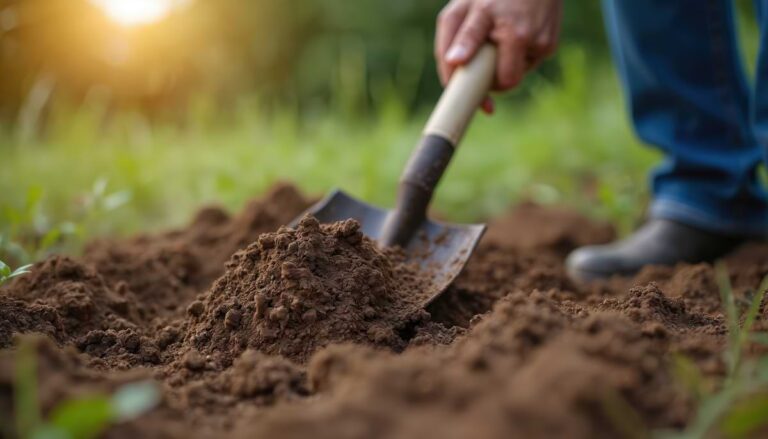
- First, remove any weeds and dig up a few inches of the topsoil.
- Next, lay down cardboard as a weed barrier covered with layers of topsoil, compost, shredded leaves, composted manure, straw or hay, etc.
- Lastly, if you have a solid source of decent wood, lie it directly on top of the cardboard and on the paths between beds.
Now that you have the soil taken care of, you can craft the bed itself by upcycling materials from your house or finding discarded items roadside, including:
Pallets
- Confirm the pallets you pick up or purchase are heat-treated, usually tattooed with an “HT” mark.
- Scrub pallets to ensure they’re rid of harmful residues leftover from whatever was previously stored on them.
- Take them apart and build traditional box frames OR plant directly in them.
- Wrap the bottom and sides in landscaping fabric (secured with stapes) to help keep the soil in place OR surround the pallets with concrete blocks that can be filled with strawberries, marigolds, or herbs.
Milk Crates
Housing your plants or vegetables in milk crates is useful if you’re working in a small space as they can be lined up in a single layer, stacked checkerboard style, or even used as hanging planters. To prevent the soil from spilling from the holes, line each crate with burlap before filling it with soil. Plastic also works, but verify that you first poke plenty of small holes to avoid water damage. Because they’re smaller, milk crates typically hold only one vegetable or herb each, with the exception of smaller plants like lettuce and carrots.
Pro-tip: Leave about 18 inches between the beds for walking paths, or even wider for wheelbarrow access.
Old Tires
Simply position tires where you want your garden and fill each one with soil. Because tires heat up quickly and warm up the soil sooner in the spring, you can get started planting earlier. For the same reason, plant heat-loving crops in the tires and put the cool season veggies everywhere. Use old tires only for ornamental plants or line them with plastic or landscape fabric before adding soil if you desire to plant vegetables in them.
For further tips and tricks on raised garden beds or drip irrigation, give the pros at Sprinkler Warehouse a call.
FAQ
How often should I water with a drip system?
On average, you should run your drip system twice a week during spring and fall, every other day during the summer, and once a week during the winter. The frequency of water application depends on your location, plant material, climate, and type of soil. After one or two weeks of working with the system, check the soil and adjust the watering time as needed.
What is the best way to use mulch in my raised bed garden?
You should layer at least 2″ of mulch to adequately cover your soil and prevent weeds from growing. It’s best to add mulch when plants reach about 6″ tall.
Where are the best places to use a drip system?
Drip irrigation systems are suited for both new and existing landscapes and vegetable gardens, challenging terrain including slopes, misshapen areas, and places with high winds. It can also be used on shrubs, flower beds, groundcovers, perennials, pots, containers, greenhouses, and nurseries.


