Don’t Excavate, Elevate
Today I’m going to show you how easy it is to lift a rotor using KLift-it. Winner of the 2019 New Product Contest for the Irrigation Association. I’m Dwayne Smith Sprinkler Warehouse Product Specialist. Let’s get started.
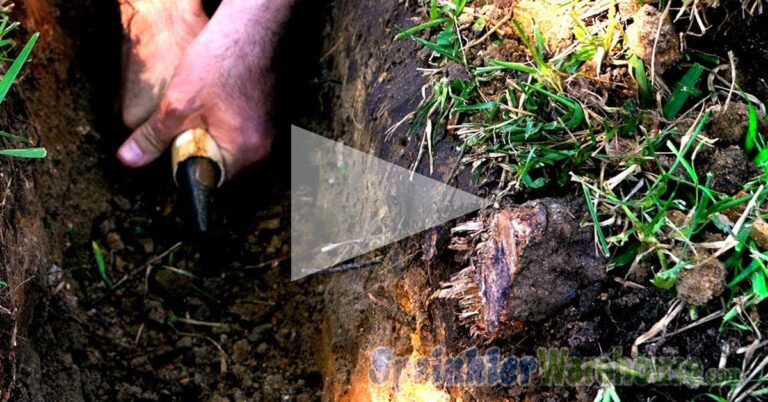
Grass clippings, leaf debris, and soil movement can over time cover up your rotor, blocking the spray and preventing it from doing a good job watering your lawn. When this happens, you’re wasting both water and money. And you’ll have trouble spots on your lawn. For the rotor to function properly the top of your rotor should be level with the dirt. If the top is lower than the dirt, you need to raise the head. The normal way to raise a rotor would be to dig up the entire head. If it was installed on a nipple riser you’ll need to get a new nipple riser to raise the head. If it was installed on a swing joint you still have to dig up the entire head to raise it.
And if you’re not careful while digging, there is a possibility that you may break the irrigation pipe, swing joint, or nipple riser. Unless you installed it yourself you’re not going to know what’s down there until you dig it out. Tree roots, rocks, debris, and piping may get in the way. With the KLift-it there’s no need to dig out the head. The Klift-it extends the top of the rotor body by 2 inches. Elevate don’t excavate. And there’s no need to install a new nipple riser. The body stays in place.
Variations Of The Klift-it
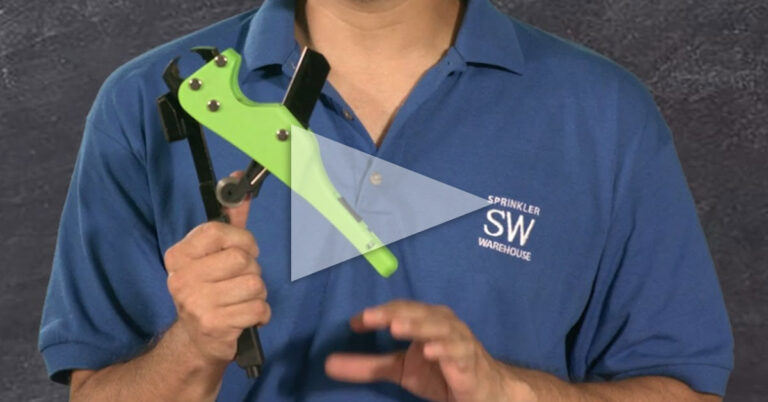
The Klift-it comes in two versions that fit the most common sprinkler bodies out there including Hunter and Rain Bird. Let’s install one. Begin by removing the sod around the rotor. We’re using the Kut-it tool to do that. Get the top reasonably clean.
The Kut-it will also unscrew the top of the rotor for us. Pull out the internal assembly. This piece right here connects to the bottom of the internal assembly. Turn it gently until you find the groove that lets it slips all the way in place. Screw on the canister riser.
Before we put the top of the rotor back on I’m going to check my pattern to make sure I’ve aimed the rotor correctly. These grooves here are going to need to line up with these fins down in the canister. If the internal assembly doesn’t go down easily turn it a little bit and try again.
Once it goes down. Screw this top collar in place. Pack the dirt and sod back around the rotor. And you’ve just raised your rotor by two inches. Klift-it will save you time and hassle. Elevate don’t excavate.
Learn More At Sprinkler Warehouse
And Remember, Sprinkler Warehouse has everything for your irrigation needs. So, your trees, lawn, flower beds, and gardens are lush and beautiful. And if you have any questions about our products chat with one of our incredible customer service agents on Sprinkler Warehouse dot com. They really know their stuff and they’ll get you squared away. Subscribe to our YouTube channel, to get tips, tutorials, and general sprinkler instruction. Sprinkler Warehouse. Professional Quality Rock Bottom Prices.


