




Sprinkler system maintenance helps keep your irrigation system running reliably, from the first startup in spring through the final shutdown in fall. Over time, sprinkler heads can shift, nozzles can clog, pipes can leak, and controller settings can fall out of sync with your landscape’s needs.
The good news is that regular lawn sprinkler system maintenance can help you catch these problems early, conserve water, and keep your lawn and garden evenly watered throughout the year.
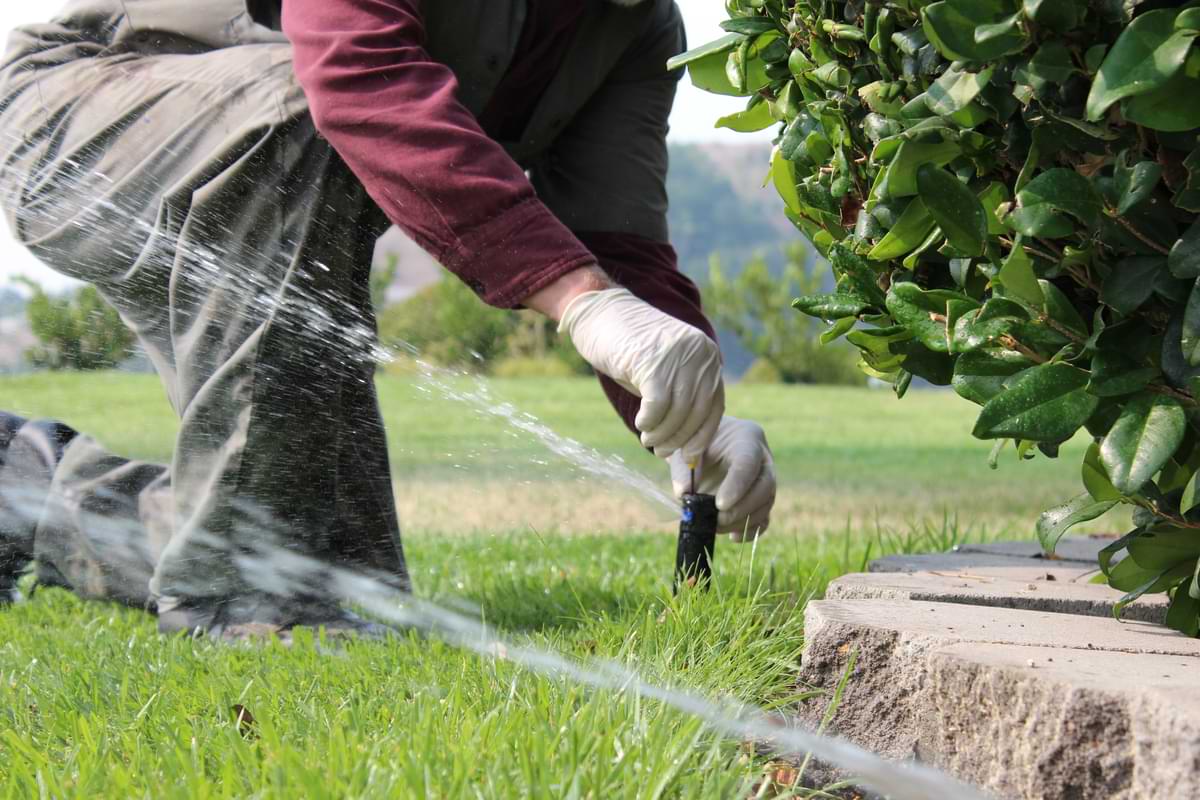
Work Through Your Sprinkler System from the Ground Up in 8 Steps
Imagine this: It’s the middle of summer, and your lawn is the envy of the neighborhood. The grass is a vibrant green, flowers in full bloom, everything perfect. Then, one morning, parts of your lawn are turning brown. Some sprinklers aren’t coming up, others make strange noises, and there’s a soggy, muddy patch near the garden. Your once pristine lawn is now a patchwork of problems. YIKES!
Your sprinkler system has been working hard all season, and now is the time to see how well it’s holding up.
Start by checking the system as a whole, then work your way through the heads, seasonal settings, valves, pipes, and other components to catch problems before they affect your lawn.
1: Start With a Sprinkler System Maintenance Checklist
A quick system check can reveal a lot about how your irrigation is performing. Start here, then use the steps below to work from the visible components toward the parts of the system that are easier to overlook.
Maintenance Check | How Often |
Sprinkler Heads & Nozzles | Monthly |
Leaks & Water Pressure | Monthly |
Controller Settings | Seasonally |
Valves & Pipes | Seasonally |
System Performance | Before & During Heavy-Use Periods |
Winterization | Before Freezing Temperatures |
Professional Inspection | Once a Year |
2: Inspect and Test Your Sprinkler System
You’re starting with the full system running, so this is where problems that are easy to miss while everything is off become obvious. Watch each zone from start to finish and pay attention to anything that looks, sounds, or feels different from normal.
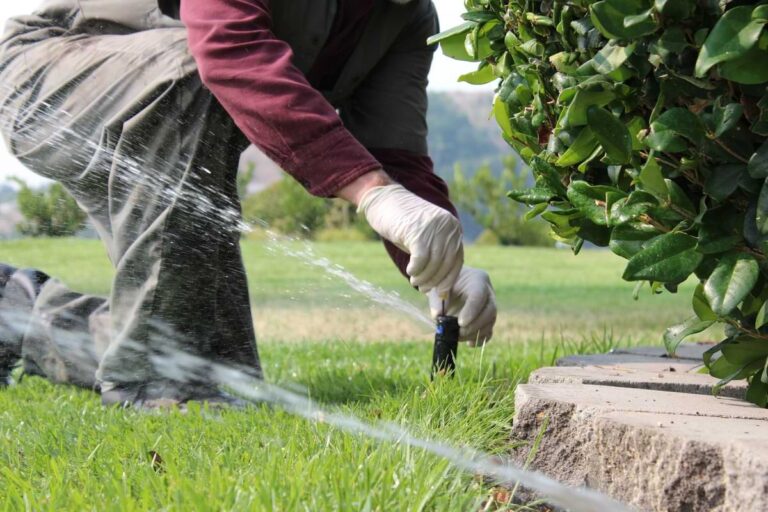
- Inspect Monthly: Check sprinkler heads for damage, debris, sinking, tilting, or misalignment at least once a month.
- Test Each Zone: Run each zone and confirm that every sprinkler head activates and sprays as expected.
- Watch for Leaks: Look for unusually wet areas, bubbling water, leaking heads, and water pooling around pipes or connections.
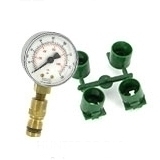
- Check Water Pressure: Use a pressure gauge to identify unusually low or high pressure that could affect coverage or damage components.
- Address Problems Early: Repair leaks, damaged connections, and other small problems before they waste water or affect the rest of the system.
3: Clean and Adjust Sprinkler Heads
Once you know the system is operating, move closer to the sprinkler heads and see where the water is actually landing. This is where small adjustments can make a noticeable difference in coverage and water efficiency.
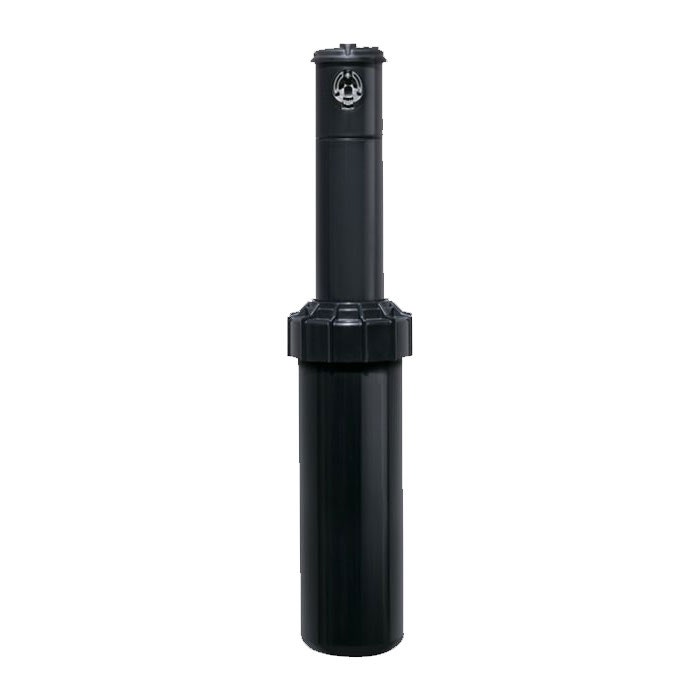
- Clean the Heads: Remove dirt, grass, and mineral buildup that can restrict water flow or distort the spray pattern.
- Clear the Nozzles: Rinse clogged nozzles and gently remove stubborn debris with a small brush or appropriate cleaning tool.
- Adjust the Spray: Realign heads and adjust their arc or radius so water reaches the intended landscape.
- Avoid Hard Surfaces: Keep spray off sidewalks, driveways, patios, and buildings to reduce water waste and puddling.
- Replace Damaged Heads: Install a compatible replacement when a sprinkler head is cracked, broken, or no longer performs correctly.
4: Adjust Your System for Seasonal Changes Year-Round
Your system is running properly, but its settings shouldn’t stay the same all year. As temperatures, rainfall, and plant needs change, adjust your watering schedule and prepare the system for the conditions each season brings, from summer to fall and back again.
Season | What To Look For | What To Do |
Spring | Winter damage, cracked components, leaks, clogged heads, and zones that aren’t operating properly. | Restore the water supply gradually, test each zone, clean and adjust sprinkler heads, and update the controller for the growing season. |
Summer | Dry spots, overspray, clogged nozzles, leaks, and signs that your lawn is receiving too much or too little water. | Monitor coverage and adjust watering based on heat, rainfall, and landscape conditions. |
Fall | Falling leaves and debris, declining water needs, leaks, and components that may need attention before winter. | Reduce watering, clear debris from the system, inspect components, and prepare for shutdown. |
Winter | Freezing temperatures and exposed pipes or components that could be damaged by ice. | Winterize the system in freezing climates by draining or blowing out irrigation lines as appropriate, and protect exposed components. |
5: Fine-Tune Your Controller and Timer
Your hardware may be working perfectly, but the wrong schedule can still leave your lawn overwatered or thirsty. Once the physical system checks out, turn your attention to the controller and make sure the schedule matches current conditions.
- Adjust Seasonally: Change watering frequency and duration based on weather, plant needs, and local watering requirements.
- Water Deeply: Favor appropriate, deeper watering intervals over unnecessarily frequent shallow watering when landscape conditions allow.
- Use Smart Controls: Consider a smart controller that can respond to weather and other environmental conditions.
- Check Vacation Settings: Confirm temporary schedules or manual settings won’t cause unnecessary watering while you’re away.
6: Check Valves And Pipes
Now that water is being distributed correctly, follow it backward through the system to the components that control and carry the flow. Valves and pipes can hide problems underground, so look for clues on the surface as well as visible signs of damage.
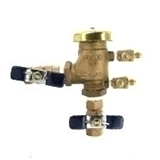
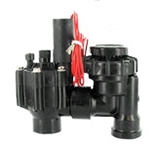
- Inspect Valves: Check accessible valves for leaks, cracks, corrosion, or other signs of wear.
- Clean Valve Filters: Remove accumulated debris that could restrict water flow.
- Inspect Pipes: Look for damaged sections, loose fittings, or unusually wet areas that could point to an underground leak.
- Repair Leaks: Replace damaged pipe sections or fittings rather than allowing a small leak to become a larger problem.
- Monitor Wet Spots: Persistent puddles or unusually lush areas can indicate water escaping from an underground line.
7: Troubleshoot Common Problems
At this stage, you should have a clearer idea of where your system is struggling, if it has a problem at all. Use the symptoms you observed during testing to narrow down the likely cause before replacing parts unnecessarily.
- Clogged Nozzles: Clean debris from nozzles when spray becomes weak, uneven, or distorted.
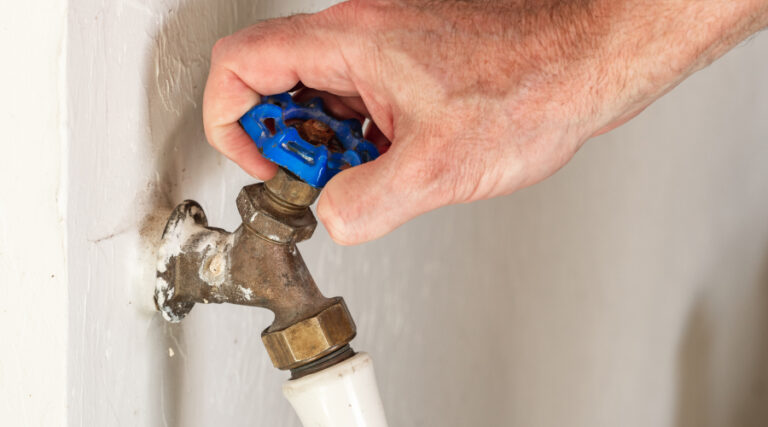
- Low Water Pressure: Check valves, inspect for leaks, and verify that the main water supply is fully open.
- Uneven Coverage: Realign sprinkler heads, adjust their arcs and radii, and make sure overlapping spray patterns provide consistent coverage.
- Electrical Problems: Check controller connections, valve wiring, and waterproof wire connectors when zones fail to activate.
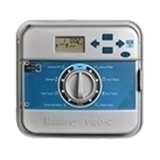
- Controller Problems: Verify that the controller has power and that its programming, clock, and zone settings are correct.
8: Know When to Call a Professional
You’ve worked through the routine maintenance, but not every irrigation problem is a good DIY project. If you’re dealing with persistent pressure problems, difficult-to-find underground leaks, extensive electrical issues, or other complex repairs, professional help can prevent further damage.
- Schedule Annual Service: A professional inspection at least once a year can identify problems that routine homeowner checks may miss.
- Diagnose Complex Issues: Professionals can troubleshoot pressure, electrical, valve, and underground piping problems more thoroughly.
- Optimize Performance: Professional service can include adjusting heads, improving coverage, and fine-tuning system operation.
- Prevent Future Repairs: Identifying worn or failing components early can help extend the life of your irrigation system.
- Check Local Requirements: A professional can also help ensure your system operates according to applicable watering regulations.
Keep Your Sprinkler System Ready to Work with Regular Maintenance
Good lawn sprinkler system maintenance isn’t about waiting for a major problem to appear.
By inspecting the system regularly, cleaning and adjusting sprinkler heads, maintaining valves and pipes, updating seasonal settings, and addressing issues early, you can reduce water waste and keep your landscape consistently watered.
A little attention throughout the year can also help your sprinkler system last longer and perform better when your lawn needs it most.
FAQs for Sprinkler System Maintenance
A sprinkler system needs regular inspections, cleaning, and adjustments to keep it working properly. Check sprinkler heads, nozzles, valves, pipes, water pressure, and controller settings, while also looking for leaks or uneven coverage.
Inspect your sprinkler system monthly and make seasonal adjustments as needed. A professional inspection at least once a year can also help identify hidden problems and keep the system operating efficiently.
Sprinkler systems generally should be flushed at least once a year, particularly before the main watering season. Flushing removes dirt and debris from pipes and components that can clog sprinkler heads and affect water flow.
If you want to stay up-to-date on the latest Sprinkler Warehouse news and make the most of all of our one-of-a-kind promotions, join the Irri-Gator community today. Happy watering, Irri-Gators!