Adjusting Sprinkler Heads, Made Easy
Lush green lawns and flourishing gardens don’t just happen by accident—they’re the result of careful irrigation and, often, a well-maintained sprinkler system. One aspect of irrigation maintenance that’s often overlooked by homeowners is knowing how to adjust sprinkler heads. A properly adjusted sprinkler head can be the difference between water waste and efficient, targeted watering.
In this comprehensive guide, we’ll walk you through everything you need to know about adjusting the sprinkler heads in your system. From the tools required to the step-by-step process of fine-tuning your sprinklers and sprinkler nozzles, we’ve got you covered.

Understanding the Role of Sprinkler Heads
Sprinkler heads are the workhorses of your irrigation system. Responsible for distributing water over specific areas, they come in a variety of types, each with a distinct spray pattern. Fixed spray heads offer a predetermined spray radius, while rotating or oscillating heads cover larger, often adjustable, areas. There are also specialty heads designed for flower beds, hanging baskets, and other targeted applications.
No matter their design, the goal of a sprinkler head is to provide even water distribution and to do so in a way that minimizes waste through evaporation, runoff, and overspray. Achieving this balance requires occasional adjustments to account for changes in your landscape, such as new plantings, alterations to your garden layout, or simply the settling of soil over time.
Why Sprinkler Heads Need Adjustment and Maintenance
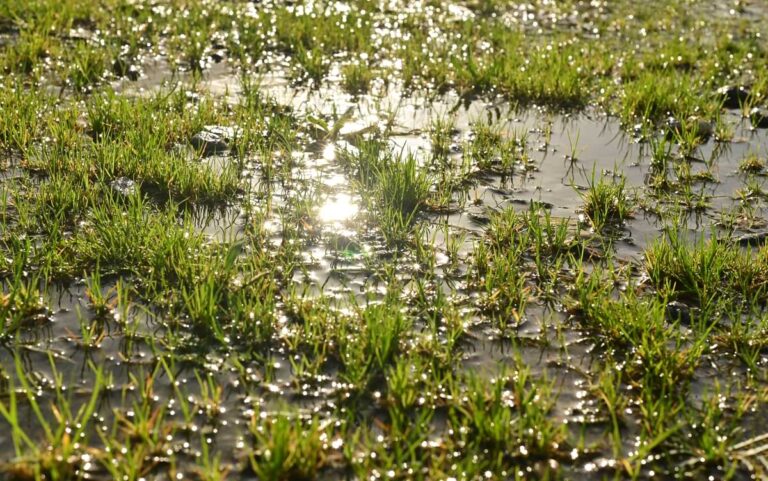
Over time, sprinkler heads can become misaligned due to a variety of factors. Landscaping changes, erosion, vehicle traffic, and even playful pets can all shift the position of a sprinkler head, affecting its performance. A misdirected sprinkler might water your sidewalk or driveway more effectively than your lawn, which is a waste of water and a surefire way to drive up your utility bill.
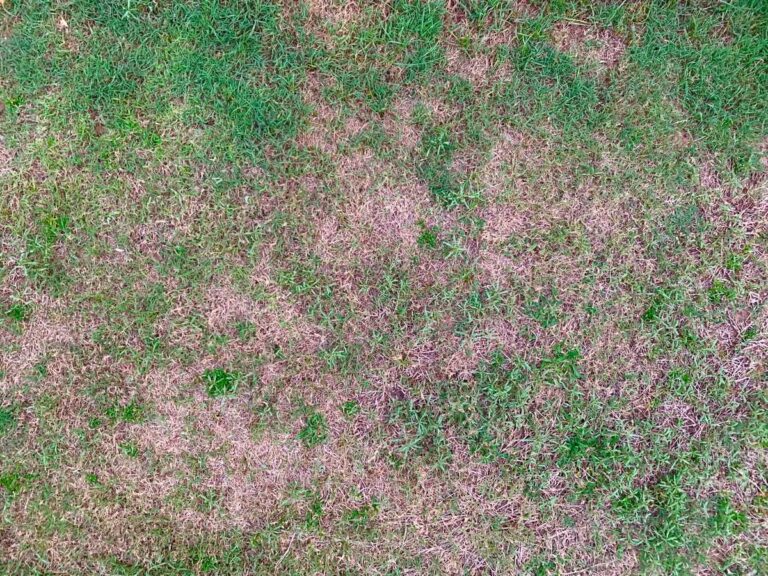
Irregular water coverage can lead to dry patches in your lawn, stressed plants, and an overall decline in the health and appearance of your outdoor space. Regular maintenance, including accurate alignment of your sprinkler heads, ensures optimal performance and water efficiency.
Essential Tools for Sprinkler Head Adjustment
Before you begin adjusting your sprinkler heads, you’ll need to gather a few key tools. Fortunately, you won’t need anything too specialized or expensive. Here’s what you should have on hand:
- Small, flat-head screwdriver: This will likely be your primary tool for adjusting most sprinkler heads. It’s used to change the trajectory of the spray for fixed heads and to set the pattern and distance for most types of sprinklers.
- Rotor tool: If you have rotor or gear-driven sprinklers, a specialized rotor tool will be necessary for adjusting tension and changing the rotation arc.
- Spray head pull-up tool: For pop-up spray heads, this tool makes it easier to lift and keep the head in the raised position for adjustment.
- Pliers: A pair of pliers can be useful for installing or removing sprinkler nozzles and for any repairs that may be needed.
Having these tools readily available will streamline the adjustment process and minimize the risk of damage to your sprinkler heads.
How to Adjust Sprinkler Heads in Your Sprinkler System
The process for adjusting sprinkler heads varies slightly depending on the type—fixed, rotary, or specialized. Here are the general steps for each:
Adjusting Fixed Sprinkler Heads
- Identify your coverage area and mark any existing areas of pooling or dry spots. These observations will guide your adjustments.
- For spring-loaded or “popping” heads, use the spray head pull-up tool to raise the head and lock it in place.
- Use a screwdriver to adjust the screw on top of the nozzle. Turning it clockwise will increase the spray distance, while turning counterclockwise will shorten the distance.
- Fine-tune the pattern by adjusting the nozzle in the desired direction. A typical nozzle design allows for spray to adjust from as little as 40° up to a full 360° circle.
- Run your sprinkler system through a cycle and observe the adjusted performance. Tweak further as necessary to achieve even water coverage.
Adjusting Rotary or Gear-Driven Sprinkler Heads
- Locate the radius and rotation adjustment slots on the top of the sprinkler head.
- Use a screwdriver to turn the radius adjustment screw. This will control how far the sprinkler sprays, typically in a clockwise motion for right and counterclockwise for left.
- Use the specialized rotor tool to adjust the arc by inserting it into the designated slot and turning it to move the entire sprinkler assembly.
- Again, run your system and observe the performance, making additional adjustments until satisfied with the coverage.
Adjusting Specialized Sprinkler Heads
For specialty applications, such as drip systems or targeted water shutoff head sprinklers, consult your manufacturer’s instructions. Settings will often include pressure regulations, water flow, and specific applications, all of which can be adjusted to ensure proper functionality for your landscape.
Common Mistakes to Avoid
Adjusting sprinkler heads can be straightforward, but there are some common mistakes to watch out for. These can include:
- Over-adjusting: Make slight changes at a time and observe the effects. Over-adjusting can lead to spraying where it’s not wanted or reduced sprinkler performance.
- Adjusting under pressure: Always shut off your irrigation system before attempting any adjustments. High water pressure can make the process difficult and potentially dangerous.
- Not accounting for the correct type of sprinkler: Each type of sprinkler head has different adjustment mechanisms. Use the proper tools and techniques to avoid breaking or damaging the head.
- Neglecting seasonal adjustments: Different seasons and plant life stages require different amounts of water. Regularly assessing and adjusting your sprinklers throughout the year ensures your system remains efficient and promotes plant health.
The Financial Benefits of Sprinkler Adjustment
Properly aligned and adjusted sprinkler heads contribute to several positive outcomes. By reducing water waste, you’ll see a noticeable difference in your water bill, especially during dry seasons when watering is continual. Additionally, by ensuring a more effective water distribution, you’ll support the overall health and resilience of your lawn and garden, aiding in sustainability efforts and maintaining a lush and vibrant outdoor space.
Adjusting your sprinkler heads is also a responsible action for the environment. By using only the water you need, you can help conserve water resources and minimize the impact on your local ecosystem.
The More You Know, The More You Grow
Adjusting the sprinkler heads in your system is a skill that every homeowner with a sprinkler system should learn. Not only does it save you money and enhance the beauty of your outdoor space, but it also contributes to a more sustainable way of living. With the knowledge and practical tips provided in this guide, you’re well on your way to ensuring your sprinklers are as efficient and effective as possible.
Remember to approach the task with patience and a willingness to troubleshoot. And if at any point you feel unsure, don’t hesitate to consult with a professional. Your garden and wallet will thank you for the effort put into mastering this essential element of irrigation maintenance.
For more tips and tricks on sprinkler heads, maintaining sprinkler heads, or anything relating to your sprinkler system, don’t hesitate to reach out to one of our highly trained, in-house Customer Service representatives. Happy watering, Irri-Gators!