Installing PVC Pipes
If you’ve never joined PVC pipes together before, it’s very straightforward. You’ll need PVC primer, PVC cement, pipe cutters, and of course the PVC pipe. This article covers how to connect PVC pipes in which one end is flared.
The way you handle PVC pipe can make installing pipe lot easier or a lot tougher. For instance, try not to drop or knock PVC pipe together, this could break the pipes or worse it can put a crack in the pipe you might not detect until it burst. Keep the inside of the pipes free from dirt. The first step in pipe installation is to have your trenches dug. This can be a labor intensive job and people usually opt to have this professionally done. However, if you are determined to “do it yourself” you can rent trenching equipment or opt to use a shovel. The main goal is to keep your trench as smooth and flat as possible.
1. Make Your Cut
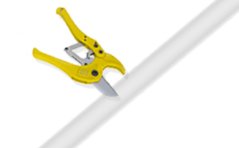
Cut pipe using PVC ratcheting pipe cutters or a hacksaw. Beware a hacksaw can leave debris inside the pipes which can later cause clogging in your system after installation.
2. Keep It Clean
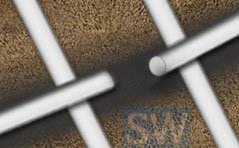
Make sure to keep the inside of the pipe and the ends clean. Keeping them propped on spare PVC pipe will keep them of the ground and less likely to get dirty.
3. Apply Primer
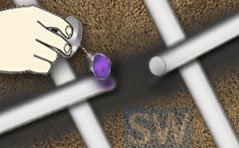
Apply the PVC primer inside the flared end of the pipe extending to the shoulder. Allow the primer to dry.
4. Apply Glue
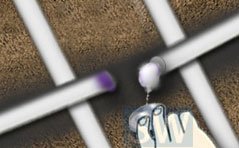
Next you will apply the PVC solvent cement once the primer is dry. Using the applicator brush apply the cement to the pipe; apply it lightly to the flared end. The cement sets in seconds so you have to move quickly.
5. Connect
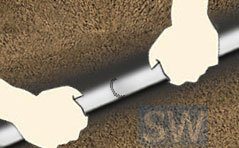
Connect the pipe ends together by inserting the one that’s not flared into the flared end of the other pipe. Secure your connection by turning the pipes a quarter and hold the pipes still. Remove excess glue with a damp rag. Wait at least 6 hours before you run water through the pipes and it is a good idea to wait longer in cold or wet climates.
While the trenches are open install the wiring for the valves this prevents you from having to reopen the trenches. A good place to put the wiring is next to or under the pipe; this keeps the wire out of harm’s way. If you are using a multi-strand wire it’s a good idea to tape them together every so often. You can also choose to place the wires into a sleeve this is typically done in areas that have burrowing rodents.


