



In this video, we’re going to discuss a few of the features of the K-Rain ProPlus Adjustable Rotor and show you how to change out a nozzle and make some adjustments. I’m Dwayne Smith. Your Sprinkler Warehouse Product Specialist. Let’s get started.
Benefits of the 11003 ProPlus Rotor for Your Lawn
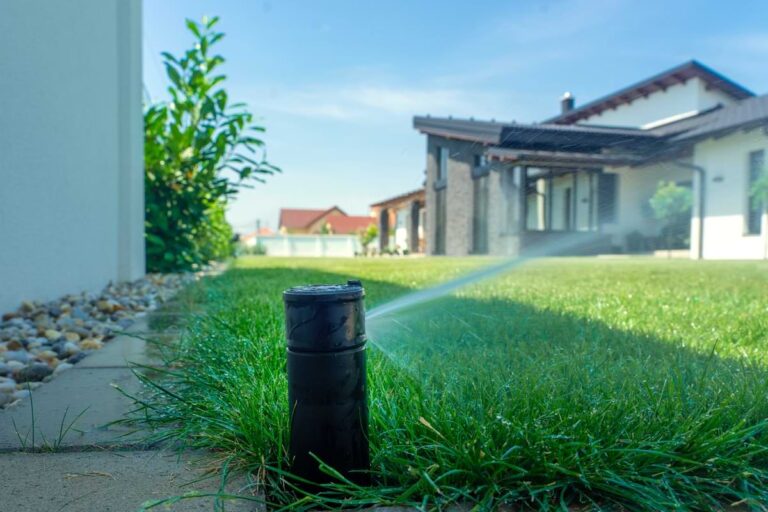
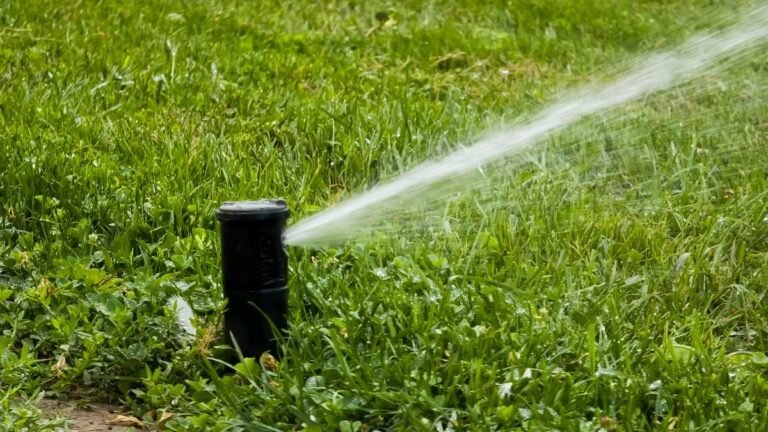
This is the K-Rain 11 Thousand and three ProPlus Rotor. This rotor has a popup height of five inches and it has a three-quarter-inch inlet. The ProPlus is both an adjustable pattern rotor and a continuous 360-degree rotor in one. You can set the pattern anywhere from 40 degrees to 360 degrees.
When you set it to 360 degrees it goes around in a continuous circle. The way you set the pattern on this is incredibly cool. Using this key. Or a flathead screwdriver. Point this arrow here to the pattern width that you need. Completely straightforward with no guessing. The SuperPro has an Arc Memory Clutch. Which prevents internal gear damage and returns the rotor to its prior setting automatically if the nozzle turret is forced out of adjustment.
It has a watering distance of 22 to 50 feet depending on which nozzle is installed. And how the adjustment screw is set. This rotor comes with this set of nozzles. Let’s talk about the various adjustments. This is the Nozzle Retention Screw. It holds the nozzle in place and you also use it to set your watering distance. This is the keyhole; it’s what you use to pull up the riser.
Adjustable Arc For Maximum Watering
This is the Arc Set Adjustment Slot. That affects the pattern. Let’s go out in the field and make some adjustments To change out a nozzle… First use a rotor key or tool to pull up the riser on the rotor, by inserting the key or a rotor tool in the keyhole turning one-quarter turn, and pulling up. I’m using a hold-up collar to hold the rotor up while I work on it. You can hold it up with your hand if you don’t have a collar. Now back out the Nozzle Retention Screw. You want it out of the way of the nozzle. But don’t back it out completely or you may be looking for a tiny little screw in the grass.
Pull out the nozzle using a pair of needle-nose pliers. Insert the new nozzle with the tab toward the top. The nozzle goes in at a downward angle. Screw back down the nozzle retention screw. You want the tip of the screw far enough down to break up the stream of water.
Let the rotor riser back down. Now that we’ve started the water. I’m going to adjust the watering distance with the rotor tool by turning the nozzle retention screw. You want the water from this rotor to reach the next rotor head over. That’s called head-to-head coverage. Now I’m going to change the arc of the rotor from 90 degrees to 180.
To set the left start position grab the entire riser assembly and turn. You’ll hear a ratcheting sound. And that is okay. You’re not hurting the rotor. And here’s how not to change the left starting position. The Arc Memory Clutch prevents gear damage should the top part of the riser assembly get turned past the stop point. The arc setting will return to its setting in this case.
Learn More At Sprinkler Warehouse
Remember Sprinkler Warehouse has everything for your irrigation needs. So, your trees lawn flowerbeds, and gardens are lush and beautiful. And if you have any questions about our products. Chat with one of our superb customer service agents on SprinklerWarehouse.com. They really know their stuff, and they will get you squared away. Subscribe to our YouTube channel for helpful tips tutorials and general sprinkler instruction. I’m Dwayne Smith for Sprinkler Warehouse, America’s Most Shopped Sprinkler Store.