Click Here To Shop All K-Rain Rotors
This is the K-Rain RPS-75 Adjustable Arc Rotor designed for residential and light commercial applications.
K-Rain RPS-75 Features & Benefits
In this video, I’m going to discuss its features, show you how to change out a nozzle, and make some adjustments. I’m Dwayne Smith, your Sprinkler Warehouse Product Specialist. Let’s get started.
The K-Rain RPS-75 Has An Adjustable Arc From 40 to 360 Degrees
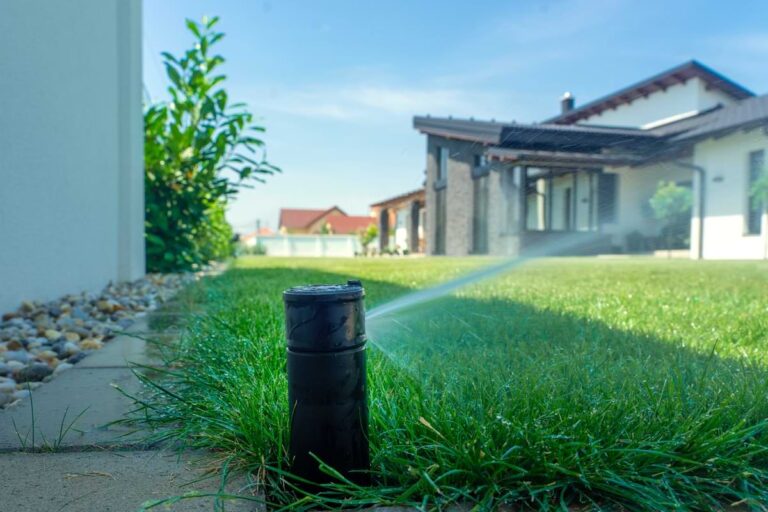
This is the K-Rain RPS-75 Adjustable Arc Rotor. It is reliable. It’s known for its durable design. And it’s the foundation of K-Rain’s RPS Rotor line. It is built to perform trouble-free for years. The RPS-75 has a pop-up height of 4 inches. And it has a three-quarter-inch inlet. You can set the pattern anywhere from 40 degrees to 360 degrees. It has a watering distance of 22 to 51 feet depending on the nozzle installed and how the adjustment screw is set. It also comes with a wide selection of standard and low angle nozzles, that provide even water distribution across your landscape. Let’s talk about the various adjustments. You’ll use a rotor key like this one to make the adjustment.
The Radius Adjustment Slot Is Found At The Top Of The Rotor
Looking at the top of the rotor. This is the radius adjustment slot. Use the metal part of the key here to adjust the watering distance. This is the keyhole; Use the plastic part of the key to pull up the riser. This is the arc Adjustment Slot. Use the plastic part of the key to change the pattern also called the arc. Let’s look at those adjustments in action. So first we’ll change out a nozzle. To start, Insert the plastic end of the K-Rain tool into the lifting socket. Twist and pull it up. I’m using a holdup collar. But you can just hold the riser up with your hand if you don’t have one. Next back out the radius screw. Insert the metal end of the tool into the raised rubber cap at the front of the rotor to back out the screw. Pull out the nozzle with a pair of needle-nose pliers. Insert the new nozzle at a slightly downward angle and push it into the rotor with your finger. The little guides that accept the radius adjustment screw need to go toward the top. Screw the radius adjustment screw back down. Get it down just far enough that it barely touches the hole in the center of the nozzle. And let the riser back down. Now with the water on, Use the radius adjustment screw to adjust your watering distance. The spray from this rotor should reach the next rotor over. Even if you do want the maximum distance from the rotor still have the screw far enough down to diffuse the stream. You can turn the top back and forth to see how the pattern is set. To change the pattern, also called the arc, insert the plastic end of the rotor tool into the Arc adjustment slot and turn it clockwise to increase, or counterclockwise to decrease the size of your arc. And that is the K-Rain RPS-75 Rotor. Order your RPS-75s on Sprinkler Warehouse today.
Sprinkler Warehouse Is Your Source For K-Rain Rotors
Remember Sprinkler Warehouse has everything for your irrigation needs. So, your trees lawn flowerbeds, and gardens are lush and beautiful. And if you have any questions about our products. Chat with one of our superb customer service agents on SprinklerWarehouse.com. They really know their stuff, and they will get you squared away. Subscribe to our YouTube channel for helpful more K-Rain Rotor and sprinkler system tutorials. I’m Dwayne Smith for Sprinkler Warehouse, America’s Most Shopped Sprinkler Store.