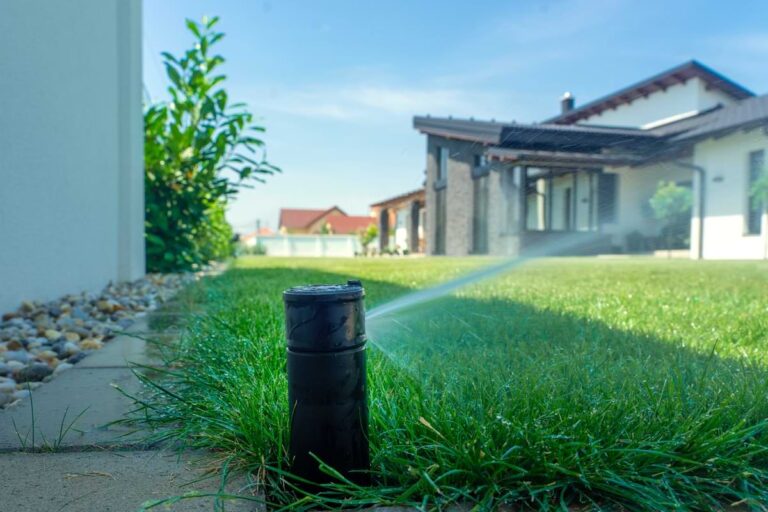
The HRX-075 is Hydro-Rain’s top-performing rotary sprinkler with an easy-to-match precipitation nozzle system. Dwayne Smith, your Sprinkler Warehouse Pro discusses a few of the HRX-075’s features and shows you how to change out a nozzle and make some adjustments. The HRX-075 rotary nozzle is available from SprinklerWarehouse.com, sku#: HRX-075.
Changing Out An HRX-075 Nozzle
We’re going to discuss a few of the features and show you how to change out a nozzle and make some adjustments. I’m Dwayne Smith, your Sprinkler Warehouse Product Specialist. Let’s get started.
Click Here To Browse All Hydro-Rain Irrigation Products
Adjustable Arc From 40 To 360 Degrees
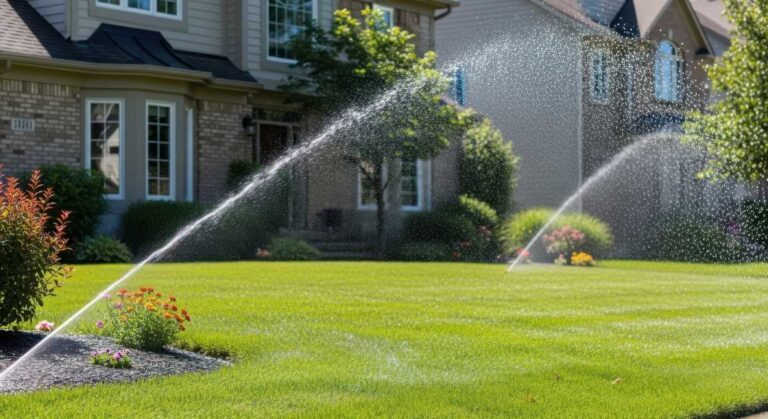
The HRX-075 by Hydro-Rain is an adjustable arc rotor that’s perfect for lawn or garden areas. Its arc can be adjusted anywhere from 40 to 360.
The popup height on this rotor is four inches and it has a three quarter inch inlet. It has a watering distance of 22 to 52 feet depending on the nozzle installed and how the adjustment screw is set.
What Is The Matched Precipitation Nozzle System?
The HRX-075 comes with this set of nozzles. One of the things that HydroRain has done to make nozzle selection easier is they’ve created what they call the “Easy-to-Match Precipitation Nozzle System”.
What if you have a rotor going a full 360 degrees, another rotor going 180 degrees, and another rotor going 90 degrees and they’re all on the same zone. They all have the same nozzle installed.
The 180-degree rotor will water the same patch of grass twice for each time the 360-degree rotor goes around one time. So that patch of grass that is covered by the 180-degree rotor gets twice as much water as the patch watered by the 360-degree rotor.
The rotor that goes 90 degrees will water the same patch of lawn 4 times for each and every time the 360-degree rotor goes around once, netting it 4 times as much water.
So Hydro-Rain has created an easy way to handle that issue. To achieve matched precipitation use Nozzle number 1 for a 90-degree pattern, number 2 for a 180-degree pattern, number 3 for a 270-degree pattern, and number 4 for the 360-degree pattern.
Adjustments You Can Make On The HRX-075 Rotor
Looking at the top of the rotor, find the radius adjustment slot. That’s where you set your watering distance.
Find the pull-up slot. This is the arc adjustment slot that affects the pattern.
Let’s go look at one that’s already been installed.
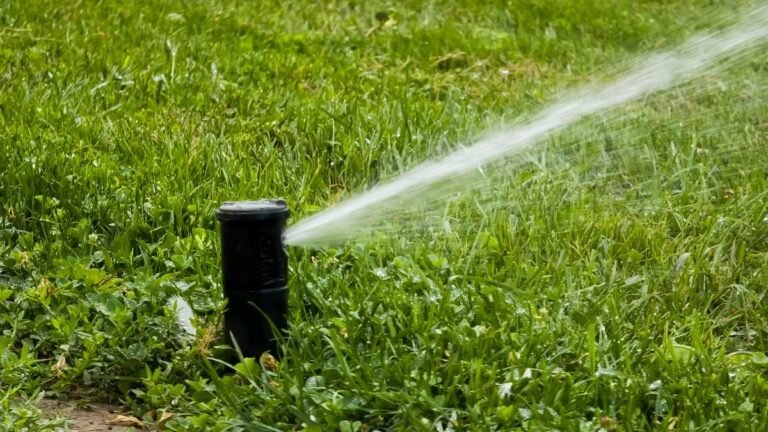
How To Change A Sprinkler Nozzle On The Hydro-Rain HRX-075
- Insert the plastic end of the rotor tool into the lifting socket, then turn and pull up. I’m using a holdup collar to hold the riser up while I work, but if you don’t have one, you can hold it up with your hand.
- Back out the radius adjustment screw and pry out the nozzle with a small flathead screwdriver.
- Insert the new nozzle with the divot that accepts the radius adjustment screw toward the top. It will go in at a slight downward angle
- Screw back down the radius adjustment screw to hold the nozzle in place. Don’t tighten it all the way. We’ll use it to make adjustments in just a bit.
- Now with the water going, use the radius adjustment screw to set your watering distance. You want the spray from this rotor to reach the next rotor over.
- You can turn the turret back and forth to see how the arc is set.
- To adjust the arc, use the plastic end of the rotor tool in the arc adjustment slot. Turn clockwise to increase the arc and counterclockwise to decrease.
And that is how to adjust the HRX-075 by Hydro-Rain. Pick up some today on SprinklerWarehouse.com.
If you found this rotor adjustment guide helpful, check out our YouTube channel with over 100 other videos on sprinkler system installation, repairs, and design.