How to Adjust Rain Bird Sprinkler Heads
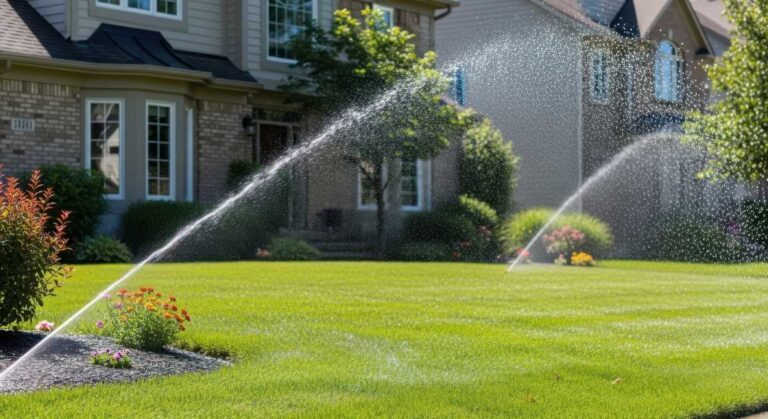
Properly adjusted sprinklers are key to maintaining a healthy, vibrant lawn while conserving water. Rain Bird sprinklers in particular are designed to be easily adjusted for optimal coverage, but familiarizing yourself with the process can save you time and frustration. Your rotors should be delivering head-to-head coverage while minimizing the amount of water hitting sidewalks, streets, or other hard surfaces.
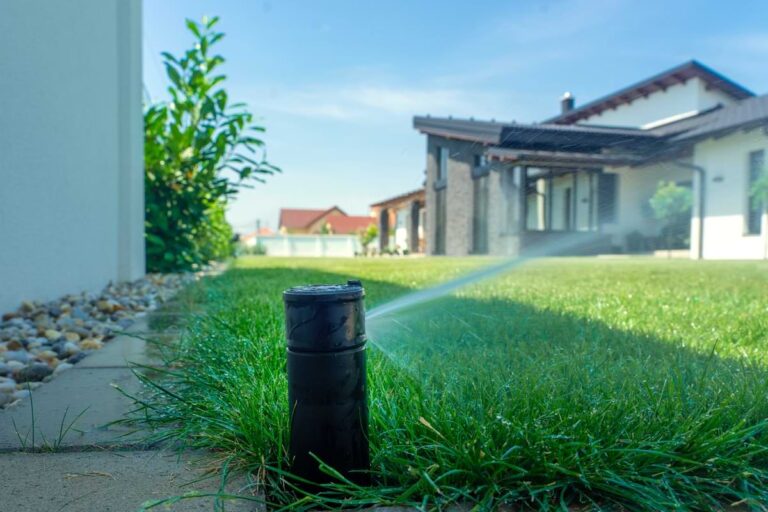
Identify Your Rain Bird Head
Before making any adjustments, it’s important to know which type of Rain Bird sprinkler head you have, as different heads have slightly different adjustment processes. The two most common types are rotor heads and spray heads.
Rotor heads rotate as they water, covering larger areas with a steady stream. They often feature an adjustable nozzle on top with markings or screws for setting the arc and spray distance. Spray heads, on the other hand, deliver water in a fixed pattern over smaller areas, usually 2 to 15 feet. Spray heads often have a screw on top or an adjustable nozzle that allows you to change the spray direction and distance.
By identifying your sprinkler type and noting these features, you can ensure that you’re making the right adjustments.
Tools & Equipment
One of the great things about adjusting Rain Bird sprinklers is that you don’t need a lot of specialized tools. For most adjustments, the process relies more on knowing the right controls than on equipment. With a Rain Bird adjustment key or a flathead screwdriver, you should be just about set. These are used to turn screws or dials that control spray direction, arc, and distance. Some rotors may come with a small wrench for fine-tuning the radius, but this is usually optional.
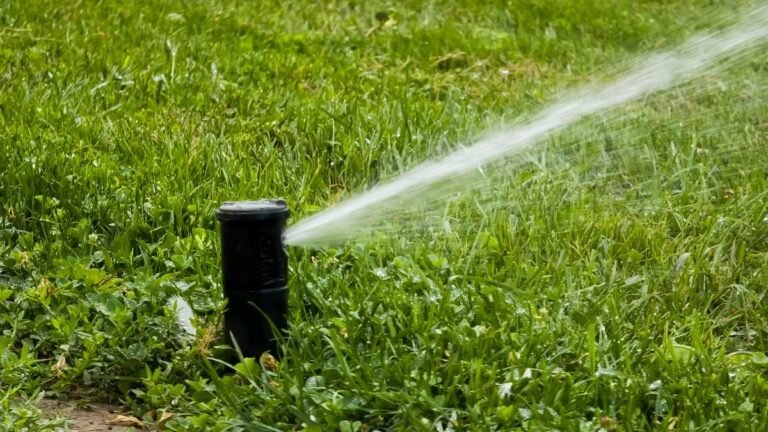
How to Adjust Rain Bird Rotor Sprinklers
Properly adjusting a Rain Bird Rotor Sprinkler ensures even coverage, prevents overspray, and helps conserve water. Rain Bird 5000 Series rotors are well-regarded for their efficient watering and ease of use. However, they’re virtually useless without adjusting their arc or spray radius. Use this on-the-fly guide to ensure your lawn is being watered properly. Grab your rotor adjustment tool and let’s get your rotors going. Rain Bird rotors typically allow you to control the fixed left edge, the arc and pattern, and the spray distance.
Setting the Fixed Left Edge
The fixed left edge determines where the water starts in a full rotation.
- Locate the adjustment screw or dial, usually on top of the rotor.
- Turn the screw clockwise to move the left edge clockwise, or counterclockwise to move it counterclockwise.
- Stop when the stream begins at the desired starting point.

Adjusting the Arc and Pattern
The arc controls how far the sprinkler rotates, from a partial circle to a full 360°.
- While holding the nozzle turret at the fixed left stop, insert the adjustment tool or screwdriver into the adjustment socket.
- Adjust the arc with a screwdriver or adjustment tool. Turn the screwdriver clockwise (+) to INCREASE arc or counterclockwise (-) to DECREASE arc.
- In general, each full clockwise turn of the screwdriver will add or remove 90° of arc.
- When the maximum or minimum arc has been set, you will hear a ratcheting noise. Do not adjust the rotor beyond the maximum or minimum arc.

Adjusting the Spray Distance
The spray distance controls how far the water reaches from the head.
- Insert your adjustment tool or screwdriver into the radius adjustment socket of the rotor.
- Turn the tool or screwdriver clockwise to reduce the radius, and counterclockwise to increase the radius.

How to Adjust Rain Bird Spray Heads
Adjusting your Rain Bird spray heads correctly ensures even coverage without wasting water or spraying onto walkways or driveways. Most adjustments involve controlling the spray direction and spray distance.
Adjust Spray Direction
- Locate the adjustment screw or nozzle on top of the spray head.
- Using a Rain Bird adjustment key or flathead screwdriver, gently turn the screw to rotate the spray pattern left or right.
Adjust Spray Distance
- Identify the radius adjustment screw, usually at the top of the nozzle.
- Turn the screw clockwise to decrease the spray distance or counterclockwise to increase it.
Testing and Fine-Tuning
After adjusting your Rain Bird sprinklers, it’s important to test the system to ensure even coverage. Start by running each zone for a short cycle and observing how the water is distributed. Keep an eye out for areas that are too dry, overspray onto walkways or driveways, or pooling around sprinkler heads. Sprinklers can be bumped or kicked, so your settings may eventually change unexpectedly. Luckily, regular testing and fine-tuning will help prevent water waste. We suggest checking your sprinklers seasonally to ensure that everything is in order.
Shop for Rain Bird Sprinklers
If you’re in the market for any kind of Rain Bird sprinkler, you can always get a great deal at Sprinkler Warehouse. On SprinklerWarehouse.com, you’ll find all kinds of gear from Rain Bird, including rotors, spray nozzles, valves, and so much more. We have hundreds of Rain Bird items on our website, so you shouldn’t have any problem building a full Rain Bird irrigation system with what you find.
Properly adjusted Rain Bird sprinklers make a noticeable difference in lawn health. By making precise adjustments and regularly testing your system, you can ensure even coverage while minimizing waste.
FAQs for How to Adjust a Rain Bird Sprinkler Head
How do I adjust the spray distance of my Rain Bird 5000?
To adjust the spray distance, locate the radius adjustment screw at the top of the rotor head (often marked with a “+” and “-“). Using the Rain Bird adjustment tool, turn the screw clockwise to reduce the spray distance and counterclockwise to increase the spray distance. Be cautious not to overtighten, as this can damage the rotor.
How do I set the left start position of a Rain Bird rotor?
The left start position is preset and cannot be changed. For adjustments, rotate the entire sprinkler body by gripping and turning the housing to align the left start position to your desired area. Afterward, ensure the sprinkler is securely rethreaded into the riser or fitting after adjustment.
My Rain Bird sprinkler head isn't rotating correctly. What should I do?
If your Rain Bird rotor head isn’t rotating appropriately, first inspect for debris by removing the head and cleaning it thoroughly. If that doesn’t work, check if your system has sufficient water pressure. Lastly, it couldn’t hurt to check for damage. Look for cracks or worn-out components. If it looks damaged or worse for the wear, it’s time to replace the rotor.
Why is my Rain Bird sprinkler head leaking water?
Leaking can happen for a couple of reasons. First, check for debris inside the unit that could be blocking the flow then clean or unclog the rotor if necessary. If the problem persists, the seal around the stem may be worn out and require a replacement Rain Bird rotor.
Can I adjust sprinklers while the system is running?
Yes, most sprinkler adjustments can be made while the system is running, especially for spray direction and rotor arc. Most experienced irrigators actually prefer this method, as it allows you to see coverage in real time. However, take care to avoid getting sprayed, and make small, gradual adjustments to prevent damaging the sprinkler head.
My Rain Bird sprinkler head isn't rotating correctly. What should I do?
If your Rain Bird sprinkler head isn’t rotating properly, first check for debris or dirt in the nozzle and clean it if necessary. Next, verify that your water pressure is within the recommended range for that model. Also, make sure to inspect the sprinkler for damage or worn internal parts. After cleaning and adjustments, test the head again. If it still doesn’t rotate, consider replacing the nozzle or the entire sprinkler head.
Why is my Rain Bird sprinkler head leaking water?
A leaking Rain Bird sprinkler head is usually caused by a damaged part or debris preventing the head from fully retracting. Low-quality or old sprinkler heads may also develop leaks over time. Just try to check for clogs and inspect the nozzle and riser for cracks, replacing any damaged parts as you notice them. Properly installing and maintaining the system can prevent future leaks, so don’t hesitate to call a professional for help.
Adjusting a Rain Bird rotor head is simple and ensures efficient water usage and proper lawn care. With these straightforward steps, you can fine-tune your sprinkler system in no time. Happy watering, Irri-Gators!