The I-25 is a commercial-grade rotor from Hunter. We’re going to discuss a few of the features of this rotor. We’ll also change out a nozzle and make some adjustments. I’m your Sprinkler Warehouse product specialist, let’s get started
Features Of Hunter I25-SS Series Nozzles
The I25-04 is a commercial-grade rotor with a 4-inch pop-up height and a 1-inch inlet. It has a watering distance of 37 to 71 feet. If you’re used to working with residential rotors, you’ll recognize that this is a significant step up from residential watering distances.
The distance you get out of the rotor depends on which nozzle you’ve installed and how the adjustment screw is set. This rotor has a flow rate of between three-point 8GPM (gallons per minute) all the way to 31.5GPM. Once again that’s a significant step up from standard residential rotors.
It has a non-strippable drive which means if someone turns the turret it will not mess up the gears. That means a longer-lasting resilient rotor. The I25 also has an Automatic Arc return. If the rotor is turned past its arc setting, the rotor will return to its arc setting. This prevents wasting water and prevents having to reset the pattern. The I25s also conveniently have both part and full circle arc patterns in one rotor.
Adjustable Arc And Check Valve
That is when you adjust the rotor to turn 360 degrees it will do so in a continuous non-reversing pattern. This means more event water coverage. The arc is adjustable from 50 to 360 degrees. The I-25 series come with a check valve standard. Check valves to prevent low head drainage. That is when a zone of your irrigation system has a slope…a check valve will prevent water from draining from your system through the lowest sprinkler head once the zone shuts off. So, this helps to prevent water wastage, pooling, and erosion. The check valve on an I-25 rotor works with up to 10 feet of elevation difference. This rotor comes with this set of nozzles. There are additional nozzle choices for this rotor also available.
Let’s talk about the various adjustments. Looking at the top of the rotor. This is where you set your Range Adjustment Screw. This screw also holds the nozzle in place.
Use a hunter rotor tool like this one. This is the lifting socket. Use the plastic end of the Hunter Rotor tool for that. This is the arc Adjustment Socket. Once again use the plastic end of the rotor tool for that. Let’s head outside and make some adjustments
How To Change The Nozzle Of I25 Rotor
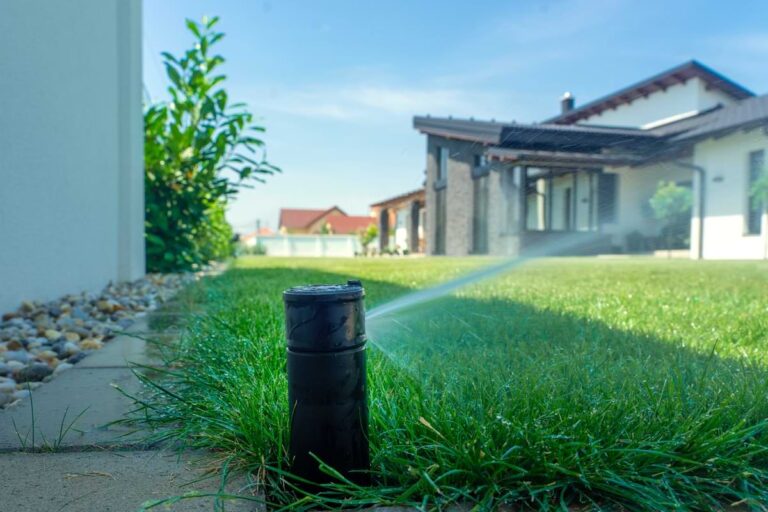
Here we have an installed I25 rotor. We’ll begin by changing out a nozzle. Insert the plastic end of the hunter rotor tool into the lifting socket. Turn and pull up. You can hold the rotor up with your hand, but if you have a nozzle insertion collar it makes changing out a nozzle much easier. Back out the range adjustment screw using the metal end of the rotor tool.
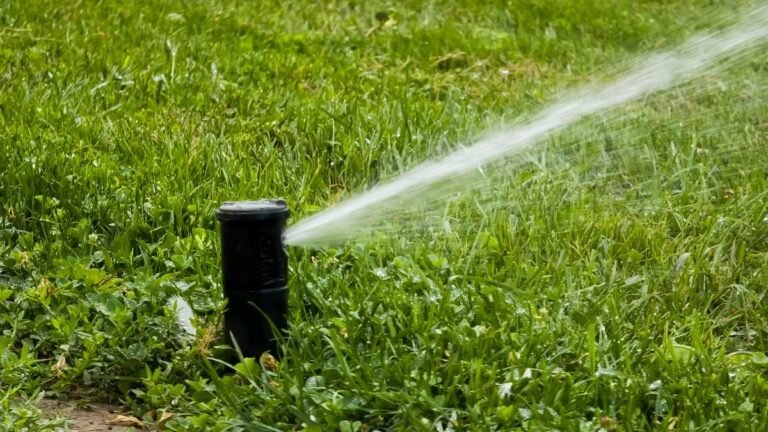
Pull out the nozzle using a pair of needle-nose pliers. Insert the new nozzle. It goes at a slightly downward angle. Screw back down the range adjustment screw. Notice how straight the stream of water is. It needs to be diffused a bit for more even coverage. So, we’ll thread down the screw a little further. That’s much better. Use that same range adjustment screw to decrease the range as necessary.
Water from this rotor should reach the next rotor over. You can check the pattern also known as the arc, by turning the turret back and forth. Use the plastic end of the rotor tool in the arc adjustment slot to set the pattern. Clockwise increases the pattern, counterclockwise decreases the pattern.
The I25 is a reliable efficient rotor that will do you a great job on your next commercial project. There are other versions of the I25 available as well including 6 Inch versions. And versions with stainless steel risers. Pick up some today on Sprinkler Warehouse.com.