The Different Parts Of A Sprinkler System
This article explains the anatomy of a sprinkler system. Below is a list of different parts that make up the anatomy of a sprinkler system. Shop the item by clicking on it.
Basic Parts Of An Automatic Sprinkler System.
Main Water Source
The anatomy of a sprinkler system starts with the water source. For instance, the water source will either be from a pump, a well, or the local water utility. Water is supplied to your mainline. It then branches off to your business, residence, or irrigation system.
Backflow Preventer
The PVC pipe will carry your water to a backflow preventer. The purpose of a backflow preventer is to keep any contaminated water, which resides in the sprinkler system, from flowing back into your drinking water. For more information about the importance of a backflow preventer, please visit the Backflow Preventer Overview. In addition, the backflow is usually where you shut off the water to your irrigation system. In conclusion, the water flows from the backflow through your pipes to the valves.
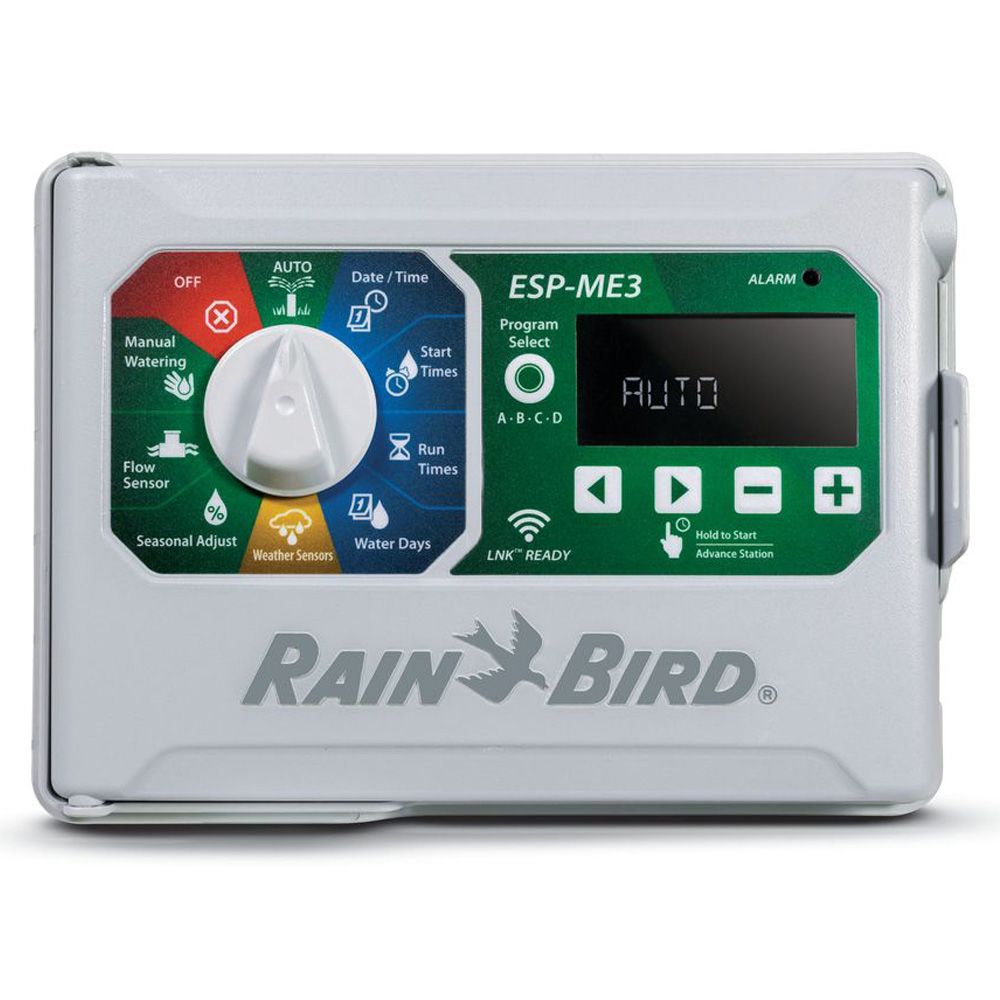
The image below shows the Rain Bird ESP-ME3 Controller. This is a 4 station controller which can be placed indoors or outdoor and can connect to WIFI. If you connect it to WIFI, then you can access the Rain Bird App to operate and monitor your sprinkler system.
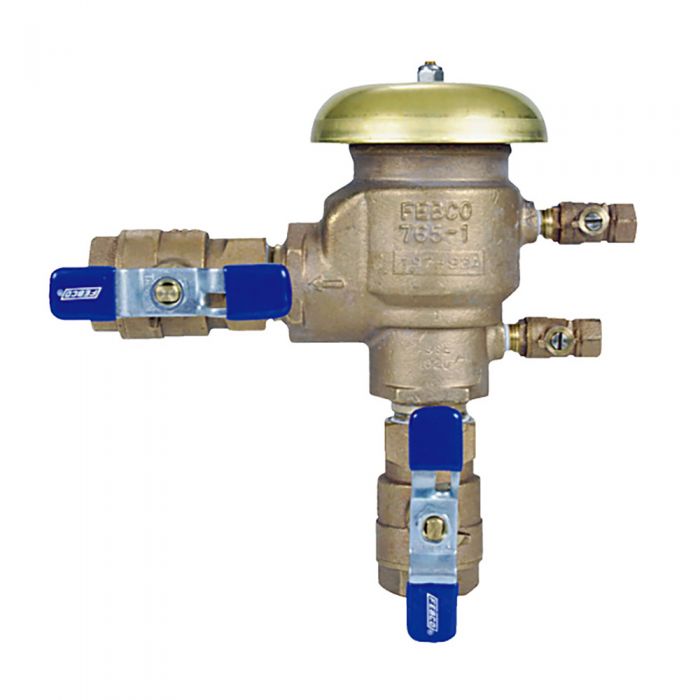
The image below shows the Febco 765 PVB backflow preventer. This is one of the most popular backflow preventers on the market.
Shop For The Febco 765 PVB Here
Controller, Also Known As Timer
The controller, also called a timer, is the brain of the sprinkler system. It tells the valves when to open or close. Similarly, each valve controls a group of sprinklers. These groups are called zones or stations.
When the timer reaches a start time, it sends a signal, telling the valve to open. The valve opens releasing the flow of water into a zone. Water flows through the pipes to the sprinkler head. Moreover, the water pressure activates the sprinkler heads in the zone and they begin watering.
When the end of the runtime is reached, the timer sends a signal to tell the valve to close. Once the water stops entering the pipe in the zones, water pressure inside the zone decreases, and the sprinkler head disengage.
After that, the process repeats for each zone in the system.
Shop For The Rain Bird ESP-ME3 Irrigation Controller Here
Pipe And Tubing:
You’ll use PVC pipe anywhere inline before the valve. That means from your water meter, to where you branch off to your irrigation system, to your backflow, to your valves.
After the valve, you may use either PVC, Poly, or Blu-Lock pipe.
We recommend you take a look at Blu-Lock piping by Hydro-Rain.
Blu-Lock pipe and blu-lock fittings provide a “Push-and-Go” Design that is 100% tool and chemical-free. This can cut installation time in half.
Please note that it should only be used after the valve.
Blu-Lock is designed for non-constant pressure (after the sprinkler valve) out outdoor irrigation connections only. Working in a sprinkler trench is tough enough- don’t make it harder by using traditional pipe fitting methods that require hot, toxic glue, clamps, or frustrating barbed fittings. Hydro-Rain offers a better way: Blu-Lock push-n-go lateral sprinkler pipe fittings for HDPE and swing pipe.
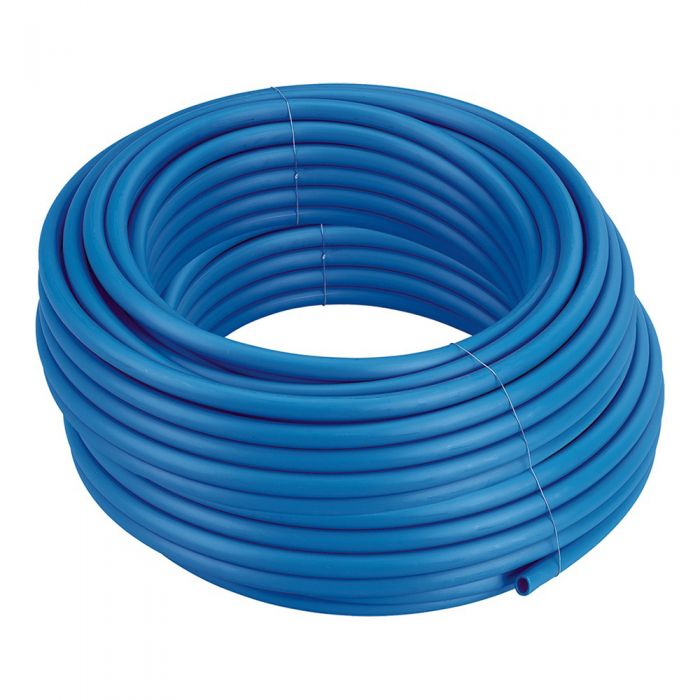
The image below shows a 300 ft. coil of Hydro Rain Blu-Lock tubing. Blu Lock tubing is popular because it makes adding fittings, saddles, and heads a snap.
The Various Sprinkler Types
Popups vs Shrub Sticks:
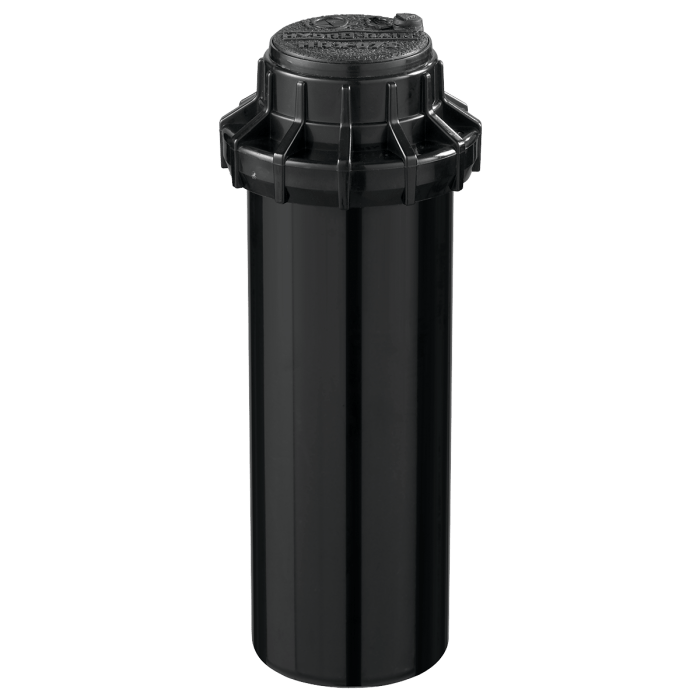
- Popups hide underneath the ground until the zone is activated and then pop up, while shrub-type sprinklers are fixed on shrub sticks. Popup spray heads are used for lawns and low growing flower beds and ground covers.
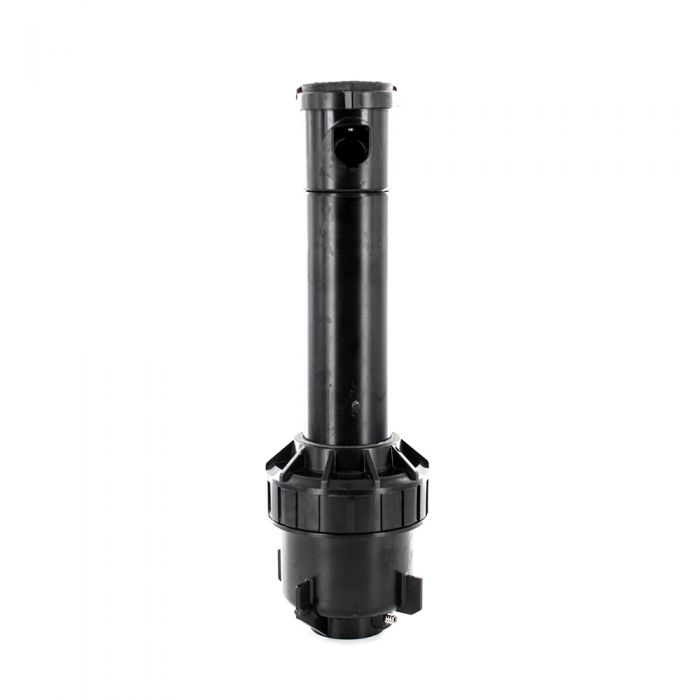
- Shrub style sprinklers are elevated using fixed pipe (shrub stick or riser) which extends up from underground to the level of the plants. In addition, this allows the sprinkler to spray over the plants and shrubs.
The video below shows an example of a pop-up rotor.
The video below shows a shrub rotor in action.
Rotors and Sprays:
Both shrub style and popups style sprinklers come in both rotors and sprays.
- Rotor-type sprinklers use a rotating stream, or multiple streams to water the lawn or plantings. They are typically used to water areas over eighteen feet in width and rotate left and right to apply water to the area watered. Rotors are typically used for medium to large lawn areas.
- Sprays send a fixed water pattern (not a stream of water), in the form of water droplets or fine mist spray. Sprays are typically used for smaller lawn areas and flower beds.
Designing Your Sprinkler Layout
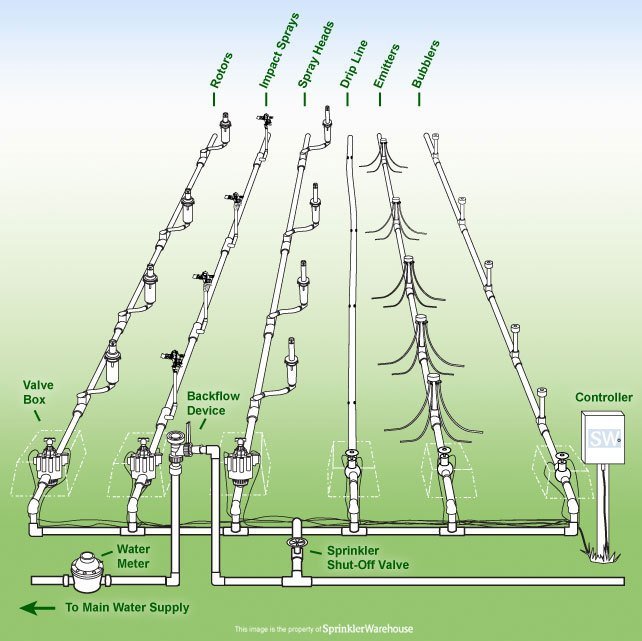
Above all, it is important to know what your landscape looks like and where water needs to be applied. Below is an example of planning your zones before the installation of an irrigation system.
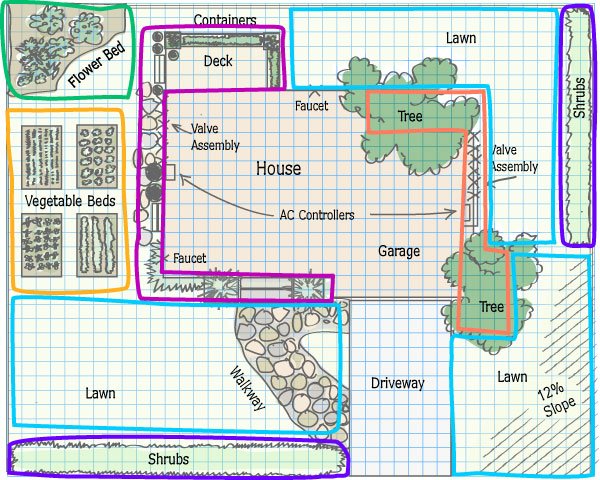
- The illustration below is not a typical irrigation layout. It shows the possible components that are used in a sprinkler system.
- The three rows on the right show aspects of drip irrigation. However, in the actual sprinkler system, spacing and device configuration would be altered to suit the landscape design.
