How To Install A Wireless Rain Sensor
Adding a rain freeze sensor to your irrigation system is so incredibly simple. And it will help you save water and prolong the life of your irrigation system. Adrian Sanchez here, for Sprinkler Warehouse. Let’s get started.
Benefits Of A Rain Bird Wireless Sensor
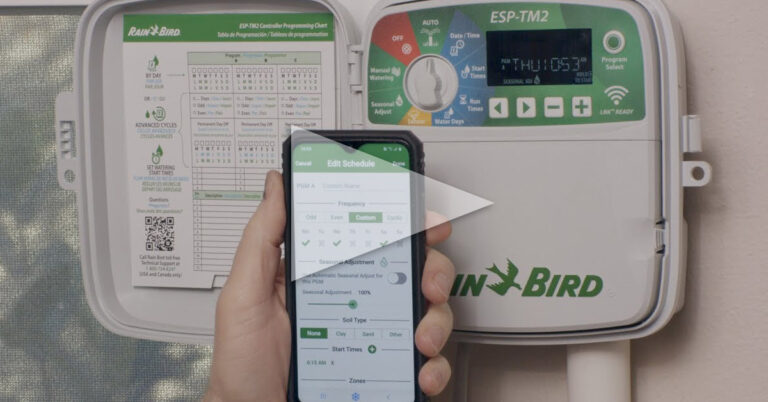
Adding a wired rain sensor to your system isn’t difficult. But if you can’t figure out where or how you’d run the wiring, a wireless model makes a lot of sense. This is your sensor. It even comes with a battery. However, don’t put the battery in yet. We’ll get to that in a bit. This is your controller interface. It receives the signal from the sensor and has some cool additional functions that you don’t normally get in a wired sensor. Like you can choose how much rainfall before your system shuts off at the controller instead of having to set that at the sensor. You can choose the freeze point for your sensor. You can also tell the interface to ignore the sensor for seventy-two hours or suspend irrigation for seventy-two hours. You’ll mount this thing to a wall next to your controller with two screws. The kit comes with four screws, so you’re set.
How To Install A Rain Bird Wireless Rain Sensor
First, disconnect the power to your controller. The red and black wires are your electricity for the interface. The interface itself doesn’t use a battery. Connect the Red to one of the terminals in your controller marked 24 VAC and the black wire to another terminal marked 24VAC. If you don’t currently have a sensor connected to your controller, you should have a little jumper wire connected to your sensor terminals. Remove the jumper and connect the green and white wires to those sensor terminals. One wire to one terminal and one to the other. It doesn’t matter which is which.
Now reconnect the power to the controller. Now the controller should power up. This is what you’ll see on initial power-up. Hold down these two arrows until you see this indicator here flash. Now let’s pop that battery into the sensor. Use a screwdriver or a coin and screw the battery cassette in. Now you should see this on the screen. That means that the sensor and the interface have paired. This icon indicates the amount of juice the battery in your sensor has. Remember that’s for the sensor, because the interface itself doesn’t use a battery. This little area indicates your signal strength, just like the bars on your cell phone. The range for this thing is about seven hundred feet.
You’ll see here the thermometer icon for your temperature set point. This icon here is for your rainfall indicator. This icon displays your irrigation mode. It’s currently indicating normal irrigation. Out of the box the set points are 37 degrees for temperature and a quarter-inch of rainfall.
If you want to change the temperature setpoint that’s a temperature at which the interface stops irrigation press the right or left arrow button until you see just the temperature icon. Use the plus and minus buttons to change the setting. There are three settings to choose from. 37 degrees Fahrenheit at the bottom. 37 degrees right in the center, and 41 degrees at the top. To adjust the amount of rainfall you receive before the interface stops irrigation press the right or left arrow button until you see the symbol. Press the plus or minus buttons. There are six different settings here from 1/8 of an inch at the bottom all the way to ½ inch at the very top.
This is what normal irrigation looks like. It means your sensor is active and will suspend irrigation if the temperature or rainfall sensors trip. We can change that temporarily. Press the right or left arrow keys until the little sprinkler icon is flashing. I just hit the minus button and now you’ll see a black circle with seventy-two in the middle. That indicates that your interface will ignore the sensor for seventy-two hours. Your irrigation schedule will continue to run no matter the weather.
If I press the plus or minus signs until it looks like this. An “X” and the seventy-two-hour circle and the little sprinkler icon no longer has the water coming from it. This setting causes the interface to halt all irrigation for seventy-two hours. I find this incredibly handy. There were times I wanted to do this with my old controller, which wasn’t a smart controller. I’d turn off the controller and forget to turn it back on.
I just threw the sensor in the freezer for a bit. This is what it looks like when the temperature sensor trips. A pretty snowflake and an “X” by the sprinkler icon. Now the irrigation program on your controller will be halted until the temperature rises above your set point. At that time, the irrigation programming is no longer halted and will continue its normal schedule.
Now let’s simulate some rainfall. Now you’ll see the rainy cloud symbol and an X by the sprinkler icon, showing you that the interface has now told your controller to halt irrigation. Inside the sensor are these little bits of cork. Your irrigation will be halted until they dry out, which should simulate about how long it takes your ground to dry out.
Let’s talk about mounting the sensor. You’ll want to mount the sensor high enough that it doesn’t receive water from your sprinkler system. And it should be somewhere that it will be able to receive rain without being blocked by a tree or structure. Recommended places are at the top of a fence or the eve of an existing structure.
Now, here’s your sensor. I’m going to twist and pull this part off. Take your extension arm and place it in. And reattach this part. Boom there it is. The extension arm snaps into the bracket like this. If the area you’re mounting this to is not vertical there are two additional holes to attach the extension arm into, to compensate and keep the arm roughly horizontal. This super duper little bracket can be screwed into a flat surface with two screws. Provided in the kit. Or you can clip this bracket to most gutters.
Remember, Sprinkler Warehouse has everything for your irrigation needs so, your trees, lawn, flower beds, and gardens are lush and beautiful. And if you have any questions about our products chat with one of our superb customer service agents on sprinklerwarehouse.com. They really know their stuff and they will get you squared away. Subscribe to our YouTube channel for helpful tips, tutorials, and general sprinkler instruction. For Sprinkler Warehouse, I’m Adrian Sanchez. Later irrigator.


