Today I’m going to show you how to convert a pop-up sprinkler head into the water source for your drip irrigation system using the Rain Bird 1800 Retro Spray to Drip Conversion Kit. Alfred Castillo here, the Sprinkler Warehouse pro. Let’s get started.
Using A Drip Irrigation Retro-Fit Kit
For this installation, you’ll need a Rain Bird 1800 – Retro-Fit Kit. And of course, we’ll need a working sprinkler system with at least one popup head we can sacrifice. You’ll also need a set of channel locks and maybe a crescent wrench. If there are popups that you want to cap off, which you probably will if you’re adding a drip system, you’ll also need some of these Rain Bird XC-1800 Xeri-Caps.
What’s Inside The Rain Bird Sprinkler To Drip Irrigation Kit
Let’s take a look at this kit. Inside you’ll find an 1800 series body and a couple of adapters. I’ll unscrew this here and inside you’ll find a stainless steel mesh filter. This is a 30 P.S.I. pressure regulator. What I love about this kit is that the pressure regulator and mesh filter fit right inside the pop-up body; so you’re not taking up any additional room when you’re installing this kit.
If you have an existing popup that’s a Rain Bird model 1804, 1806, or 1812 you can just replace the guts and leave the current body in the ground.
How To Install The Drip Kit On Your Sprinkler System
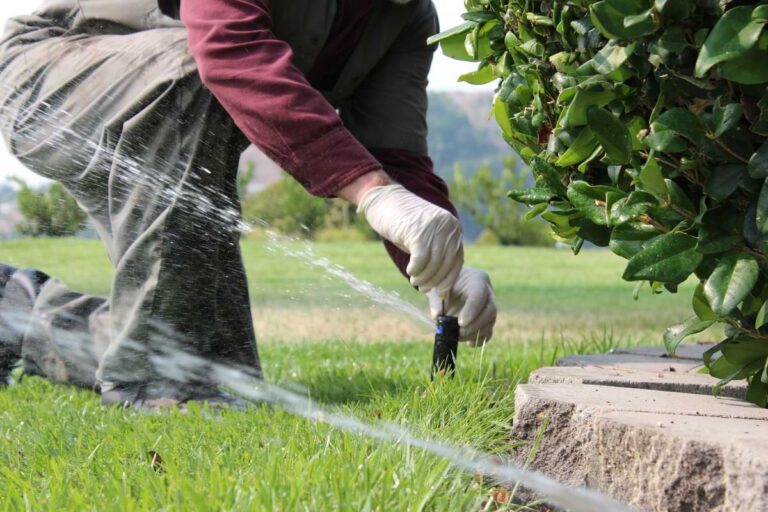
First, unscrew the top off the sprinkler in the ground. You’ll need to use a pair of channel locks to hold the body in place as you unscrew the top. Then, pull out the guts and put the top with the internal assembly including the filter into the existing body and screw it down.
If you’re replacing the guts of an 1806 or 1812, you’ll need to leave the spring in the body. Next, hold the body in place with a pair of channel locks. Then, unscrew the top and pull out the assembly. Push the head down and unscrew the spray nozzle. Now, drop the spring back into the body that holds the filter in place. Lastly, screw the top back on.
Now if the pop-up you’re replacing is NOT an 1800-series Rain Bird, screw the entire sprinkler body out. You may need a pair of channel locks to get a good grip on the old sprinkler body. Screw-in the entire retrofit kit. Make sure the top is on tight. Hand-tight will do. Don’t use the channel locks on this part. Now we can begin setting up our drip system.
The two adapters that come with this system attach to half-inch poly which will be your mainline. Choose whether you want to begin with two main lines coming off the head or just one. For this example, we’re using the adapter for one mainline.
You’ll need a crescent wrench, or you could use a pair of pliers or channel locks, to hold this outlet in place, because it swivels.
Now screw on your adapter. Wiggle the poly tubing onto the barb on this adapter. It’s a bit tight. If you’re having difficulty you can dip the end of your poly tubing in some warm water.
Put some clamps on over the barb fitting to hold the poly firmly in place. You can use ratchet clamps like these little plastic ones here or crimp clamps or worm gear clamps will work equally as well.
What Does A Drip Emitter Do?
I’m sure you have additional sprinklers in this zone as well. The trick is you’ll usually want to run a drip system for a longer time, like say an hour, whereas most sprinkler zones will run like ten to twenty minutes. If you want to keep your other sprinkler heads working you’ll need to choose drip emitters with high flow rates. Preferably adjustable emitters, so you can meet the needs of the plantings being serviced by your new drip system.
You may want to cap off some sprinkler heads simply because your new drip system adequately waters some areas covered by those sprinklers.
Now in this video, we used the barb adapters that came with the kit, but another way to go would be to use one of the 6 outlet Xeri-Bug Emitter or a 6 Outlet Drip Manifold. We’ll discuss these options in another video.
The More You Learn The More You Grow At Sprinkler Warehouse
Remember, Sprinkler Warehouse has everything for your irrigation needs so your trees, lawn, flower beds, and gardens are lush and beautiful. If you have any questions about our products chat with one of our excellent customer service folks on SprinklerWarehouse.com. They really know their stuff and they’ll get you squared away. Please subscribe to our YouTube channel to get the most out of our user-friendly shop and compare our website. For Sprinkler Warehouse, I’m Alfred Castillo, your Sprinkler Warehouse pro!


