Sprinkler Head Spacing Guide
Table of Contents
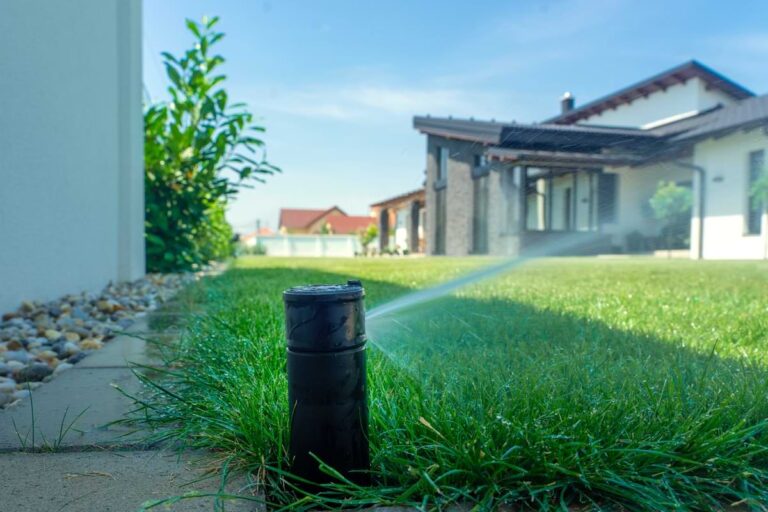
The goal of adding an irrigation system to your yard is to have lush green grass and plants. If you installed a sprinkler system and did not calculate your spacing properly between your rotors and or sprays you are likely to have brown, dry spots from under watering or have other areas in the lawn showing signs of overwatering.
Installing your system correctly on the first try is crucial, unless you enjoy spending time redoing work. For those of us who’d rather get the job done and move on to the finer things in life, follow closely to these pointers, including our most valuable sprinkler system installation tip: plan your system layout, including spacing.

Should I Use Rotors or Sprays for My Sprinkler System?
The main factor that will determine whether to use a rotor or a spray head for your irrigation system is the size of the area being irrigated. Rotors and sprays can not be in the same zones, however, because they require different water pressure rates to operate.
When to Use Rotors in Sprinkler System
Rotors can cover a much greater area which makes them suitable for areas that are expansive. Some of the benefits of using rotors are that they can be spaced out farther apart which requires fewer heads to get the job done and less trenching. The maximum throw for a rotor is around 70 feet and the minimum throw of approximately 20 feet. There are some medium-sized rotor models that can deliver a minimum throw as small as 15 feet.
When to Use Spray Heads in Sprinkler System
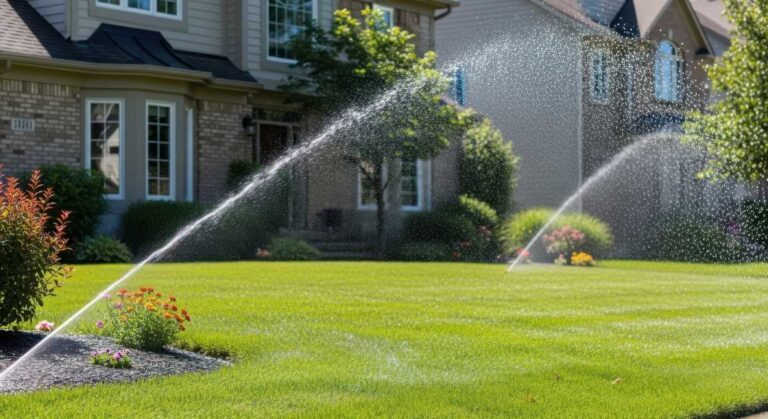
Spray heads throw water a much smaller distance (a maximum of around 15 feet and a minimum around 4 feet) so they are suitable for smaller areas in your design plan. Many irrigation designs will call for a combination of both rotors and sprays in addition to drip irrigation to evenly cover the landscape efficiently.
Other Considerations on Lawn Sprinkler Spacing
Water Pressure
- Optimal Coverage: The spacing of spray heads and rotors must align with the water pressure to avoid dry patches or overwatering. Proper alignment ensures water reaches every corner of your lawn or garden evenly.
- System Efficiency: Low water pressure can reduce the throw distance of spray heads, while high pressure might cause misting and water waste. Adjusting spacing based on pressure prevents this and improves overall system efficiency.
- Cost Savings: By maintaining consistent water distribution, you avoid unnecessary water usage, keeping your water bill in check.
Sloped vs. Flat Landscape
- Irrigating Sloped Landscapes: Gravity plays a significant role. Water tends to flow downhill, which can result in runoff and uneven water distribution. To address this, you may need closer spacing between spray heads or use pressure-regulated spray heads to ensure water reaches all areas evenly. Additionally, using rotors with adjustable arc settings can help direct water appropriately on slopes.
- Irrigating Flat Landscapes: Water is more likely to stay where it lands, so you can space spray heads and rotors a bit further apart. However, it’s still important to ensure overlap between sprinkler patterns to avoid any dry spots or under-watered areas.
Geographic Location
- Wind Conditions: Areas prone to strong winds may require closer spacing of spray heads and rotors to ensure even water coverage. Wind can distort the spray pattern, leaving some areas dry while overwatering others.
- Evaporation Rates: Hot and arid climates have higher evaporation rates, which can reduce water reaching your plants. To counter this, spacing adjustments may be necessary to deliver adequate water before it evaporates.
- Humidity Levels: High-humidity areas may require less overlap in spray zones since water doesn’t evaporate as quickly. Conversely, low-humidity regions may need extra coverage to maintain soil moisture.
Plant Type
- Varying Water Needs: Different plants require different amounts of water. Grass, shrubs, and flowers each have unique irrigation requirements. Spray heads and rotors should be spaced and adjusted to efficiently and evenly deliver water to specific plant zones without overwatering or underwatering.
- Height & Growth Patterns: Taller plants or shrubs can block water distribution if spray heads and rotors are placed too close. By factoring in the mature height and density of plants, you can position irrigation equipment to reach all areas without obstruction.
- Root Depths: Shallow-rooted plants, like many types of grass, benefit from lighter, more frequent watering provided by spray heads. Meanwhile, deeper-rooted shrubs and trees often require water delivered by rotors over a more extended, targeted range.
Gallons Per Minute (GPM)
- Water Distribution: Properly spaced heads and rotors ensure even water coverage. Too close, and you risk oversaturating certain areas; too far apart, and you’ll leave dry spots. Matching GPM to your system ensures that every head distributes water effectively within its intended range.
- System Efficiency: Your irrigation system has a maximum flow capacity. Knowing the GPM of each head or rotor helps you avoid exceeding the system’s limits, preventing common issues such as low water pressure or uneven coverage.
- Consistent Pressure: Excess GPM can reduce water pressure, causing uneven spray patterns. By balancing GPM across your system, you maintain optimal pressure, ensuring each head or rotor functions at its full potential.
- Water Savings: Proper GPM management helps reduce overwatering, saving water and lowering your utility bills. With the right flow rate, your system delivers just the right amount to keep your landscape healthy.
Ensure Head-to-Head Coverage Irrigation

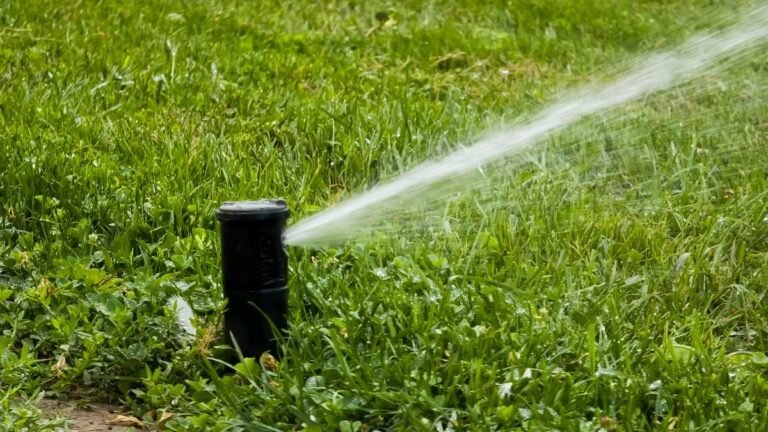
The absolute number one rule in spacing is called head-to-head coverage or head-to-head spacing. Head-to-head coverage applies to both sprays and rotors. In a nutshell, it means that the heads are spaced so that they overlap from head to head.
Each head should throw water far enough so that it hits the next head. If you were to use a stand-alone method you will most likely see dry brown spots in areas of your lawn due to insufficient watering.
You may be able to add extra time watering as a remedy, however, this is wasteful and costly. Imagine drawing circles that do not overlap, there would be areas that are not covered. This is known as the stand-alone method, and you would certainly have areas that have dry brown spots.
Sprinkler Head Spacing for Rectangular Spaces

Mark your sprays in the corners first and then if needed add your sprays along the perimeter. Proportions of the area can make placement simple. For example, a 30 x 60 ft. lawn can be covered by six 30 ft. rotors. One rotor in each corner and one in the middle of each of the 60 ft. sides. In addition, dimensions that do not divide precisely can be calculated by adding a head in each corner followed by adding the fewest amount of heads required along the sides. If the area you are plotting is wider than the throw distance for your chosen head, you will need to add additional heads down the middle of the section too.
Sprinkler Head Spacing for Narrow Spaces

Narrow areas can be watered using strip-pattern spray nozzles. Strip pattern spray nozzles disburse water in a rectangular pattern instead of a circular pattern. Three shapes are used to provide head-to-head coverage. A side strip is positioned along the side of a long strip. A center-strip is positioned in the middle or center. A corner strip is positioned in the corner, which has a spray arc that covers half of the side of the strip. Strip patterns generally cover widths of 4 to 5 ft. and lengths of up to 30 ft.
Sprinkler Head Spacing for Irregular Spaces

For areas that are curvy or irregular, you will need to use spray heads with adjustable pattern nozzles. Adjustable pattern nozzles will allow you to adjust the spray throw to fit the area. There may be situations where equally spaced heads will not cover an area fully. Adding an additional head with smaller or greater coverage to fill in the space may be necessary. Above all, try to keep overspray to a minimum and avoid areas that hit your house, fences, tree trunks or any surfaces that can be damaged by excessive moisture.
How Far Do Sprinklers Spray?
Subtract an additional 10-15% from the recommended rotor or spray’s maximum water throw for your desired model. Most manufacturers perform quality testing in controlled indoor environments. The tests are performed in artificial environments so that they can get results that are consistent, accurate and repeatable. Unfortunately, this doesn’t give an accurate performance calculation on how your rotor or spray will perform in your yard when real-life factors like wind and humidity exist.
Another pointer regarding sprays is to never turn a spray down more than 25% of it’s rated throw because your distribution of water becomes poor (most manufacturer’s note this in their model specs).
Sprinkler Head Layout for Square vs. Staggard Spaces
You can take the principles from this sample and incorporate these principles in your design. There are two main types of spacing used in irrigation plan: square spacing or triangular spacing, better known as staggered spacing).
Pro Tip: Use a compass to plot your sprinkler placement on your sprinkler head layout plan.
Sprinkler Head Layout: Square Spacing
Square spacing is the easiest to plot, the downfall is that there will be areas that are going to be covered by all four heads causing some overwatering. Sprinklers are spaced relatively close when using a square pattern (on average around 50% of the diameter of the throw). This means you will also need more heads to cover any given area.

How to Space Rotors and Spray Heads in a Courtyard & Other Square Spacing Applications
When watering a courtyard encircled by a walkway, the ultimate goal is to avoid water landing on the walkway. You’re probably thinking, “I don’t care if my walkway gets wet.” However, it’s important to remember that every drop of water thrown onto the walkway is more and more money wasted. The name of the game is to only water when necessary.
Below are different ways to chart your sprinkler layout for walkway or building-adjacent courtyards. Using the key below, identify which placement and spray pattern (90° quarter circle, 180° half circle, or 360° full circle) is best for your situation.

Spray Pattern Color Key

90° Spray Pattern
- Corners of lawns or gardens, edging along pathways or driveways, small patches of grass or flower beds
- Useful when there are barriers, structures, or areas you want to keep dry, such as windows or fences

180° Spray Pattern
- Edges of a yard, garden bed, or pathway
- Against fences, walls, or buildings
- Narrow or semi-circular spaces

360° Spray Pattern
- Circular gardens or lawns
- Standalone plants
- Center of landscape
- Playgrounds or recreational fields

Three Spray Patterns Combined
Most cases require a mixture of all-directional spray patterns to address diverse landscape features without over or underwatering.
Sprinkler Head Layout: Staggard Spacing
Triangular spacing is plotted using three points, which means that more surface area is watered with less overlap. Since you can cover more surface using triangular spacing you will be able to space the heads farther apart (usually around 60% of the diameter of the throw). Using a triangular pattern in plotting sprinkler heads can save money because fewer heads are needed to irrigate any given area. To begin plotting using a triangular pattern start by choosing a side of a rectangular or square area as a baseline. Next plot a head in each corner. Followed by placing the third head in between and across from the two you have plotted (see illustration as reference). When you go to plot the next row of your triangular pattern you will shift or stagger the pattern (similar to laying bricks).

Use Triangular Shaped Spacing for Trees, Plants, and Other Obstacles
When planning your layout, you’ll often have to consider working around trees and plants in the middle of your yard. The most important thing to consider is the root zone, which typically extends from the base of the tree or plant to the area just beyond the canopy, also known as the drip line. Try these sprinkler spacing tips to avoid over or underwatering.

Watering around a Singular Tree or Plant
Space rotors evenly around the tree, covering the root zone. Pro Tip: Position the rotors so their spray patterns overlap at least halfway, avoiding dry spots.

Watering around a Group of Trees or Plants
- Confirm your spray head or rotor’s spray radius to determine how far water will spray.
- Overlap spray of adjacent sprinklers.
- For trees, gently saturate the root zone but avoid directly hitting the trunk.

Watering Lawn and Hedges Simultaneously
For linear plants like rows of shrubs, space rotors or heads along either side of the row to ensure sprays overlap in the middle of the plant bed.
Spray Head and Rotor Spacing in Special Situations
Even in the most cookie cutter of neighborhoods, each yard is like a snowflake – completely unique and different. Even if it’s not, this is the mindset to keep when designing your layout because, chances are, a small oversight can result in a big difference on your utility bill.

Three Spray Patterns Combined
Much like the courtyard scenario, it’s important to keep the water on the landscape and away from the walkway or building. Start by applying 180° spray patterns closest to the flat-facade parts of the building or walkway and 90° patterns for corners.

Use 180° Spray Pattern Reduce Water Loss on Corners

Use 180° Spray Patterns to Irrigate Inside of Curves

Use 180° Spray Patterns to Irrigate Outside of Curves
FAQs on Lawn Sprinkler Spacing
How far apart should sprinkler heads be?
Rotors must be spaced according to the “head-to-head” coverage guideline. This means the spray from one rotor should reach the next rotor. Typically, rotor spacing ranges from 25 to 55 feet, depending on the model and water pressure. Always refer to the manufacturer’s specifications for exact spacing requirements.
What’s the ideal spacing for spray heads?
Spray heads should also follow the “head-to-head” coverage principle, ensuring even watering. Their spacing usually ranges from 5 to 15 feet. Be sure to match the spray head’s nozzle type and PSI rating for optimal performance.
Can rotors and spray heads be spaced differently in the same system?
Yes, they can! However, rotors and spray heads operate at different precipitation rates, so they should not be combined in the same irrigation zone. Separate them to ensure an even distribution of water.
Happy watering, Irri-Gators!