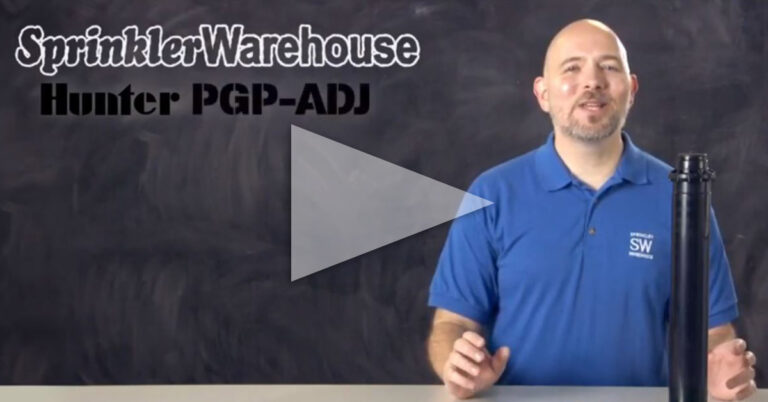
The Hunter PGJ-04 is a rotor that can use in some situations where you’d normally use spray heads. We’re going to discuss a few of the features of this rotor and show you how to change out a nozzle and make some adjustments. I’m your Sprinkler Warehouse product specialist, let’s get started.
How to Install a Hunter PGJ Series Nozzle
The PGJ-O4 is a mini rotor by Hunter that brings typical rotor features in a smaller package that can be used as an alternative to spray heads. It has a smaller watering distance than is typical in rotors: 15 to 37 feet. And it has a half-inch inlet like most spray heads.
This rotor is ideal for small lawns and smaller landscaped areas. The popup height on this rotor is four inches. You can adjust the arc on the PGJ-04 from 40 to 360 degrees. It comes with this set of nozzles. Adjustments are made using this Hunter Rotor Adjustment tool. Let’s talk about the various adjustments.
How to Make Adjustments on Your Hunter Rotor
Looking at the top of the rotor. This is where you set your Range Adjustment Screw. This screw also holds the nozzle in place. This is the lifting socket. This is the arc Adjustment Socket. Let’s go see this rotor in action.
We’ll begin by changing out a nozzle. First, insert the plastic end of the rotor tool into the lifting socket. Turn and pull up the riser. While holding the riser up with your hand back out the range adjustment screw so it’s no longer blocking the nozzle. Pull out the old nozzle with a pair of needle-nose pliers. Insert the new nozzle. Screw back down the range adjustment screw. Don’t try to tighten the screw, just get it down in front of the nozzle.
With the water on, use the range adjustment screw to set your watering distance. You can turn the turret back and forth to see the pattern. To adjust the pattern, insert the plastic part of the rotor tool into the arc adjustment slot. Turn the key clockwise to increase the arc or counterclockwise to decrease. And that is the PGJ-04 by Hunter. Order your PGJs on SprinklerWarehouse.com today.


