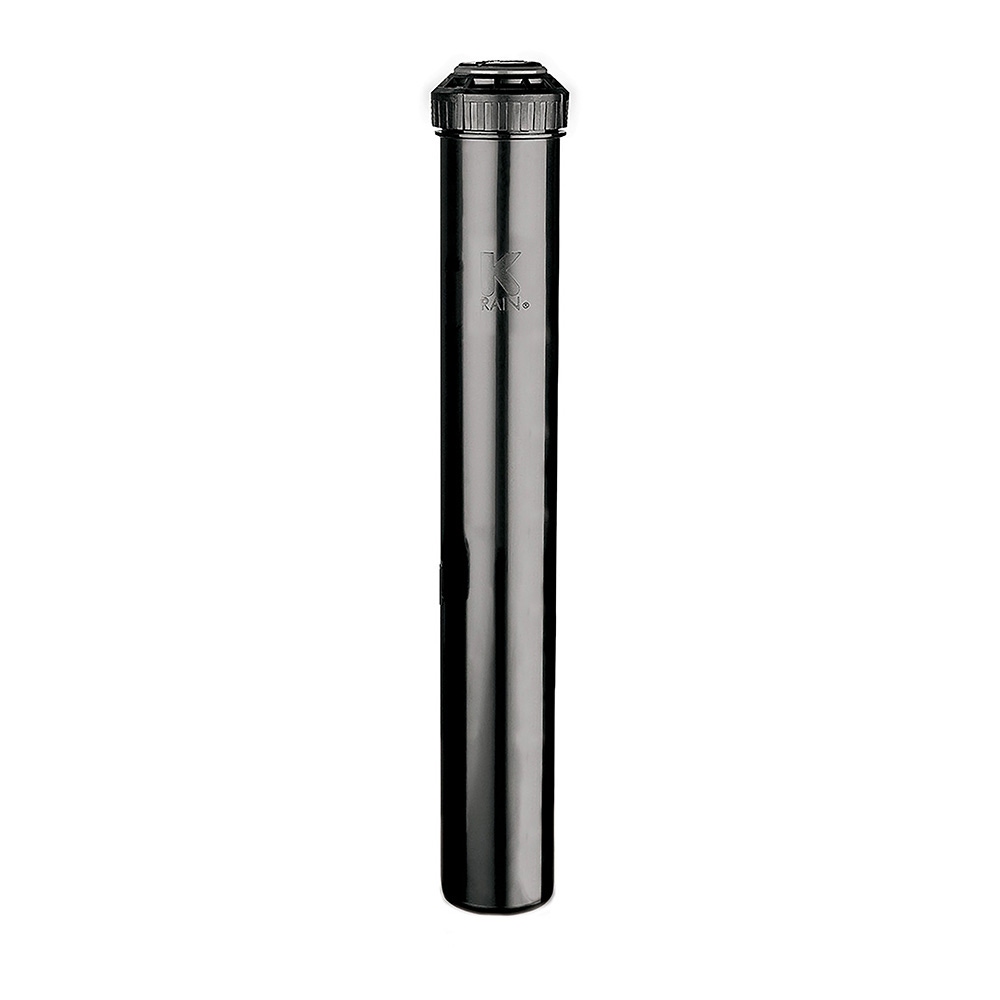
The I-40 is a commercial-grade rotor from Hunter built tough for sporting arenas, public parks, and commercial environments. We’re going to discuss a few of the features of this rotor. We’ll also change out a nozzle and make some adjustments. I’m Dwayne Smith Your Sprinkler Warehouse Product Specialist. Let’s get started.
Benefits Of The I40 Series For Your Lawn
The I40-04-SS is a rugged commercial grade rotor featuring diverse three-port nozzle options that accurately and efficiently deliver water up to 69 feet of distance. And the I40 is the rotor that is most used by sporting arenas. And as I mentioned earlier also recommended for public parks and other commercial environments.
This rotor has a four-inch pop-up height and a one-inch inlet. This rotor has a flow rate of between seven point six gallons per minute all the way to twenty-nine point five gallons per minute. It has a non-strippable drive which means if the turret gets turned it will not mess up the gears. That means a longer-lasting more resilient rotor.
Automatic Arc Return For Your Convenience
This rotor has a stainless steel riser which is designed to withstand the rigors of harder soils, harsh climates, and generally rougher conditions. The I-40 also has an Automatic Arc return. If the rotor is turned past its arc setting, the rotor will return to its arc setting. This prevents wasting water and prevents having to reset the pattern.
The I-40s also conveniently have both part and full circle patterns in one rotor. That is when you adjust the rotor to 360 degrees it will go around in a continuous non-reversing pattern. The pattern is adjustable from 50 to 360 degrees.
Added Features Of The I40 Series
The I-40 series comes with a check valve standard. Check valves to prevent low head drainage. That is when a zone of your irrigation system has a slope…a check valve will prevent water from draining from your system through the lowest sprinkler head once the zone shuts off. So this helps to prevent water wastage, pooling, and erosion.
The check valve on an I-40 rotor works with up to 15 feet of elevation difference. This Rotor has a watering distance of 44 to 69 feet depending on the nozzle installed and how the adjustment screw is set. The I40 comes with this set of nozzles. Let’s talk about the various adjustments.
How To Make Adjustments On Your Rotor
Looking at the top of the rotor This is where you set your Range Adjustment Screw. This screw also holds the nozzle in place. Use the metal end of the hunter rotor tool to adjust it. This is the lifting socket. Use the plastic end of the Hunter Rotor tool for that. This is the arc Adjustment Socket.
Once again use the plastic end of the rotor tool for that. Let’s head outside and make some adjustments. So here we’ve got an I40 that’s already installed. We’ll begin by changing out a nozzle. Insert the plastic end of the hunter rotor tool into the lifting socket. Turn it and pull up.
A nozzle insertion collar makes changing out a nozzle a breeze. But if you don’t have one you can hold the riser up with your hand. Back out the range adjustment screw using the metal end of the hunter rotor tool. Remove the nozzle using a pair of needle-nose pliers. Insert the new nozzle. It goes in at a slight downward angle.
Screw back down the range adjustment screw. Notice how straight and narrow the stream of water is. We need to diffuse that a bit by screwing down the nozzle retention screw. That’s better. This will give us more even coverage. You also use this same screw to decrease the watering range, also called the radius. You want the water from this rotor to reach the next rotor over.
You can turn the turret back and forth to determine the pattern, also called the arc. To adjust your pattern, insert the plastic end of the rotor tool into the arc adjustment socket. Twist it clockwise to increase the arc. Counterclockwise to decrease. Checking the pattern once again and that’s about right. The I40-04 is an amazing rotor for your next commercial project. Order some today on SprinklerWarehouse.com.


