Installing a wireless rain sensor is an easy task. Most homeowners can finish the task in less than an hour. Not to mention, the water savings are substantial!
Wireless Rain Sensor Installation Steps
- Disconnect power to the irrigation system controller.
- Always mount the rain sensor receiver FIRST. Mount it adjacent to the controller with either the screws provided or double-sided foam tape.
- Attach receiver control wires to the sensor inputs OR break the valve common wire.
- Disconnect common valve wire and common pump/master valve wire (if present).
- Attach white wire to common wire(s) with a wire connector.
- Attach brown wire (only) to the common terminal on the controller.
- Connect the red wires to controllers 24 VAC power source terminals.
- Straighten the receiver antenna wire upward and the sensor/transmitter antenna wire downward.
- While holding the sensor/transmitter at close range to the receiver, press and hold the spindle to test the wiring. the power, signal and sensor status indicators should be on.
- Adjust the rainfall adjustment cap to desired rainfall activation amount.
- Adjust the vent ring to the desired dry-out rate.
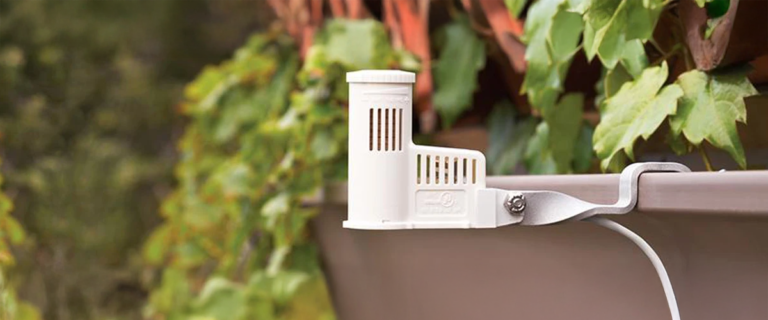
- Mount the sensor / transmitter in an unobstructed location away from sprinklers.
- Check to see if your irrigation / Sprinkler system works.
Congratulations! You have installed your wireless rain sensor.