A How-To Guide: Backflow Device Essentials
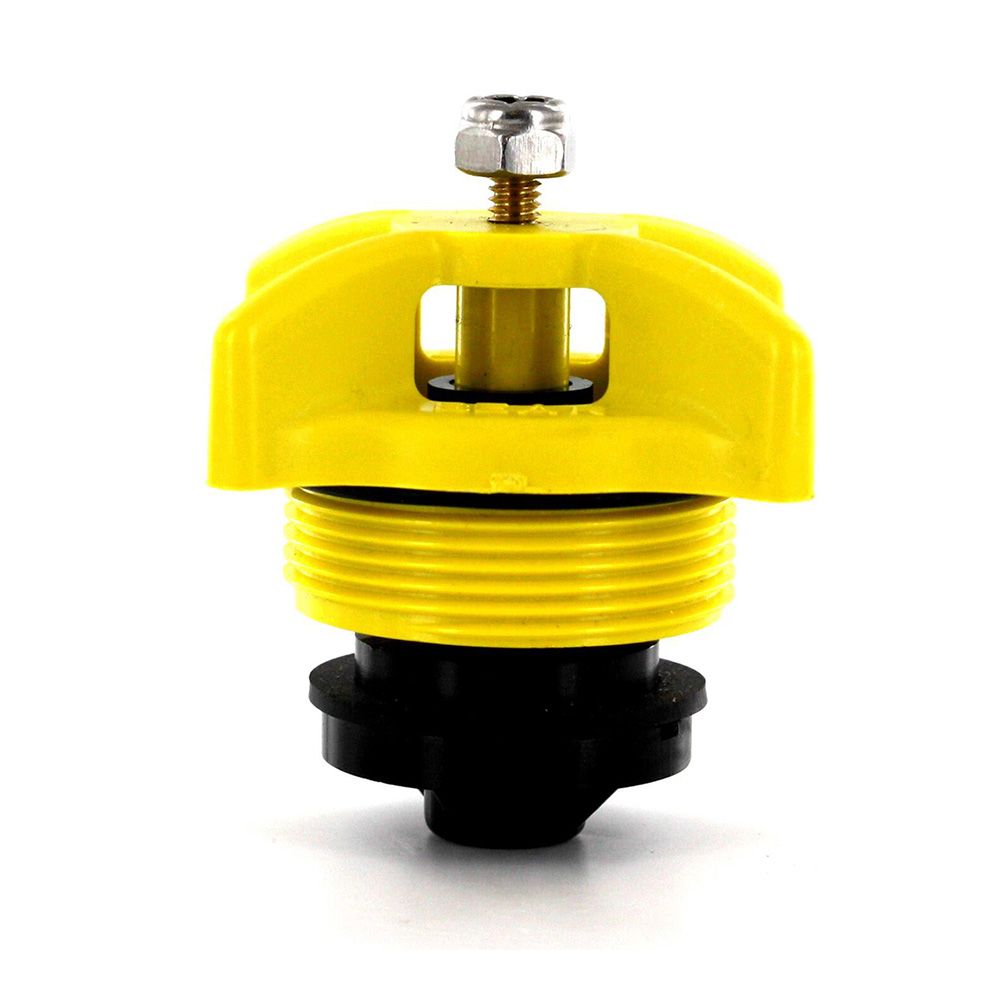
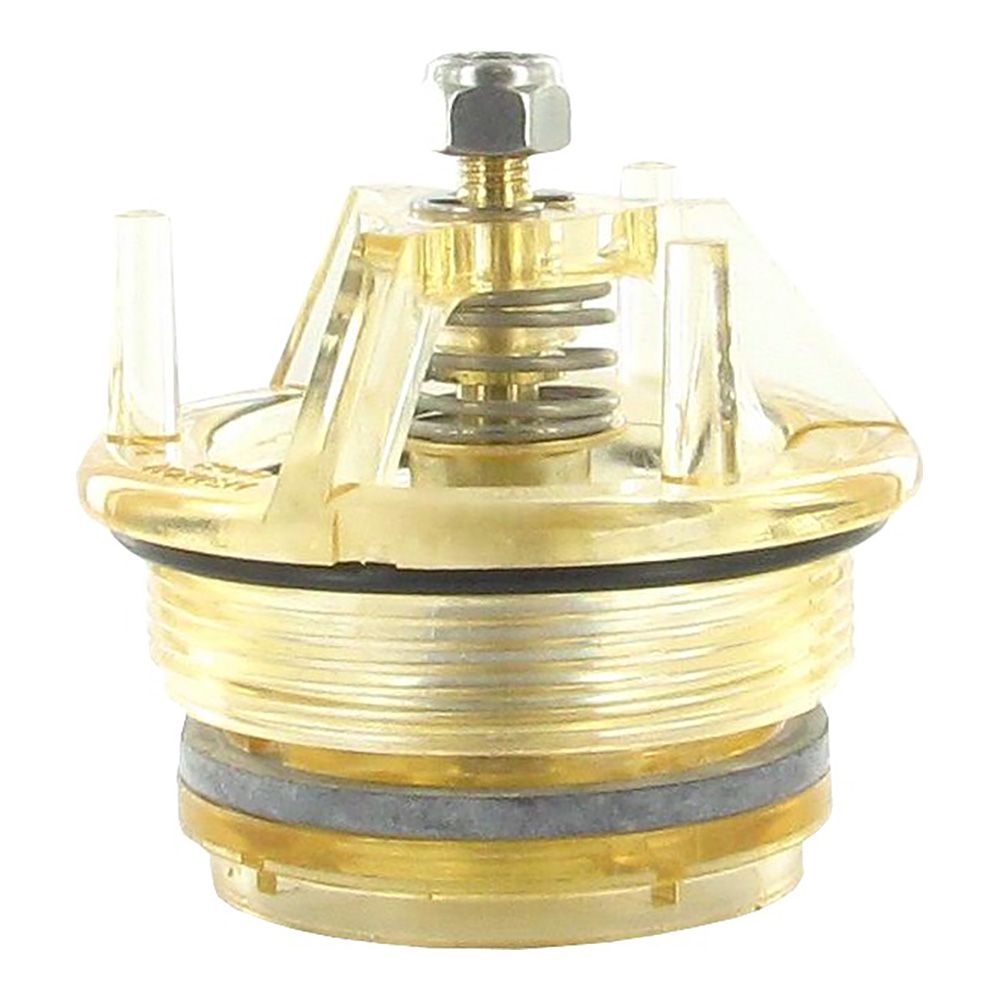
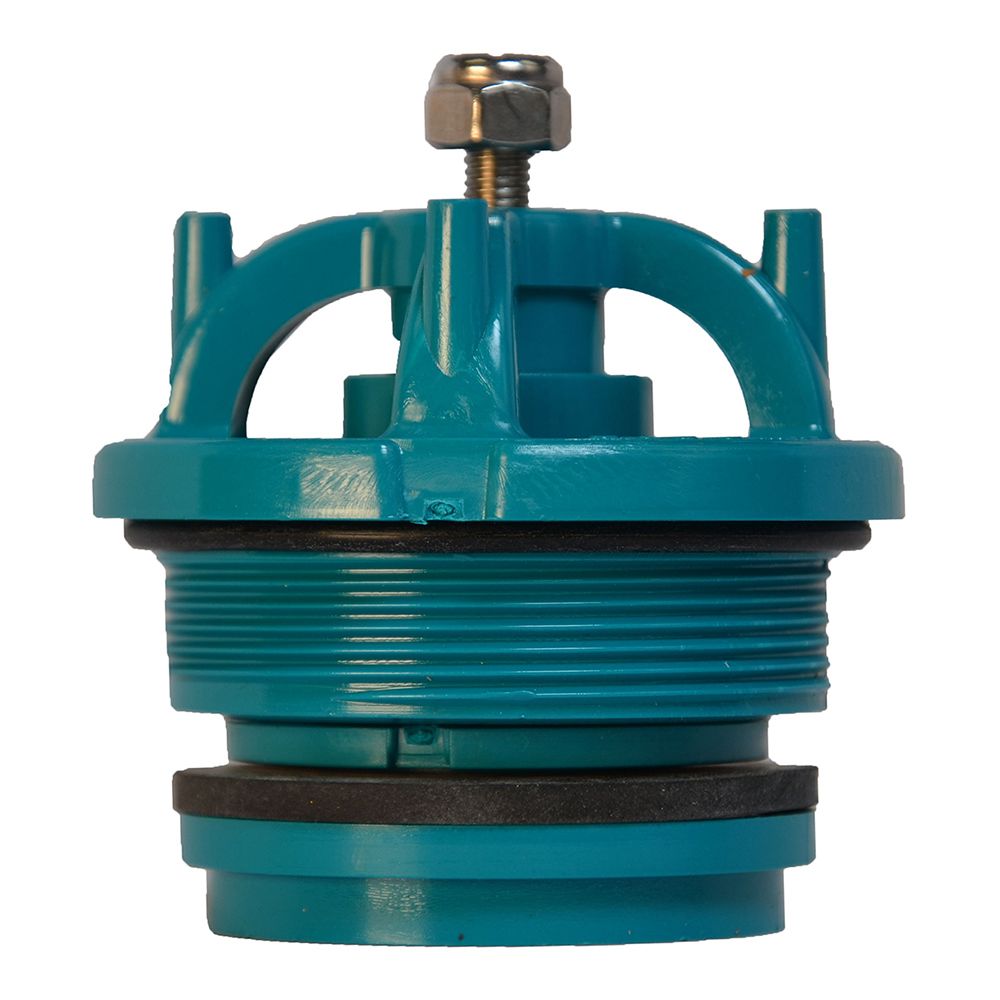
This article explains how to replace a bonnet and poppet. Don’t know if you should replace your entire backflow device or just the parts? Maybe you want to know what parts to buy for your existing backflow device? If your backflow device is a pressure vacuum breaker then you may only need to replace the bonnet and poppet.

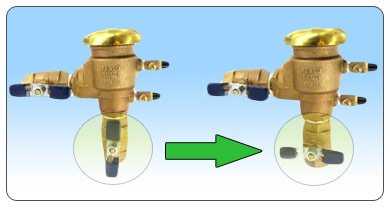
Shut Off Bottom Valve Handle. Turn To The Right.
Remove all broken plastic parts from inside the backflow device.

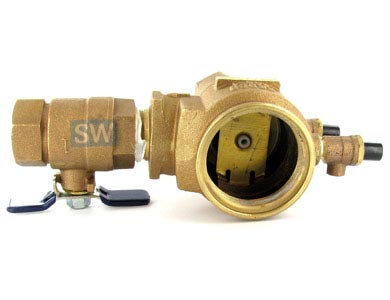
- Unscrew plastic bonnet
- Remove any broken pieces from the inside
- There should not be ANY plastic pieces remaining inside the device
- DO NOT remove the metal piece at the bottom inside the backflow device as it has a spring below it that would hurt you.
Replace with the new bonnet and poppet kit (Hand Tight ONLY).


Place the bell on top of the metal screw and tighten the small nut just enough to hold the metal bell on the device and still rotate by hand with some tension. DO NOT OVERTIGHTEN!
Avoid having to replace the bonnet and poppet again; cover the backflow device with a blanket or insulated pouches if freezing temperatures persist.
To learn more about backflow devices read “How Backflow Devices Protect Our Water Supply.”


