Dominate The Irrigation Flow!
This article discusses how to water sloped landscapes including tips, tricks, and instructions for planning sloping sprinkler systems. Watering effectively, even on level ground, can be difficult; watering sloping areas can be considerably more challenging. Not only do you have to find the perfect watering level for specific plants, but you also have to combat gravity. There are some key factors that are important to consider when designing a sprinkler system for sloping ground. These are the angle of the slope, the area of ground to be covered, and soil type and constitution.
Before You Start:
Before beginning your site plan for the slope, you must calculate the angle of the slope. After that, you will need to know the dimensions of the area to be watered. Once you have calculated the area, you should consider the application rates of different types of sprinklers. Then select the type which is most compatible with your landscape. Generally, rotors have lower precipitation rates than sprays and are better suited to slopes. If the area is too small for a rotor, drip irrigation may be the best option.
Learn more about How To Measure Slope
Here are some tips and tricks to help ensure efficient, productive watering.
Sprinkler Timers And Water Management
Sprinkler controllers are an important aspect of watering sloped landscapes. Selecting a timer with good water applications will help reduce run-off. The two best options are the controller with four start times per program or the Cycle + Soak. The latter is a controller with advanced water options. Using a timer with at least four start times means that you will need to calculate the number of run times.
- Find out how long you can run a station before the water starts to run off instead of soaking.
- Determine the optimum amount of watering time your plant needs.
- Divide the plant watering time (step two) by the maximum run-off-free time (step one). This number is the minimum number of run times you will need per program.
For example, let’s say that I can run my sprinklers for 15 minutes before the water starts to run off, but my plants need to be watered for an hour (60 minutes). I would divide 60 by 15, which is four. This means I need at least four run times per program- I would then set each run time with enough time between them to allow the water to soak insufficiently. If you want a simpler solution, opt for a timer with programs like Cycle+Soak, which automatically allow for soak time during the cycle.
Using Valves To Prevent Flooding And Erosion
Master Valves
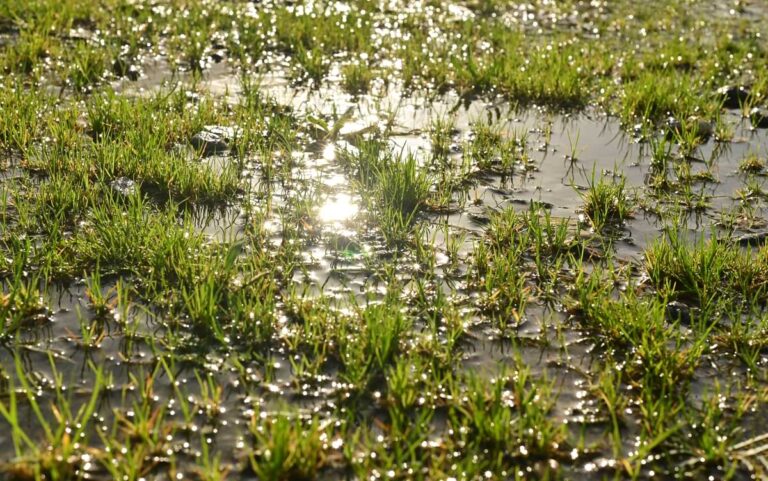
Using the proper valves prevents flooding and erosion in the event of a pipe, sprinkler head, or diaphragm breaking. Master valves and flow sensing equipment can be placed on the mainline, close to the zone valves. This will reduce the amount of constantly pressurized water entering the zone. Master valves remain off until a cycle is started. If a pipe is damaged while the system is off, the amount of water that escapes is significantly reduced. Flow sensing equipment will work in conjunction with the master valve, shutting it in the event of excessive flow.
Reverse-Flow Valves
Reverse-flow valves will prevent erosion damage in the event of a worn or torn diaphragm. Without a reverse-flow valve, if the diaphragm is damaged, water will flow continuously until it is repaired.
Proper Lateral Line Layout To Water Sloped Landscapes:
Pressure Compensation
When installing lateral lines, it is important to lay them horizontally across the hill, rather than vertically down the hill. If they are installed wrong, the elevation change will affect the pressure levels and can create severely different pressures at the individual nozzles. Uneven nozzle pressure will cause irregular water distribution and could decrease the operating life of pipes and sprinkler heads.
Slope Compensation
On the ground with a 2:1 slope, sprinklers that are adjusted properly throw roughly 40% of their radii above the head and 60% below (because of gravity). When planning your sprinkler system, it is important to allow for this, particularly at the base of the hill. It can be hard to visualize this since site plans can’t show a slope, but when planning your sprinkler system, the spacing between the top, middle, and bottom lateral lines can’t be the same. The bottom and middle lines should be closer together than the top and middle lines. The middle and bottom lines should also be shifted up the hill a little so that the bottom lateral line is not right at the base of the slope. This will create even, thorough head-to-head coverage.
Sprinkler Heads And Nozzles
Sprinkler Head Spacing
When planning your system, it is a good idea to limit the number of sprinkler heads you place in each zone, for two reasons. With fewer sprinkler heads in each zone, the system will perform better and have a lower risk of damage. The more sprinkler heads you place in a zone, the larger the components and infrastructure. Larger components mean larger quantities of water in the system, and in the event of system breakage, the larger the quantity of water, the greater the damage. If you do still opt for larger zones, it is important to incorporate safeguards against potential problems.
Another benefit of smaller zones is that you can plan each zone based on the type of plant, sun exposure, and wind. This will promote plant health and increase watering efficiency.
Learn more about How To Space Rotors And Sprays & How To Draw The Property Line
Fixed Or Pop-Up Sprinkler Heads
When planning a sprinkler system for water-sloped landscapes, most people choose a non-retractable spray mounted on a riser. However, for a more aesthetically pleasing option, consider installing a 6- or 12-inch pop-up sprinkler. Not only do they look better, but they are also less prone to being run over, bumped, or damaged.
Sprinkler Heads With Check Valves
Another great erosion-prevention option is to select sprinkler heads with built-in check valves. When installed correctly, the check valves will prevent any remaining water in the lateral lines from leaking out of the heads. After a run cycle, there will inevitably be some residual water in the lateral lines. On sloping ground, the slope can cause the water to build up enough pressure to seep out of sprinkler heads at the bottom of the slope. Opting for sprinkler heads with built-in check valves simplifies installation, as you do not have to install separate check valves beneath each sprinkler head.
Matched Precipitation
Uniform water distribution is crucial to having an effective and efficient slope irrigation system. One way to achieve this is by placing only one type of spray pattern sprinkler in each zone only full-circle sprays in zone A, only half-circle sprays in zone B, etc., and then adjusting station run times accordingly. An easier alternative is to opt for matched-precipitation rate nozzles these nozzles are designed specifically to match precipitation rates, regardless of variations in arc and radii.
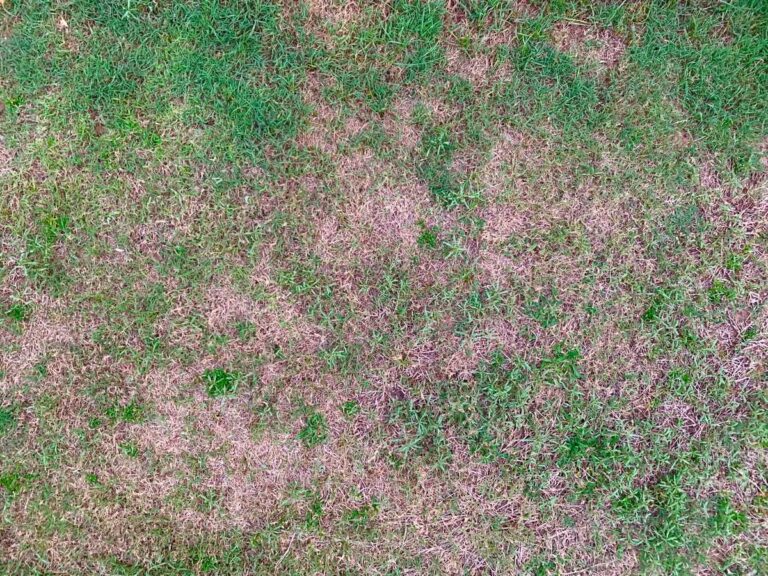
Designing with matched precipitation safeguards against uneven watering in the same zone in systems with unmatched precipitation, it is common for the system to allow overwatering in one part of a zone, while another area of the same zone will receive too little water. Not only is this bad for the plants, but it also dramatically increases the risk of erosion.
Sprinkler Head Angling
When installing the sprinkler heads at the top of the slope, it is best to use low-angle trajectory nozzles, if possible. These have a smaller throw radius, which reduces wind dispersal. Since they have a smaller radius, they need to be installed closer together than standard sprinklers and should be installed vertically to the slope. If you opt for standard sprinklers at the top of the hill, place them slightly below the crest (highest point) of the slope, and angle them towards the bottom of the slope to reduce wind drift.
Mid-slope sprinkler heads should be installed at a 45-degree angle to the slope, and sprinkler heads at the base should tilt at a slight angle away from the slope.
With careful planning and using these tips and tricks, it is possible to have an efficient sprinkler system for watering and beautiful landscape on sloping ground.