Helpful Tip When Drawing Your Property
You Don’t Have To Be An Artist, Just A Planner
Each small square on the graph paper should represent one square foot of actual property or use a scale such as 1 inch = 10 feet, 1 inch = 20 feet, etc. Using a tape measure, measure your property and draw it to scale on the layout paper. Use the drawing here as an example:

Important Reminders When Drawing Your Property:
- Outline your house, garage and other structures.
- Show walkways, drives, slabs, patios and other surfaces.
- Identify trees and major obstacles.
- Measure and record the perimeter of your property.
- Identify slopes.
- Show groundcover, grass, flower beds and landscaping.
- Identify the size and location of the water meter (or pump) and main line.
- Identify the soil type in your yard.
- Write the scale of your drawing on your information sheet!
The sketch you create is a scale drawing of your property and home, which will include trees, gardens, shrubs, raised planting beds, water sources such as streams and ponds, and the location of the home’s main water supply line.
Also sketched on your plan will be any patios, walkways, fences or structures that may block the path of your sprinklers and pipes.
Your sketch will also show any areas which have a slope of at least 10%. Unless your landscape is extremely small in size you will need more than one grouping of emitters or sprinklers for your plants.
Each grouping is called a zone. The number of zones you will need will depend mainly on if you will use a sprinkler or a micro-irrigation system or both. For instance, a sprinkler system uses much more water. Some things to consider are the different watering requirements in your landscape design.
You Will Need To Consider The Following Things To Determine The Amount Of Zones Necessary To Complete Your Plan:

Lawns
It is important that your measurements are accurate. Precise measurements are needed for pipe and tubing, a deviation of a few feet can cause a problem. Measurements for plotting your sprinkler sprays and rotors must be even more precise. You will need a tape measure that can measure lengths of at least 50-100 feet.
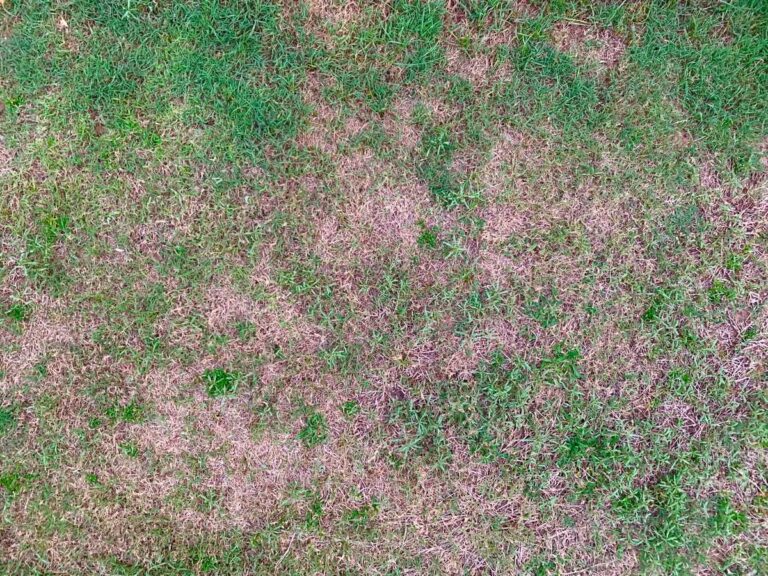
Areas with turf have specific watering requirements and should be watered separately.

How To Draw Out The Zones For Your Property:
- To begin you will start by measuring your home’s outside dimensions. Note all the measurements you take on a rough sketch.
- Next measure straight lines from each corner of your home to your property lines.
- Now note the dimensions on your initial sketch as well as the width of any walkways or patios.
- Next mark the dimension and location of any leach fields or septic tanks.
- Next measure all the areas that you want to water, your flower beds, lawns, raised beds, patios and decks that have plants in containers.
- Now indicate on your sketch the location in which you intend to tap into your home’s water supply.
- Next mark where you intend to locate your controller/timer.
- Once all the measurements have been noted you can draw your plan to scale using graph paper. Each square will equal a specific amount of feet depending on the size of your landscape.
- The next step is to add your water zones. Make a copy of your master irrigation plan.
- It’s a good idea to color code your zones with a marker or colored pencil by circling them on your sketch. You may also want to note which areas have shade, bright sun, wind conditions and also areas that are not level.
Now that you know how to draw the property you are ready to begin to layout your irrigation system. If you do not feel confident enough to complete your irrigation plan there are some stores that will layout an irrigation plan for free as long as you purchase your supplies from them. You can also hire an irrigation specialist for assistance.