This video is all about the Quick-Fix Telescoping Repair Coupling. It’s great for fixing a damaged pipe. I’m your Sprinkler Warehouse Pro, let’s get started.
How To Repair A Pipe Using A Telescopic Repair Coupling
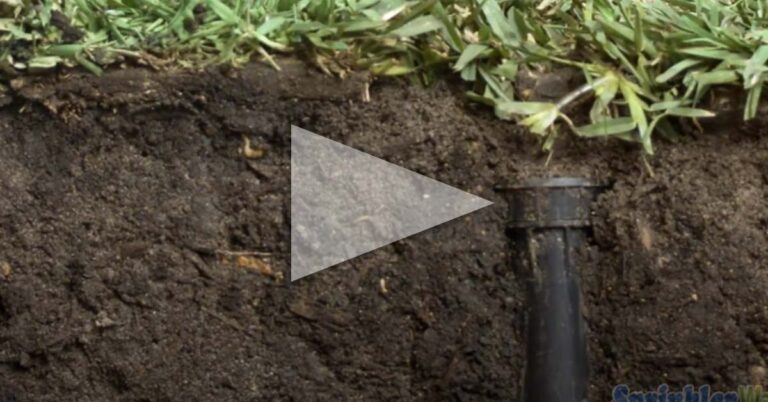
When you’re making a repair on a pipe in the ground both sides are fixed in place; unless your pipe is really flexible it makes it nearly impossible to repair with a standard slip coupler. This repair is for a slightly larger section of pipe.
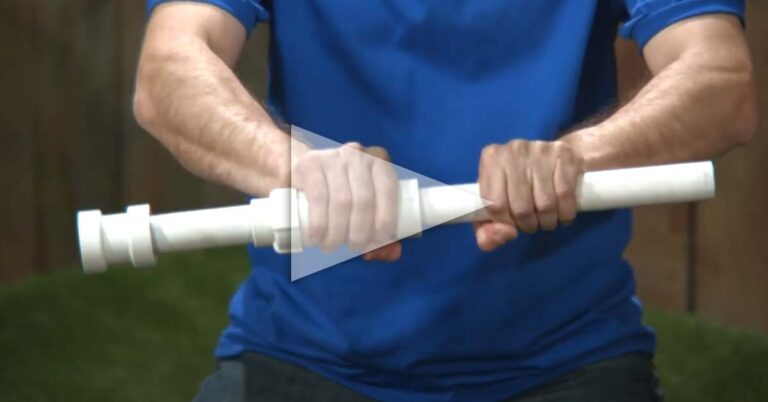
This little treasure retracts so you can fit it into the gap you’ve cut and then extend it to bridge the gap. If the broken portion of the pipe is tiny you may want to check out our other PVC Repair fittings at SprinklerWarehouse.com
Tools You Will Need
For this repair, you’re going to need a pipe cutter or hacksaw, a quick-fix telescoping repair coupling, a slip coupling, and PVC Primer and Cement. You could go at this a number of different ways. This is the way I found works best for me.
How To Use A Telescopic Repair Coupling
First, I’m going to begin by attaching the slip coupling to the expanding tube portion of the telescoping repair coupling. I apply primer and cement to the inside of my slip coupling. Just on one side‚ and on the outside of the telescoping tube. Pop on the slip coupling and make sure it goes on straight otherwise, you might find yourself in trouble when you try to attach it to your pipe.
While that dries let’s figure out how much broken pipe we can cut out. Because of this telescoping feature, you don’t have to have the fixture fully extended to have a leak-proof seal. Any amount of extension on this fixture is equally leak-proof.
My gap shouldn’t be longer than 10-inches but it will need to be at least 7-inches. Anywhere between 7-inches and 10-inches is good.
Now we can begin to cut. I’m going to use a ratcheting pipe cutter to make my life easier but you could use a hacksaw however, you’ll have to dig a bigger hole and sandpaper off those burrs left by the saw.
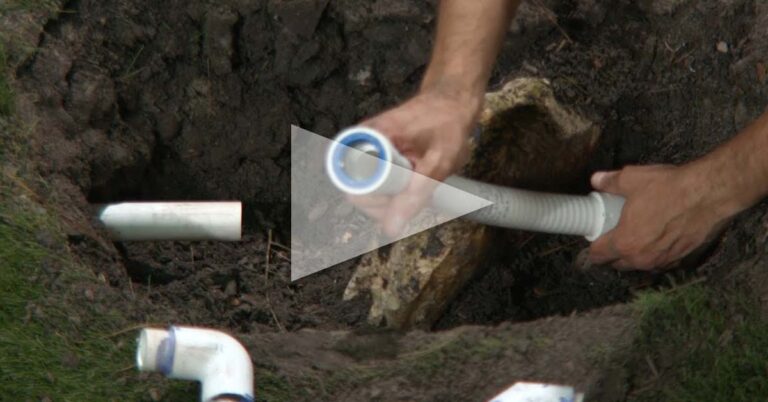
If you haven’t already, clean and dry the edges of your pipe before applying primer. Paint on PVC Primer then, cement to one side of the cut pipe and the inside of your slip coupling. Slide your fixture in place.
I’m going to test fit this other side to keep everything perfectly in line. Remember not to make it too tight. You don’t want to fight a few minutes from now when we slip it back off. Wait a couple of minutes for the cement to dry.
Now I’m going to slip this side off so we can prime and cement it. Once again, I’m applying the primer first and then cement to the outside of the pipe and the inside of the coupling portion of the telescoping repair coupling. Slide this end back and place and give it just a quarter turn to seal everything. That’s it, easy peasy.
Learn More About Telescopic Coupling
Remember, Sprinkler Warehouse has EVERYTHING you need to keep your irrigation systems up and running so your trees, lawn, flower beds and gardens are lush and beautiful. If you have any questions about our products chat with one of our experts in the customer service department at Sprinkler Warehouse.
They really know their stuff and they’ll get you squared away. Feel free to leave a comment and let us know what other subjects you are interested in learning about. For Sprinkler Warehouse, I’m your Sprinkler Warehouse pro!