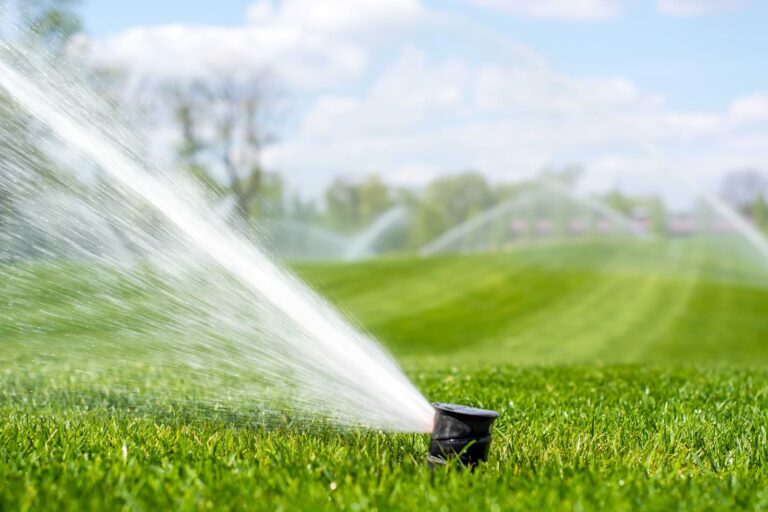
Drip Irrigation Micro Sprayer Kit
Flower Bed Watering Kit From DIG
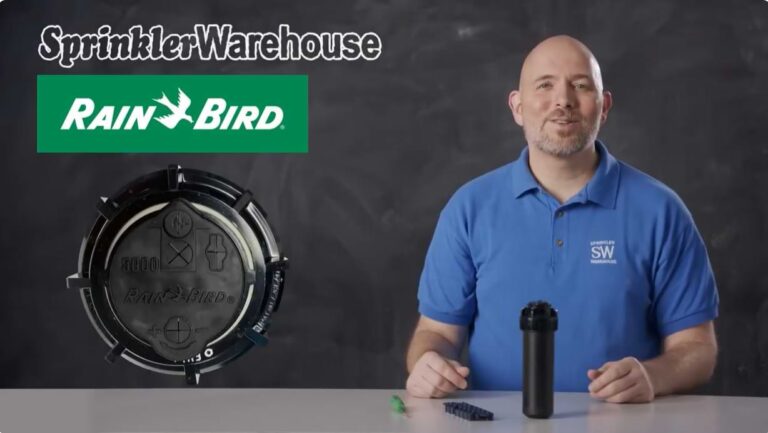
Today I’m going to show you how to use this Dig Flower Bed Watering Kit to, strangely enough, water a flower bed. This kit is available on the Sprinkler Warehouse website and it has all the parts we need to install a complete and functioning micro-sprayer system. I’m Adrian Sanchez your Sprinkler Warehouse Pro. Let’s get started.
Open The Flower Drip Kit To Check The Parts
Before we head outside, I busted out the kit, so we can go through the parts. This kit, by the way, will set us up for 160 Square feet of luscious flower beds. We could easily adapt this kit by adding additional tubing, micro sprayers, and stakes to cover about 320 square feet.
Parts Typically Included In Drip Kits:
Backflow preventer: keeps contaminants from getting sucked back into your drinking water
Pressure regulator: provides the appropriate amount of water pressure to keep your emitters working properly
Swivel adapter
50-feet of half-inch poly tubing
Stake holders
One 1/2-inch tee for your mainline
Two 1/4-inch tees for your micro tubing
A hole punch: helps you install your emitters and fittings
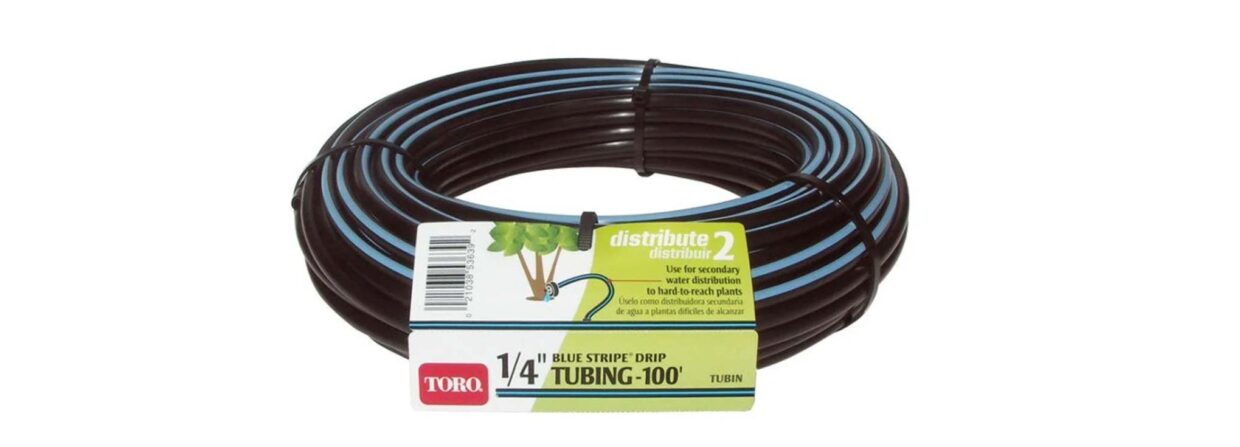
24 feet of 1/4-inch micro tubing with barb assembly
10-inch adjustable stakes
6 poly risers
90-degree sprayers
180-degree sprayers
360-degree adjustable vortex umbrella-pattern micro sprayers
Hose ends
Goof plugs for plugging up holes
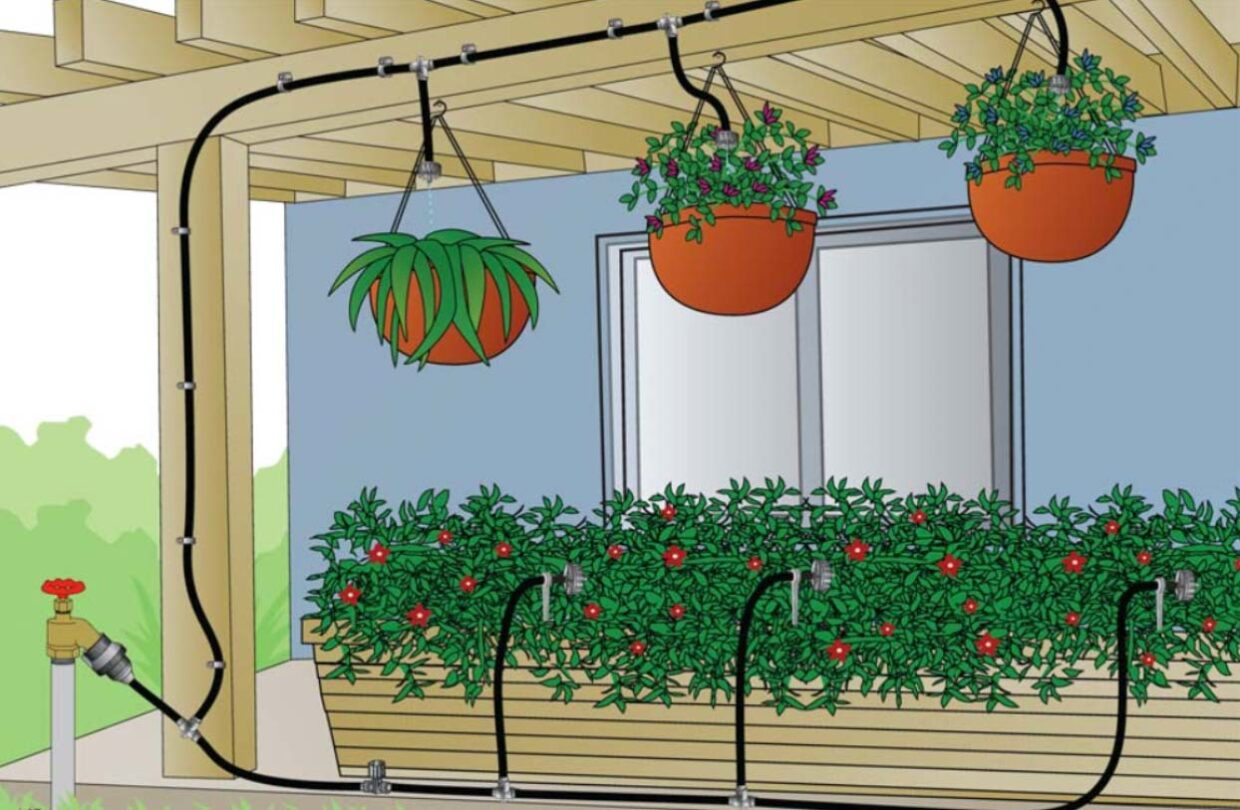
Ready To Use Drip Watering System For Flowerbeds
As I said before this is a complete kit and you can use it as is. However, there are a couple of things I’d personally recommend adding to this kit. While the swivel adapter does have a mesh screen on it, a “Y” filter would be a big improvement to that. The filter keeps debris from clogging up your drip emitters.
Not absolutely needed but highly recommended. This kit only comes with 2 goof plugs; you might want to throw a package of those in your cart. They’re really cheap and they come in handy. This kit comes with one Compression Tee. That’s for your mainline. If you need additional tees, you’ll look for compression fittings that fit 700 OD or you can use Barbed fittings that will fit 600ID. There’s a separate video on various types of fittings. I highly recommend you check it out.
You could also pick up some couplers to have on hand. If a critter gnaws a hole in your mainline, you’ll have them at the ready for a quick fix. Once again, you can use compression fittings that fit 700 OD or barbed fittings that fit 600 ID. You may want to consider adding a timer to this configuration. Never having to remember to water makes a timer well worth the price.
How To Install The Drip Kit
So, let’s see what installing the kit looks like. This system is going to connect directly to our outdoor faucet. For all of these fittings you just need to screw them on hand tight, so leave the pliers in the garage.
The ‘Y’ connector you see here on the hose bib makes it so you can use the faucet without having to unscrew the drip system. If you decide to purchase one of these it’ll need to have individual shutoff valves for each side. If you happen to have purchased a hose-end timer, it would go on in line before the rest of your head assembly onto your “Y” connector or hose bib. Barring the timer, the backflow device is the first piece of our head assembly.
If you’ve purchased a “Y” filter, that goes on next. Next in line, screw on the pressure regulator. In this kit, the Pressure regulator looks similar to the swivel adapter. But the pressure regulator has male pipe threads on the bottom. Before attaching the compression adapter push the mainline tubing into the adapter. You’ll need to rock it back and forth to get it on. And screw on the compression adapter.
The kit includes stakes to hold your tubing in place. Do use them. When you turn on the water pressure tubing has a way of meandering. Decide where you want to branch off to add your micro sprayers. Let’s add one of the adjustable stake sprayers.
On the side of this stake sprayer, there is a barbed coupler. Take that off and set it aside somewhere because it may come in handy. But you don’t actually need it here because these micro tubing sections already come with a barbed coupler on the end. Punch a hole using the handy dandy little punch. It helps if you rotate the punch as you push. Grab a piece of micro tubing and insert it into the mainline. Hear that pop? That lets you know you’ve seated it correctly.
Use Micro Tubing To Reach Plants For Precise Watering
Cut the micro tubing to the desired length to reach a plant we want to water. Or if you need more distance attach two sections of micro tubing together. Wiggle on a micro sprayer.
Inserting barbs in a micro fitting can be a little challenging. You can put the end of the tubing in some warm soapy water to make insertion easier.
This is a three hundred sixty-degree umbrella sprayer. You can adjust the sprayer all the way from nothing to about 20-gallons per hour.
Now let’s check out the riser assemblies and micro sprayers. Attach another piece of micro tubing to the mainline. This is an adjustable stake. The micro tubing attaches here and you can adjust the flow rate with this little knob. Screw in a poly riser here. And screw in a micro sprayer on top. The micro sprayers come in half circle and quarter circle spray patterns. So decide what you need here.
These will spray as much as 14-gallons per hour. If you have a plant near the mainline, you don’t have to run micro tubing. You can insert one of these micro sprayers directly into your mainline. Punch a hole in your main tubing. And push in a micro sprayer.
If you have a hole in your mainline that you need to plug…, say… maybe you changed your mind about where you want to place your micro tubing, or if one of the fittings blew out and the hole’s now too big… you can insert a goof plug. The small size is for a newly punched hole and the larger side is for a hole that’s a bit bogged out.
There is a couple of small barbed tee’s that you can use to split off the micro tubing. And these are your end caps. To install, put the end of your tubing through one hole a few inches. Bend the tube and insert the end through the other hole.
But before you do this, do run the water just a bit first, to clear out any bits of tubing or other particles that may have entered your tubing while you were making punches. You can also trick this puppy out by purchasing more emitters. Maybe some drip tubing. More micro tubing and connectors. You don’t have to stick with the same emitters. Any type or brand of emitters can work with this setup.
Shop Sprinkler Warehouse For More Drip Kits And Supplies
Remember, Sprinkler Warehouse has Everything for your irrigation needs. So your trees, lawn, flower beds, and gardens are lush and beautiful. Questions? Chat with one of our superb customer service agents on Sprinkler Warehouse dot com. They really know their stuff and they’ll get you squared away. Subscribe to our YouTube channel for helpful tips, tutorials, and general sprinkler instruction. For Sprinkler Warehouse, I’m Adrian Sanchez, The Sprinkler Warehouse Pro. Later irrigator!


