



Toro RXC Controller Installation Guide
Table of Contents
Toro RXC controllers are easier to install when you have everything ready before mounting the unit or connecting irrigation wiring. A properly installed Toro RXC controller helps deliver consistent watering schedules, keeping your landscape healthy while reducing water waste caused by inefficient irrigation.
Whether you’re replacing an older controller or adding a new irrigation timer to your system, taking a careful, step-by-step approach helps ensure reliable performance from day one. Proper installation also makes future programming, troubleshooting, and maintenance much simpler.
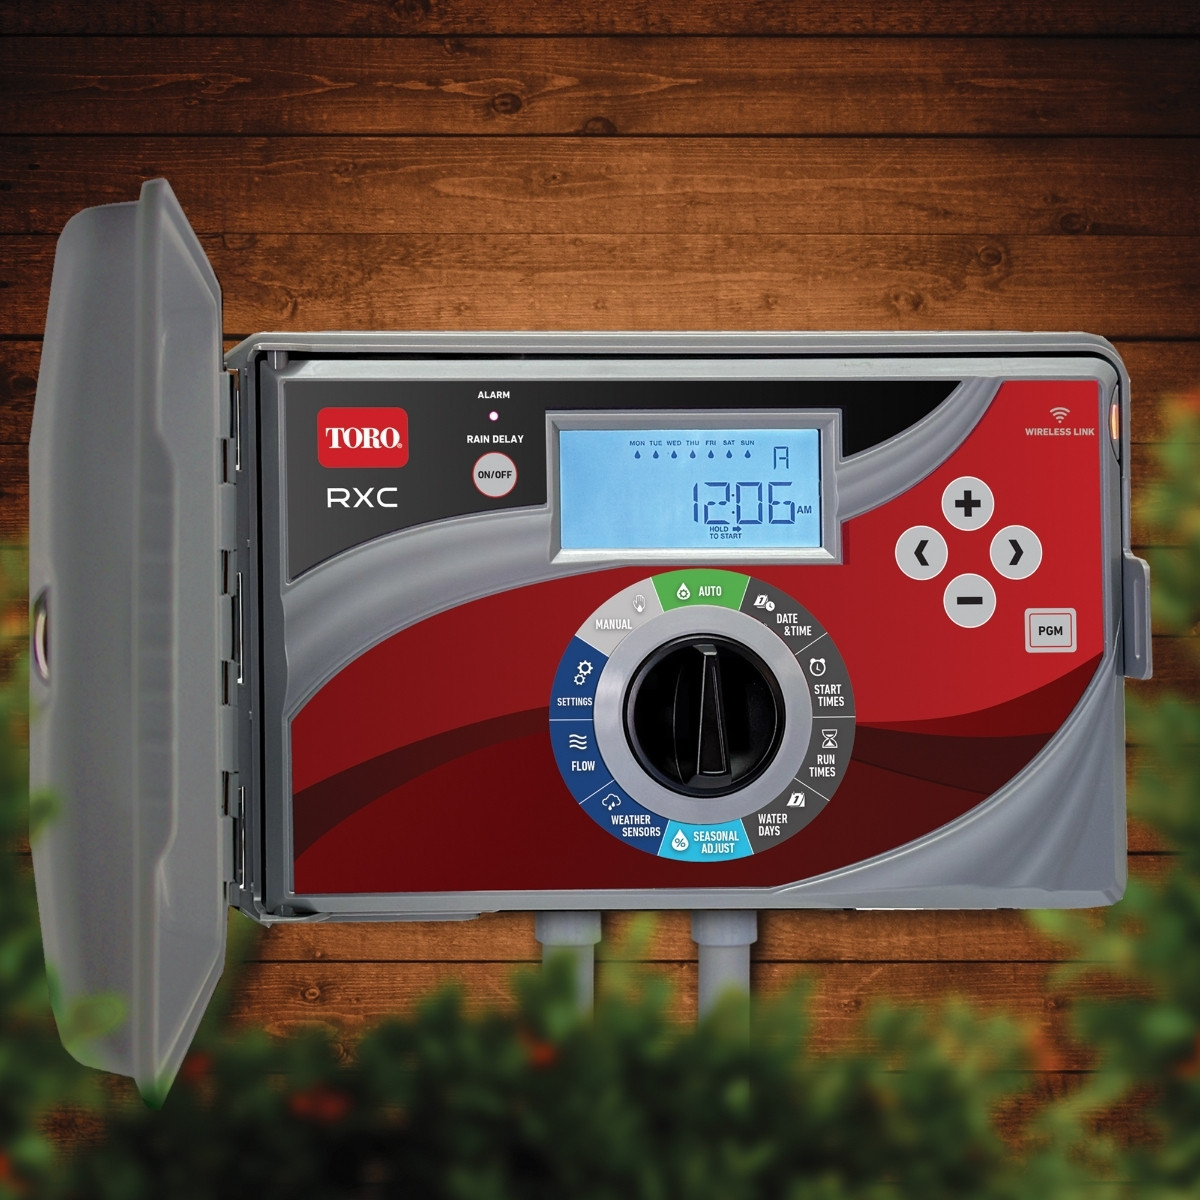
Installation Steps for Toro RXC Controllers
Installing a Toro RXC controller involves more than attaching the unit to a wall and connecting a few wires. Following these steps helps create a clean, organized setup that supports dependable irrigation operation.
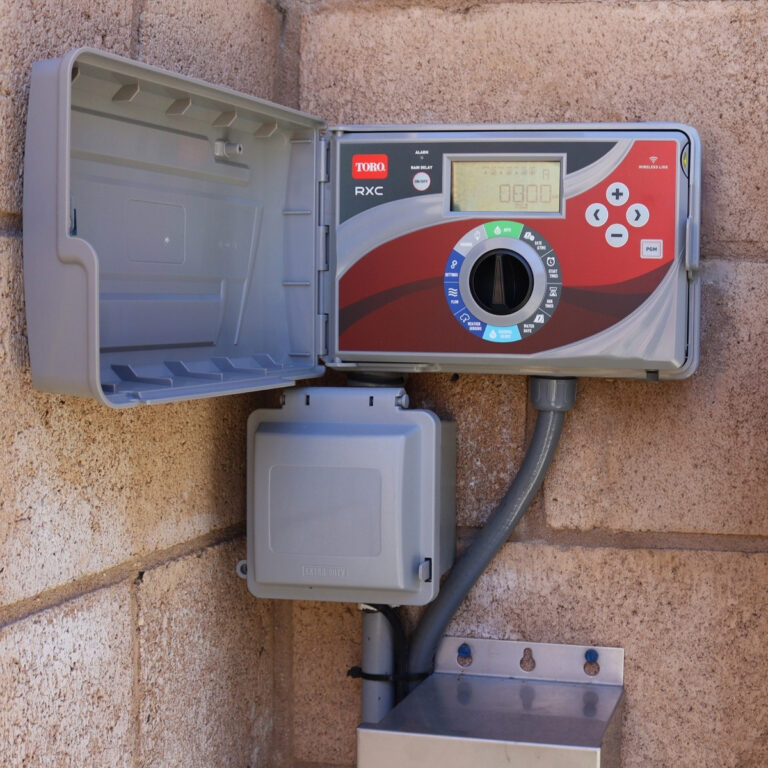
1: Select the Best Mounting Location for Your Toro RXC Controller
Choosing the right installation location helps protect your Toro controller and keeps everyday adjustments convenient. A well-positioned controller is easier to access while remaining protected from potential damage.
- Verify Installation Environment: Confirm whether your Toro RXC controller is designed for indoor or outdoor installation before mounting.
- Locate a Nearby Power Source: Choose a location with access to the appropriate electrical connection required for operation.
- Allow Comfortable Access: Install the controller where the display, buttons, and wiring terminals are easy to reach.
- Protect the Unit: Avoid placing the controller in areas exposed to direct sprinkler spray, flooding, or excessive heat.
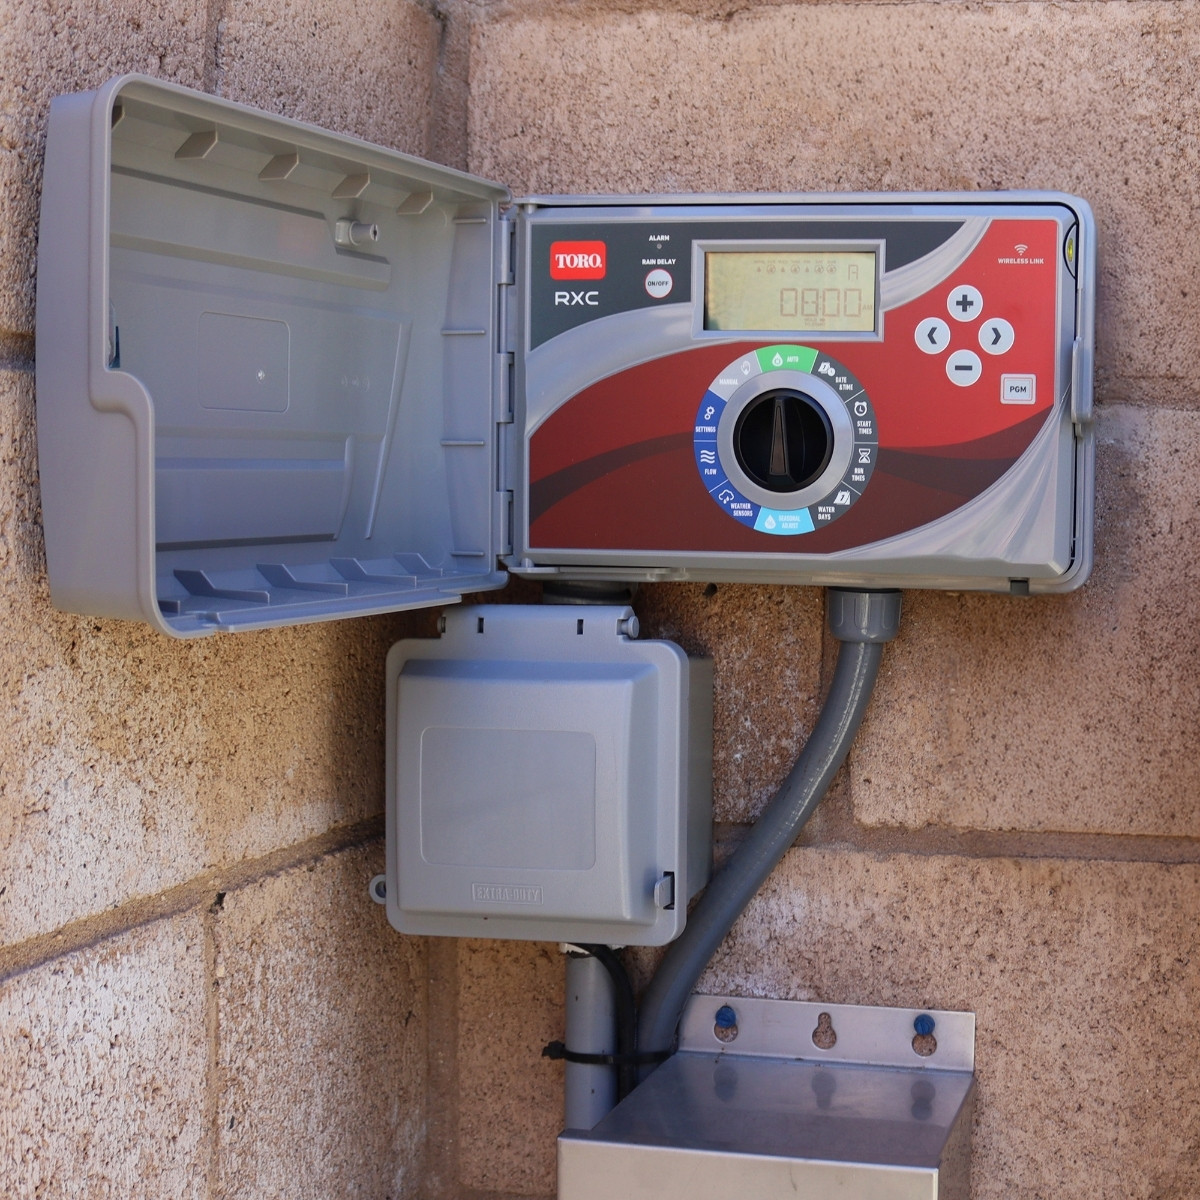
2: Mount the Toro RXC Controller Securely
A secure mounting location keeps wiring organized and prevents unnecessary strain on the controller. Following the manufacturer’s installation instructions helps ensure the unit remains stable over time.
- Mark Mounting Points: Use the controller’s mounting template or bracket to determine proper screw placement.
- Use Proper Anchors: Select mounting hardware that matches the wall material for a secure installation.
- Level the Controller: Fasten the controller evenly so it sits firmly against the mounting surface.
- Leave Wiring Space: Maintain enough clearance for irrigation wires and electrical connections.
3: Connect Irrigation Wiring
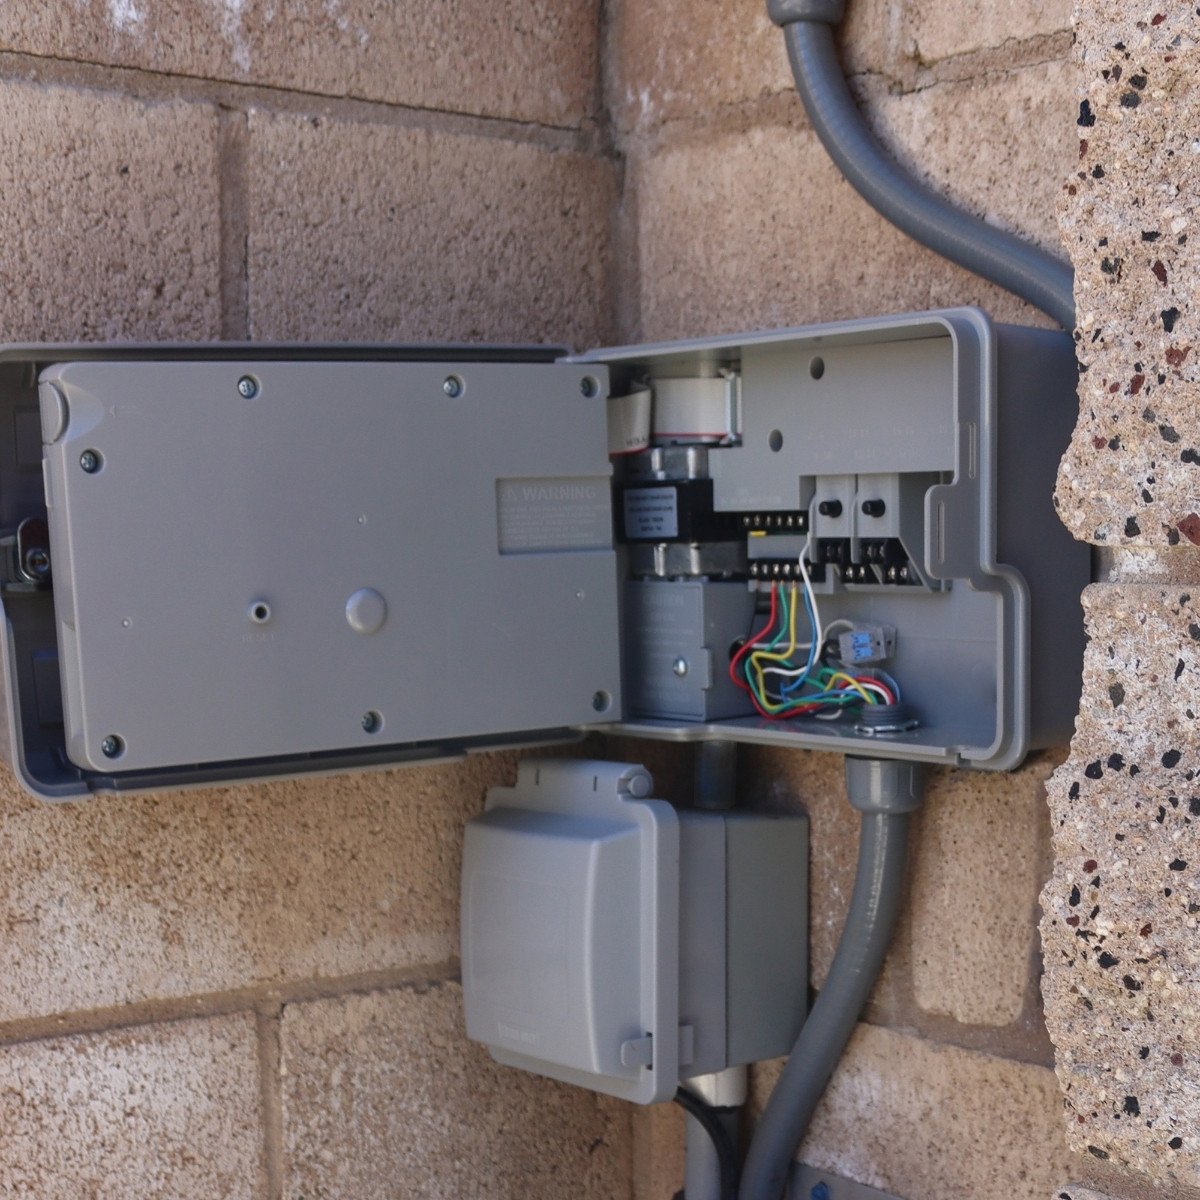
Proper wiring is essential for reliable controller operation. Taking time to label and organize each connection can make future maintenance much easier.
- Connect the Common Wire: Attach the system’s common wire to the appropriate terminal on the Toro RXC controller.
- Attach Station Wires: Connect each irrigation zone wire to its corresponding numbered station terminal.
- Connect Additional Components: Attach a master valve or pump start relay if your irrigation system requires these components.
- Complete the Power Connection: Finish the electrical connection according to Toro guidelines and local electrical requirements.
4: Configure and Test the Toro RXC Controller
After installation, test each irrigation zone before creating your regular watering schedule. This helps identify wiring mistakes, valve issues, or other problems before they affect your landscape.
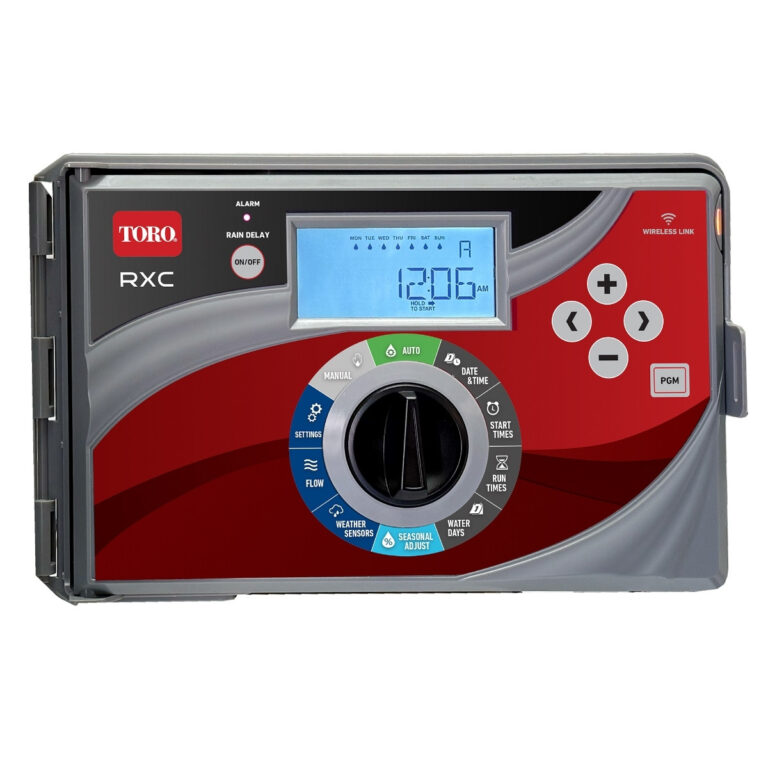
- Set Date and Time: Program the controller clock to ensure accurate watering schedules.
- Create a Schedule: Adjust watering days, start times, and station run times based on your landscape needs.
- Run Manual Tests: Activate each zone individually to confirm proper operation.
- Inspect the System: Check sprinkler heads, valves, and wiring connections for any issues.

Toro RXC Installation Checklist
Completing a final review before regular operation helps ensure your installation is working correctly. This checklist provides a quick way to confirm important setup steps.
| Installation Step | Why It Matters |
| Mount controller securely | Prevents movement and protects wiring connections |
| Connect common wire correctly | Ensures all irrigation zones can operate properly |
| Label station wires | Makes future maintenance and repairs easier |
| Verify power connection | Ensures dependable controller performance |
| Test every irrigation zone | Confirms the system works before scheduling |
Get Your Toro RXC Controller Ready for Reliable Irrigation
Installing a Toro RXC controller correctly creates a dependable foundation for efficient irrigation management.
By selecting the right mounting location, organizing wiring carefully, and testing each zone before operation, you can help your irrigation system deliver consistent performance throughout the watering season.
FAQs for the Toro RXC Controller
How to reset a Toro RXC irrigation controller?
To reset a Toro RXC irrigation controller, disconnect power, wait briefly, and reconnect it to reboot the unit. If you need to clear settings, consult the RXC manual for model-specific reset instructions, as this may erase saved schedules. For Wi-Fi models, unplug the Wi-Fi module for about 10 seconds before reconnecting it. Always record your watering schedules before resetting so you can restore your settings if needed.
How can you tell if your sprinkler controller is bad?
A failing sprinkler controller may show signs such as a blank or unresponsive display, zones that won’t turn on or off, programs that won’t save, or stations that activate at the wrong times. Before replacing the controller, check the power supply, wiring connections, fuse, and solenoid operation, as these components can cause similar symptoms. Running a manual zone test can also help determine whether the issue lies with the controller or elsewhere in the irrigation system.
Are all sprinkler controllers interchangeable?
No, sprinkler controllers are not universally interchangeable, although many can replace one another with the existing zone wiring. When choosing a replacement, you’ll need a controller that supports the same number of irrigation zones and is compatible with your system’s features, such as a master valve, pump start relay, rain sensor, or smart irrigation capabilities. Some models, including Toro Evolution controllers, also offer advanced programming and expansion options that may not be available on basic controllers.
If you want to stay up-to-date on the latest Sprinkler Warehouse news and make the most of all of our one-of-a-kind promotions, join the Irri-Gator community today. Happy watering, Irri-Gators!