Everything You Need To Know About Fixing Your Febco PVB
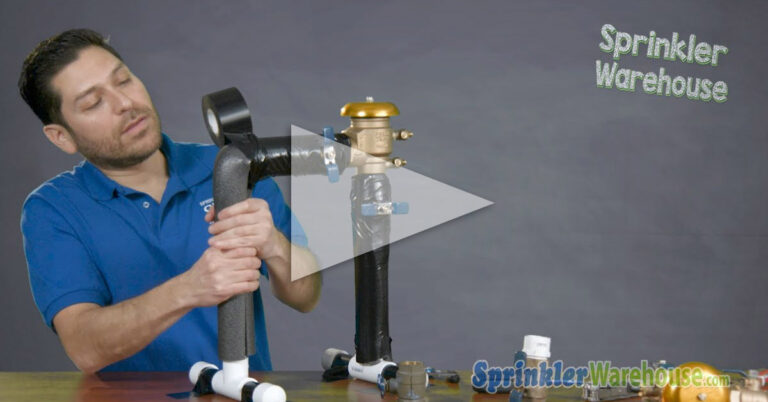
Have you ever woken up on a wintry morning and gone outside only to realize you’re standing or sloshing in water? You look to your left and all you is water spewing out of your backflow. It happens more often than you think and it’s a good indicator that the equipment was not properly winterized. In this article, we’ll discuss how to replace the bonnet and poppet of a Febco 765-1 PVB.
Getting To Know Your Pressure Vacuum Breaker
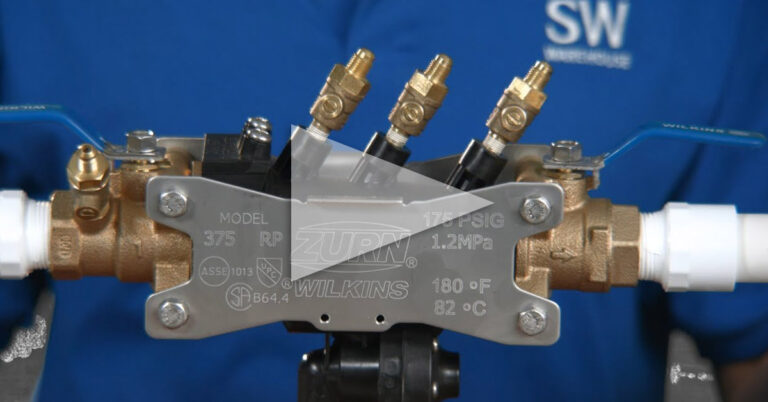
A Pressure Vacuum Breaker (PVB) is a type of backflow preventer. It allows the water from your supply to go through and flow into your valves which in turn, irrigates your lawn. However, if your device isn’t properly winterized water can get stuck. As we all know, when water freezes it expands and as a result of the expansion, this particular piece can actually fracture.
The model in this example is the 765 and the manufacturer is Febco. The number behind the dash indicates the size of the particular PVB. The Febco poppet bonnet assembly kit used in this demonstration contains the bonnet, poppet, and some lubricant or grease to aid in the repair process.
Methods To Remove A Broken Bonnet
There are a few ways to remove the broken bonnet as this part can be the most challenging part.
- Manually loosen the bonnet and take it off by hand.
- Utilize a set of pliers for leverage to loosen the bonnet.
- Use a screwdriver between the grooves and apply pressure from a hammer to loosen the bonnet.
- Grab a pair of channel locks and fasten them around the bonnet itself. Be careful not to squeeze or apply pressure on the actual brass.
- As a last resort, use a hacksaw to cut the bonnet into a few pieces.
How To Replace A Bonnet And Poppet In The FEBCO 765-1
- Inspect all the parts so that you can replace everything at once if necessary. Inside the PVB, you’ll find the bonnet, poppet, retainer, spring, and check assembly, in that order. Identify which parts need to be repaired before moving forward.
- Beneath the old poppet is a spring, which resembles a Christmas tree, it holds the poppet and checks assembly in place. If you need to replace the check valve, you would do so here.
- Then, compress the spring and the check valve in its place with the retainer resting on top. This may be a challenge to insert but it will fasten and groove into place when done properly.
- Next, install the new poppet. The kit includes grease that can be applied to the o-ring that is located around the poppet. The grease is meant to enhance the life of the ring. Once that is applied, insert the new poppet. Now that you have that in place, you’re ready to install the new bonnet.
- The bonnet in the kit comes with a new nut. You can take the nut off and place it to the side as you’ll need that to secure the bell later on in the assembly. Then, twist the new bonnet on and make sure it’s snug. Remove the broken bonnet from the bell and place the bell on top of the new bonnet.
- Lastly, secure the bell with the new nut that was previously set aside. There’s no need to tighten the nut fully, as you want the bell to be able to turn in circles. A good rule of thumb is to tighten it enough so it’s snug but it should be able to swivel around.
Download The Quick Guide To Replacing A Bonnet And Poppet On A Backflow Device
Thank you for watching our video on how to replace a bonnet and poppet on our FEBCO 765-1 model. For more information about preparing your backflow preventer from freezing temperatures watch the video Winterizing Your PVB and don’t forget to subscribe to our Youtube Channel.


