How To Replace A Pressure Vacuum Breaker
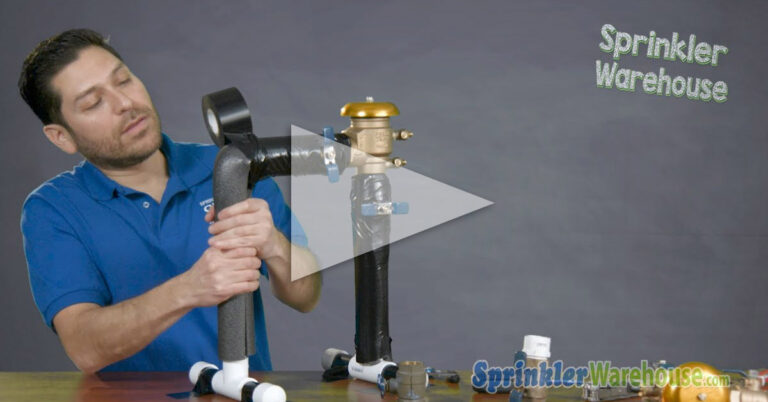
In this video, we’re going to replace this PVB that got damaged in a recent snowstorm. I’m Dwane Smith, your Sprinkler Warehouse product specialist. Let’s replace a backflow.
So, we’ve got a broken Febco 765 one-inch backflow. If you have a different PVB, the procedure should be very similar. We have kits to repair your backflow device, so if the body of your PVB is in good shape, you may just need a new bonnet poppet or a check valve. We covered that repair in a different video. The body of this backflow is damaged, so we’re going to replace the whole thing, which is pretty easy to do. We’re replacing this unit with an FEU-765-100, which has unions that you can take apart, so you wouldn’t necessarily need to cut the pipes with one of these already installed, but most backflows do not have these unions built-in and so you would need to cut the PVC pipe to free them.
For this repair, you’re going to need:
- New PVB is the same size as the previous one
- Shiny two-slip couplers
- Primer and glue
- Teflon tape
- Ratcheting pipe cutter or you can get by with a hacksaw
- Foam pipe insulation
- Pipe wrap tape
- Backflow bag
How To Replace A PVB
- Turn off the water heading into your sprinkler system. You may have a shutoff valve on your backflow like this one, but more likely your shut-off valve will either be near your water meter or close to where the water supply enters your house. If you can’t find the shut-off valve that’s dedicated to your sprinkler system, go ahead and shut off your water at the meter.
- Release the water pressure going into your backflow by opening up your test cock. That’s these two little parts right here. These are small ball valves, so you’re not tightening or untightening – you’re turning the small ball valve. The slit and the ball valve are open if they’re parallel to the direction of the water, and if they’re perpendicular, it’s closed. The inflow and outflow valves should be open to release any pressure in the pipes we’re about to cut.
- Now we’re going to cut these pipes six to ten inches off the ground, wherever you choose to cut. It makes it easier to cut both sides at the same height and gives yourself room between your cut and any other fitting so you have room to glue your couplers and room in the future if you should need to cut the pipe again. The idea here is to reuse the pieces of pipe. They’re already cut to size, and if they’re in good shape you don’t need to replace them. Unscrew these pieces from the backflow, pull the old teflon tape off these adapters, and apply. Now screw the adapters with the old piece into the new backflow or screw the new backflow onto the adapter to get the gist.
- Before applying primer and glue, dry your PVC. Apply primer to both sides of both of your couplers. Apply primer to the pipes coming out of the ground and to the pipes you attach to your backflow. Apply glue to the inside of one side of the couplers and the outside of the pipes attached to the backflow.
- Install the couplers. Apply glue to the outside of the pipes coming out of the ground and the inside of the couplers. Make sure you’ve got the new backflow oriented in the correct direction. Now shove this entire assemblage onto the pipes coming out of the ground. Make sure your test cocks are open.
- Close the outflow side of the PVB and open the inflow side.
- We’re going to slowly pressurize the system, so slowly open the ball valve going into your sprinkler system close the inflow side of the PVB and close the test.
- Reopen the inflow side of the PVB. A little water might come out of the belt, and that’s good – it means it’s working properly.
- Very slowly open the outflow side. We’re allowing air to escape and getting the poppet inside the PVB to properly seal, so if you follow these steps you’ve got a working PVB.
It’s Not Over Until The Backflow’s Over
Don’t stop until you’ve insulated your system. You don’t want to be caught off guard, and you don’t want to be out here doing this in the cold. It’s no fun trying to do this with freezing fingers. Remember to have the insulation cover these ball valves on the PVB as well as leave the handles out so you can turn them ON and OFF, and cover the insulation and pipe wrap tape. We get asked by a lot of customers: How do you wrap the tape around the pipe when your backflow is really close to a wall or a fence and you can’t get the tape roll between your pipe and the fence? Here’s how to use a small cylindrical object, such as this piece of PVC or even a pen or a pencil. Load some tape on the object. Now you’ve got a skinny tape roll that’ll fit where you need it.
Finally, I highly recommend a backflow bag to cover your PVB. This will help protect it in case of a hard freeze. Buy a quality one from Sprinkler Warehouse – something with a plastic coating. Do not buy one of these canvas ones online real cheap. These are not good just don’t I really like this brand called the insulated backflow bag the quality is really good to get everything you need to replace your PVB on sprinklerwarehouse.com.
Sprinkler Warehouse has everything you need to make your trees, lawn, flower beds, and gardens lush and beautiful. For answers to any of your questions, chat with one of our incredible customer service agents on sprinklerwarehouse.com.