Reduced Pressure Zone Assembly: Inline Installation
 1")
Because the reduced pressure zone assembly can be used on systems that distribute chemicals, underground installation requirements are particularly stringent. A drain to the atmosphere is usually required and should be provided. This means a PVC drain fitting sits at the bottom of the enclosure and connects to a drain line. The drain line should have an adequate slope. It drains water away from the valve enclosure to an area above ground with continuous gravity flow. It should not drain into a pit with a rim higher than twelve inches below the reduced pressure zone assembly. You’d need to dig the drainage trench according to the irrigation site plan before installing the assembly.
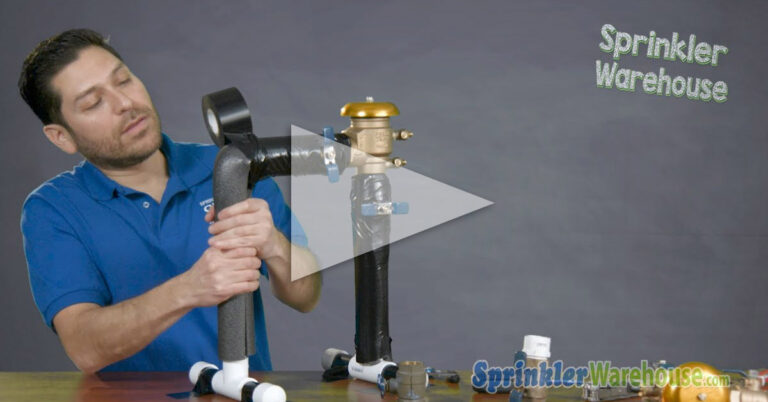
The image below shows the Febco 825Y Reduced Pressure Zone Assembly. Febco is one of the leading manufacturers of reduced pressure zone backflow preventers.
 2")
Typically, a reduced pressure zone assembly enclosure can be either a job-built concrete vault or two twelve-inch deep valve boxes stacked vertically with bottoms together. If you use two valve boxes, you’ll discard the lid of the bottom box. Dig a hole at least twenty-six inches deep and three inches larger at the bottom than the dimensions of the top of a box. We recommend filling the hole with some drain rock to provide a flat, stable surface twenty-four inches below grade. Glue a PVC drain fitting into a 1-1/2″ sanitary street quarter bend and set with the top of the drain resting on the surface of the rock. A drain line connects to the quarter bend and slopes downward to the above-ground atmosphere.
Install the reduced pressure zone assembly inline between the holes in the bottom valve box. Otherwise, the steps for connecting the reduced pressure zone assembly inline are the same as for connecting a double check valve assembly inline as explained above.
Reduced Pressure Zone Assembly: Above-Ground Installation:
Steps to install an RPZ in an above-ground configuration are the same as for installing a double check valve above ground, either indoors or outdoors, as explained above. When installed indoors, a drain must be provided for the relief valve. Steps to install a reduced pressure zone assembly in an “n” configuration are the same as for installing a double check valve above ground outdoors except that it isn’t necessary to install the two top elbows or unions as these come built into the assembly.
Maintenance
If the assembly is underground, clear any debris from the assembly enclosure. Open the hose bibb inside the valve box and check the end of the drain line to be sure the drain is flowing freely. After closing the isolation valve and blowing out the lines, open all the valves on the reduced pressure zone assembly halfway. If the assembly is located inside a home or structure, check the drain line for obstructions and ascertain that the assembly is still readily accessible.
Have the assembly tested and inspected annually in accordance with local code. Scheduling an inspection just before reactivating the system in the spring will get the season off to a good start.
Every five years, replace all non-metallic internal parts.
Reduced Pressure Zone Repair
Each RPZ comes with explicit instructions for maintenance and repair. Rubber components, check modules, and seals can be replaced by a mechanically competent homeowner or plumber. Any time the access cover is opened for any reason or the assembly is disconnected from the system, inspection, and testing by a state-certified backflow assembly inspector may be required before the device is put back into service.
Replacing the entire RPZ with a new one is a fairly simple process. Disconnect the assembly section at the unions, and duplicate the section using a new reduced pressure zone assembly, pipe, and fittings. Then reconnect, test for leaks, and call for an inspection. If the RPZ is underground, make sure underground installation is still allowed under local codes.