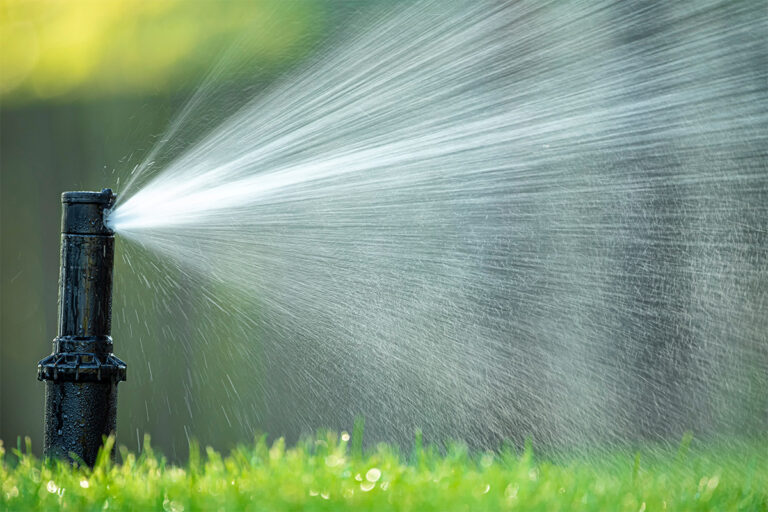




How to Clean a Sprinkler Head
Table of Contents
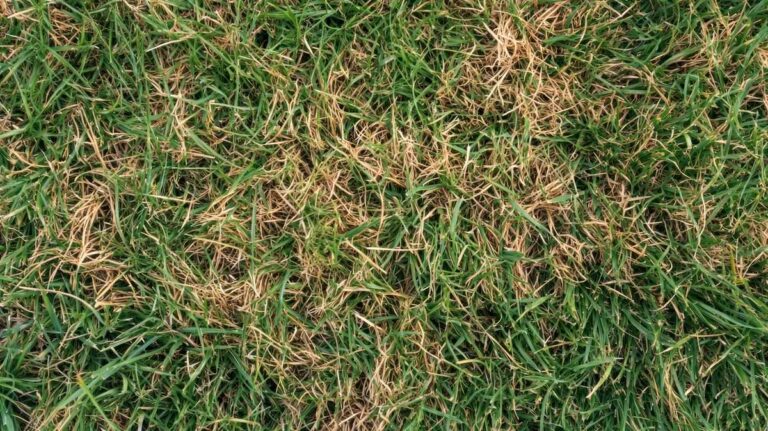
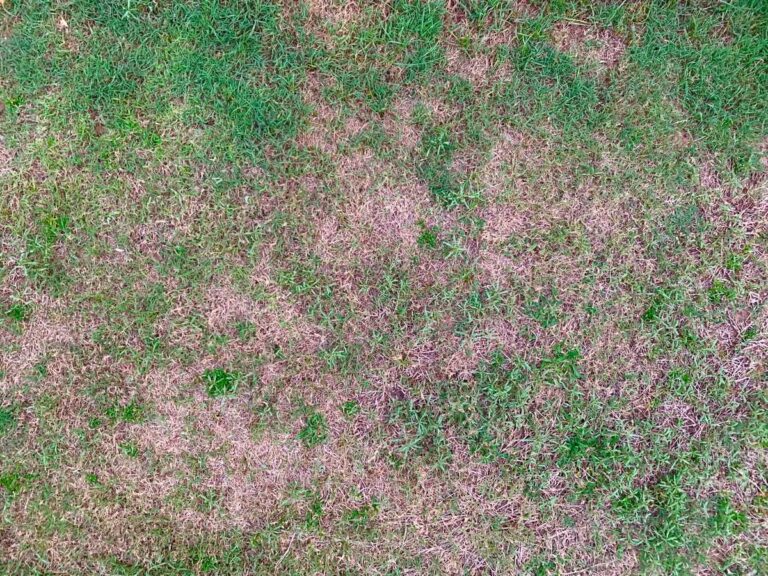
If your home sprinkler system isn’t delivering the same lush results as it used to, then dirty or clogged sprinkler heads may be to blame. Over time, sprinkler heads can become blocked by dirt, grass clippings, hard water deposits, or even underground critters.
But the good news is that cleaning sprinkler heads is easier than you might think, and doing so can save you water, reduce stress, and help your yard thrive.
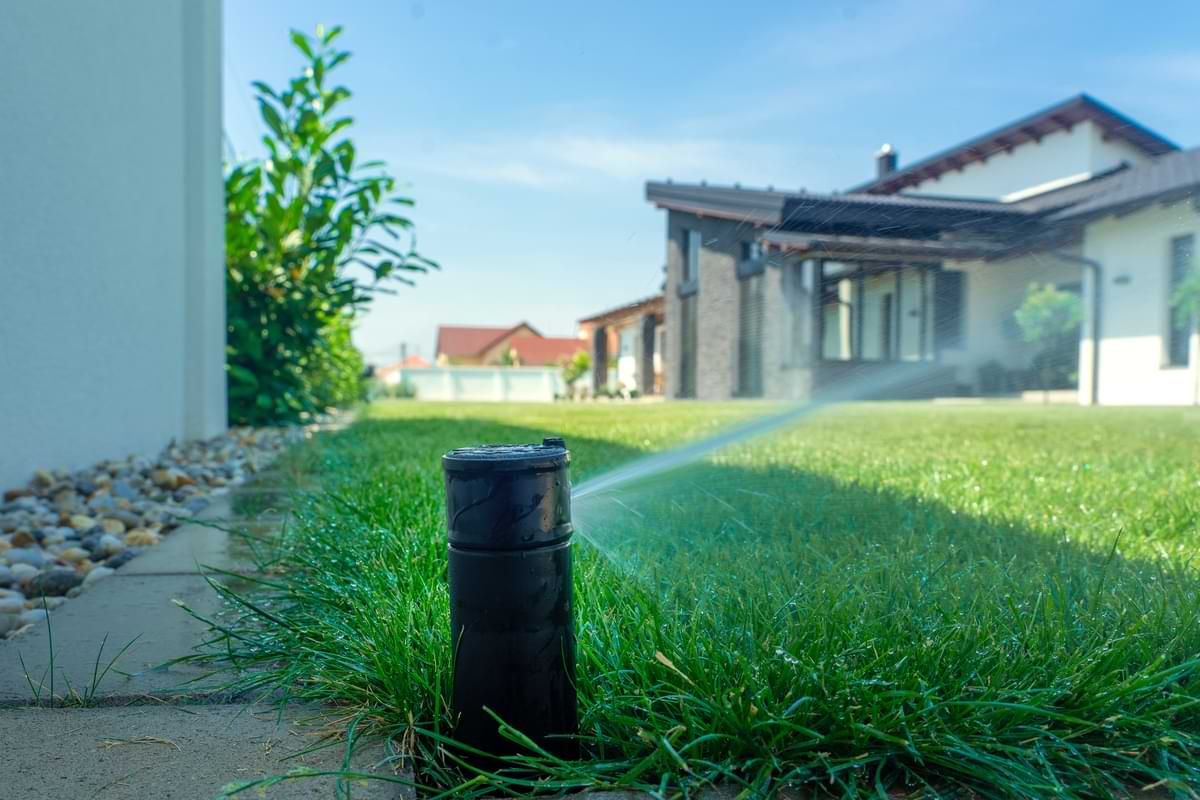
How to Clean Sprinkler Heads
Now that you know why sprinkler head maintenance matters, let’s walk through the simple steps to clean, inspect, and restore your sprinkler heads—starting with identifying the signs of trouble.
Step 1: Identify Problem Areas
Before diving into cleaning, take a walk around your yard while your sprinkler system is running. Look for sprinkler heads that are:
- Not spraying water at all
- Spraying in odd directions
- Producing uneven spray patterns
- Leaking at the base
These are all signs that cleaning—or possibly replacing—a head is necessary.
Step 2: Turn Off the Water
Always turn off the water supply before performing any maintenance on your sprinkler system. This prevents water waste and keeps you from getting soaked mid-clean.
Shutting off the system also protects you from accidental pressure bursts. If your system is automated, disable any scheduled watering cycles to avoid surprises.
Step 3: Remove the Sprinkler Head
Use a flathead screwdriver or a pair of pliers to gently lift and unscrew the sprinkler head from its riser. Be careful not to damage the threads or surrounding hardware.
If the head is stuck, wiggle it gently side to side to loosen dirt around the base. Make note of the sprinkler head type and pattern in case it needs replacement later.
Step 4: Clean the Nozzle and Filter
Once the head is removed:
- Rinse the nozzle under running water to dislodge any debris.
- Use a thin wire, toothpick, or the manufacturer’s cleaning tool to clear the spray holes.
- For filters (often located inside the stem), rinse under water and scrub gently with an old toothbrush if needed.
- For stubborn mineral buildup, soak the sprinkler parts in a vinegar solution to help dissolve deposits.
Step 5: Reassemble and Test the Sprinkler Head
Reattach the sprinkler head and make sure that it’s firmly in place. Turn the water back on and test the system. Adjust the spray direction or arc as needed to ensure even coverage.
Watch closely for any leaks or irregular spray patterns. If issues persist, the head may be damaged or the internal filter may still be blocked.
Step 6: Preventative Maintenance Tips
Don’t wait for problems to pop up. These simple, regular habits will keep your sprinkler heads working properly and your yard looking its best year-round.
- Monthly Checks: Walk your yard once a month to check for clogged or misaligned heads.
- Trim Around Heads: Grass and mulch can block spray patterns, so keep the area around each head clear.
- Seasonal Flushes: At the start and end of the watering season, run the system with all heads removed to flush out any debris from the lines.
- Avoid Mowers and Trimmers: Sprinkler heads are tough, but not invincible. Be careful when mowing or trimming the edge of your yard to avoid accidental damage.
Clean Sprinkler Heads Make for a Healthy Setup
Cleaning and maintaining your sprinkler heads doesn’t require fancy tools or special skills—just a little attention and a few minutes of your time.
By keeping your sprinkler system in good shape, you ensure a healthier lawn, better water efficiency, and a lower water bill. It’s a simple habit that pays off in greener, cleaner ways.
FAQs for How to Clean Sprinkler Heads
How do I clean sprinkler heads?
How often should I clean my sprinkler heads?
Can I use WD-40 on sprinkler heads?
If you want to stay up-to-date on the latest Sprinkler Warehouse news and make the most of all of our one-of-a-kind promotions, join the Irri-Gator community today. Happy watering, Irri-Gators!