How Winterization Could Help Your Irrigation System
This article explains how to prepare for cold weather as well as how to repair damage caused by cold weather. The backflow preventer is a costly part of your sprinkler system, and despite its tough-looking construction, it can be surprisingly fragile under freezing temperatures. If you live in a part of the country where freezing temperatures are common, you should take the time to prepare & protect your backflow preventer (and other components) from freeze damage. The good news is that backflow preventers are surprisingly easy to winterize or even repair! In fact, most can be winterized in less than 5 minutes or repaired in under 15 minutes using tools any homeowner would have on hand!
Cold Weather: Prepare
Step One:
Start by first shutting off the water supply to the sprinkler system.
Step Two:
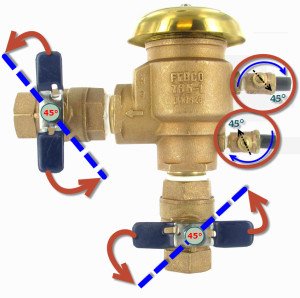
Next, ensure that the ball valve controlling the incoming water is closed and the ball valve controlling the water going out to the sprinkler system is open.
Step Three:
Locate the test cocks (i.e. test ports) located on the side of the backflow preventer and remove any caps of protective covers from the ports.
Step Four
Locate the adjustment screw on the side of the test cock and using a flat head screwdriver, turn that screw (to the right) approximately one-quarter turn and leave the screw in the 45° position. (Repeat this procedure for the remaining screw(s). As you do this some valves will expel water, others may not, this is normal).
Step Five:
Finally, turn the ball valves to a 45-degree angle. This ensures that water will not become trapped behind the ball valve while in the fully open position, while at the same time allowing for continuous flow in and out of the backflow preventer.
Step Six:
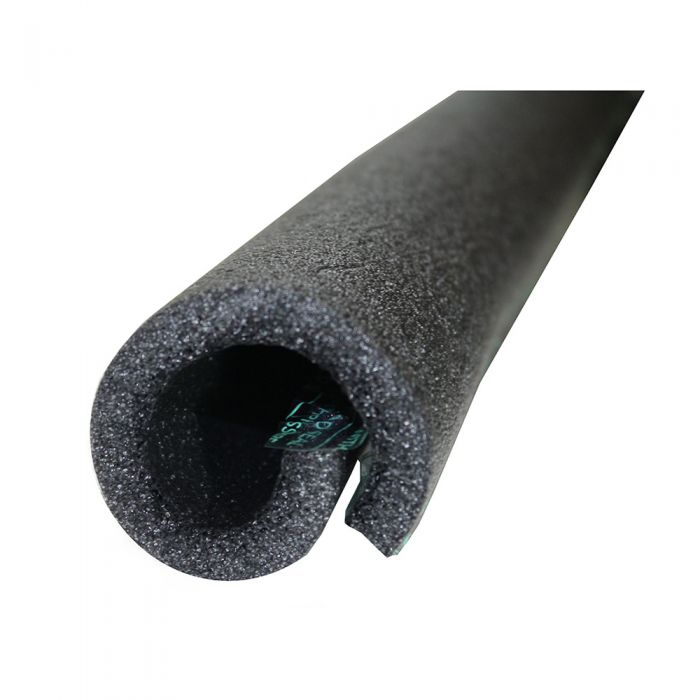
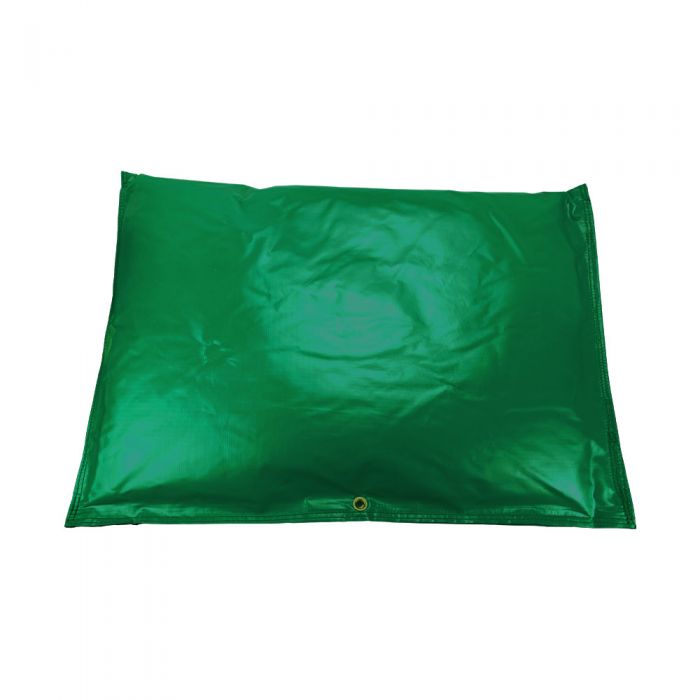
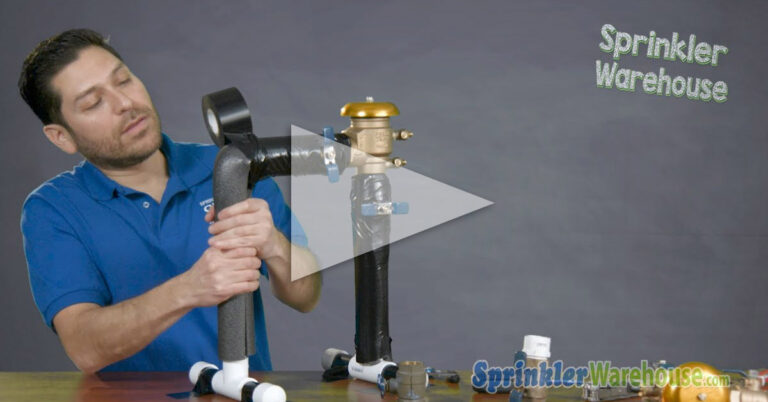
INSULATE-INSULATE-INSULATE!!! If you are unable to winterize your Backflow preventer or just want another layer of protection, be sure to insulate your exposed devices (hydrants, Backflows, pipes, etc) from direct exposure.
(Directions apply to the common pressure vacuum breaker style of backflow preventer)
Repairing The Damage
The process to repair your backflow preventer if it has sustained freeze damage is very easy, so long as the housing of the device did not crack under the pressure. It’s most likely that the bonnet and poppet assembly within the device broke under the pressure from the frozen water. They are designed to give way under pressure to protect the backflow preventer from more extensive, expensive damage.
Step One:
Start by turning off the water to your sprinkler system. This can be done at the primary shutoff valve. It is not uncommon for this valve to be located underground, in which case you would use a long metal key handle to turn the valve and shut the water off. If this valve is by chance located in an area where it can be exposed to cold temperatures be sure it is insulated and/or protected from the cold.
Step Two:
At the backflow protector, find the valve handle controlling the incoming water. This is usually located on the pipe coming up from the ground into the base of the backflow preventer. Turn the handle 90-degrees to the right, shutting off the flow of water into the device. You will know the handle is in the off position because it will be positioned horizontally and parallel to the ground. Next, locate the valve handle for the water coming out of the backflow device. Turn the handle 90-degrees just as you did the previous handle. When closed this handle will be vertically aligned, going up and down.
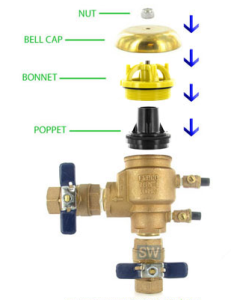
Step Three:
Using a flat-head screwdriver locate the Test ports (i.e. test cocks) located on the side of the device and turn the screw slightly, allowing any pressure being held inside the device to be relieved. Repeat this for both screws.
Step Four:
Using an adjustable wrench, carefully remove the nut on top of the bell cover. Lift off the bell cover to access the bonnet and poppet assembly. Remove the nut on the top of the plastic bonnet and remove any and all plastic bits and pieces that have broken. Once the inside of the device is clean and free from any debris, carefully take your new bonnet and poppet assembly and screw it down into the place where the old one was. Be sure to only tighten the new parts down into the device hand tight.
Step Five:
Replace the nut on top of the bonnet and poppet. Next, replace the bell cover and nut. Additionally, replace the bell cover on top of the backflow preventer and tighten it moderately. Also, close the test ports on the side of the device using your flathead screwdriver.
Step Six:
Cover your backflow preventer pipes with insulating tape and take time to cover the entire device with some kind of insulation. Perhaps an insulation sleeve or a decorative cover
The Backup Plan
Even if your backflow preventer is not damaged, you may want to have a bonnet and poppet assembly on hand just in case your get caught off guard! Surprisingly, backflow repair kits are an item that is highly susceptible to the supply and demand curve. When they are in demand, they are in HIGH demand. This means you may not be able to find one locally or they may be severely overpriced as a result of the demand. Click here to shop for backflow repair parts.
Buy a bonnet and poppet assembly to keep in case of emergencies. You never know, it may just save the day when you least expect it! Or perhaps you can help to save the day for one of your neighbors in distress. Nevertheless, it’s a good idea to have one on hand and be prepared with a backup plan.


