Drip Irrigation With Two Separate Zones
For the drip system I’m installing here at the house, I wanted to have two separate zones.
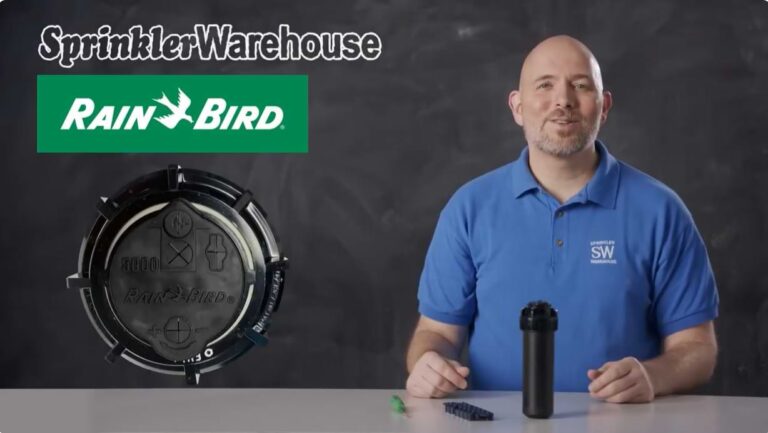
Instead of attaching it to the main sprinkler system, I’m going to show you how to get it done right here from the hose bib. Alfred Castillo here, the Sprinkler Warehouse Pro. Let’s get started.
Start With The Dual Outlet Faucet Adapter
For this assembly, you’re going to need a dual outlet faucet adapter or “Y”. Get one that has ball valves in it, so you can swap water flow. You will need two separate head assemblies each consisting of a backflow preventer, an Inline canister filter, a pressure regulator, and a compression adapter. I’m also putting mine on a timer so I’m going to need two hose timers. Additional swivel adapters will make installation easier.
Now, I’m cheating here because I just bought two Hose Bib Drip Connect Kits with Hose End Timers. I’m starting here at the hose bib and screwing on my “Y”. Now I’m putting a timer on each side. You may need a swivel adapter to make this work.
On each of these items, there should be a little rubber washer. You can pick up a pack of these rubber washers cheap on SprinklerWarehouse.com. I highly recommend you throw a pack in your cart, just in case a washer fell out during shipping, and also to have as replacements for when your washers get old, which they tend to do.
Attach Backflow Preventer & Connector
Now to attach the backflow preventer on each. Do notice the lack of pliers or channel locks in my hand. Your hands are the only tools you need here, and your hands are the only tools you should use on these parts. They just need to be hand-tight. This is the filter, it goes on next, and then the swivel adapter. After that attach the pressure regulator so your drip emitters will work properly. The compression swivel attaches to your mainline poly. Now I’m going to attach it first before screwing on the connector.
The one I’m using is for half-inch tubing. I find that rocking the poly tubing back and forth helps it go on the compression fitting easier. Also putting the end of the tubing in warm water to soften it helps immensely. As a reminder one of the reasons that you installed multiple zones may be that the flow rate from your water source was insufficient to water all your plants at once. Now if that’s the case you’ll want to have your timers set to go off at different non-overlapping times.
Adding Zones To Sprinkler System
So, what if you need more zones? Well, you may need to install your drip system into an existing irrigation system in that case. However, you could pick up one of these brass manifolds. And then repeat everything I’ve just done. There’s a pretty good chance you’ll need to get creative with some adapters and such to get it all to fit in this limited real estate.
Do you have questions about setting up your hose bib drip connection kit? Well, chat with one of our superb customer service agents on SprinklerWarehouse.com. They really know their stuff and they’ll get you squared away. Remember, Sprinkler Warehouse has everything for your irrigation needs so your trees, lawns, flower beds, and gardens are lush and beautiful.
Please subscribe to our YouTube channel to get the most out of our user-friendly shop and compare website.
For Sprinkler Warehouse, I’m Alfred Castillo, your Sprinkler Warehouse Pro!


