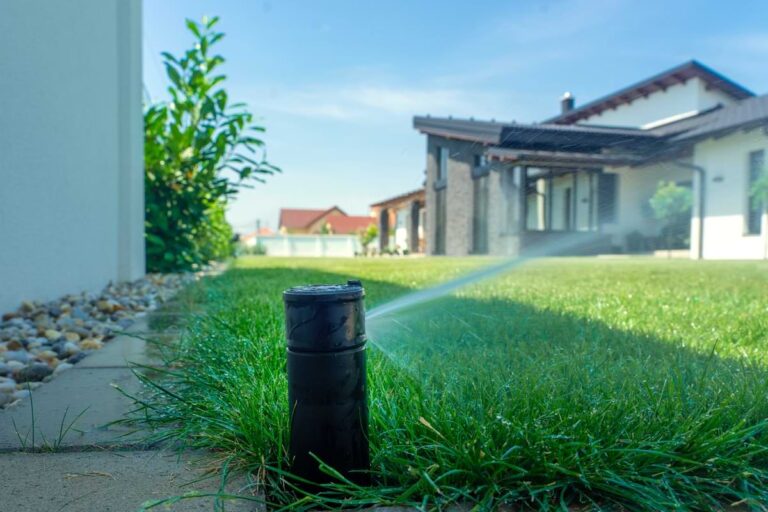
Adding a Sprinkler Head to a Zone, Made Easy
Are you trying to increase the size of your garden? If you want to make sure that your plants stay happy and healthy, then you need to increase the size of your sprinkler system. The easiest way to do so is to add new rotors or spray heads to each zone. Adding a sprinkler head to an existing zone takes a bit of work, but can be extremely rewarding for backyard DIY enthusiasts. Let’s dive in by discussing the setup process before reviewing the steps to add a sprinkler head to an existing system.
Before Adding a Sprinkler Head
Before we start digging and cutting, the first step is to determine which zone you want to add the new sprinkler head to. Next, measure or estimate the current water pressure and flow rate. Adding too many heads to one zone can reduce performance, so try to calculate the GPM requirements for additional heads before making any major changes. If you’re confident that the zone can handle more sprinkler heads, then you can carry on with the process.
Before adding a sprinkler head to a zone, you’ll also need to locate any underground utilities. Hitting a gas or electric line can be dangerous and expensive, so try to gauge where you’ll need to dig before getting started. Most utility companies will mark the locations of buried gas, electric, water, and sewer lines if you contact them ahead of your project, so try to be proactive.
Materials Needed
The last thing we need to do before adding our new sprinkler heads is gather all of our materials. While some of these items may not be necessary for your specific build, hopefully this list will give you a good starting point before you start making changes to your irrigation system.
- Sprinkler Heads – Choose a type compatible with your system and coverage needs.
- Risers – Connects the sprinkler head to the main line and allows proper height adjustment.
- PVC or Poly Pipe – Extend or modify the lateral line as needed.
- T-Fitting or Elbow Fitting – Joins the new pipe to the existing line and directs water flow to the new head.
- PVC Primer and Cement (if using PVC) – Creates a secure, watertight bond between PVC pipes and fittings.
- Shovel or Trenching Tool – For digging a small trench to access or install the irrigation line.
- Pipe Cutter or Saw – Cuts PVC or poly pipe to the correct length for installation.
How to Add a Sprinkler Head: Step-by-step
Now that we’ve made the necessary preparations, we can finally add a new sprinkler head to your system.
- Turn off the water supply
Before cutting into any pipe, shut off the irrigation system at the main valve to avoid flooding or injury. If your system has multiple zones, you can also just shut off the specific zone where you’ll be adding the sprinkler head. Also, remember to flush the pipes before beginning work, as this will ensure that when you cut the pipe, water won’t spray unexpectedly.
- Dig to expose the lateral pipe
Locate the spot where you want to add a sprinkler head and dig very carefully down to the pipe, making sure not to damage the pipe with the shovel. Excavate enough dirt that the pipe will not be in danger of getting dirt or debris into it.
- Cut the pipe
Once the pipe is fully exposed and the water is off, measure and mark the section where you want to insert the T-fitting. Using PVC ratcheting cutters or a saw, cut out a section of the PVC pipe wide enough to install the new fittings. Remove any burrs or rough edges from the cut ends to prevent leaks later on.
- Install the fittings
With the pipe cut, attach the T-fitting to the main line. For PVC, apply primer to the pipe ends and inside the fitting, then apply PVC cement to ensure a secure bond. If using poly pipe, simply push the pipe into the push-fit T-fitting until it clicks securely. Make sure to plan ahead so that the tee is facing straight up; remember that solvent cement dries very fast.
- Attach the new riser and sprinkler head
Once the T-fitting is in place, attach the riser to the branch of the fitting. Secure the riser with pipe clamps or stakes to keep it vertical and stable, preventing movement when the head pops up or retracts. Finally, screw or insert the sprinkler head onto the top of the riser, ensuring it is level and at the proper height for your lawn or garden.
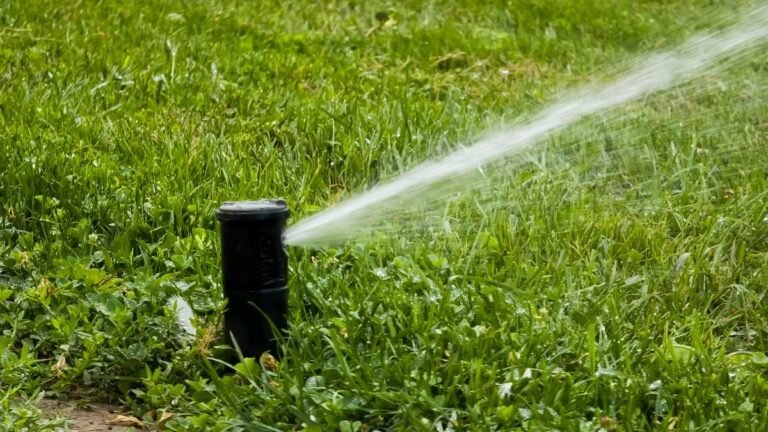
- Test the new sprinkler head
Turn the water back on and activate the sprinkler system. Check the head to ensure that it pops up fully, sprays the intended area, and retracts correctly when turned off. Now is also the best time to make minor adjustments to the spray direction or arc to ensure full coverage. A successful test confirms that the installation is complete and ready to water.
Common Mistakes to Avoid
Adding a sprinkler head is a fairly straightforward project, but small mistakes can lead to bigger problems down the road. By being aware of the most common errors and knowing how to avoid them, you can save yourself time, money, and frustration while keeping your lawn healthy and evenly watered. Here are some common mistakes irrigators make when adding sprinkler heads to an existing system:
- Overloading zone capacity (adding too many heads)
- Forgetting to turn off the water supply
- Not using primer before cement
- Installing the head too high or too low
- Mixing different head types in the same zone
FAQs
How many sprinkler heads can be in one zone?
The number of sprinkler heads in a single zone depends on the water pressure and flow rate of the system, as well as the type of sprinkler heads installed. Most residential systems can handle about 5 rotors or 10 spray heads, but certain heads may allow more. Overloading a zone can reduce water pressure in the entire system, so it’s important to calculate your system’s total flow capacity before adding more sprinklers.
Is it better to use PVC or poly pipe?
Both PVC and poly pipe are commonly used in irrigation systems, but every setup is different. PVC pipe is rigid, durable, and ideal for permanent underground installations. Poly pipe, on the other hand, is more flexible and easier to install, making it the preferred choice for simple setups. For most residential systems, either will work well, but as a rule of thumb, use PVC if you want a long-lasting, sturdy system, and choose poly if you need flexibility and easier handling.
How much does it cost to add a sprinkler head?
Adding a sprinkler head to a zone can cost anywhere from $10 to $100 or more, depending on the type of head. At Sprinkler Warehouse, you can shop from over 100 different types of rotors and over 200 types of spray heads, so you’re sure to find one that fits your budget. You’ll also be able to pick up any pipes, fittings, and other sprinkler accessories that you’ll need to complete the installation.