Everything You Need To Know To Install A Drip System
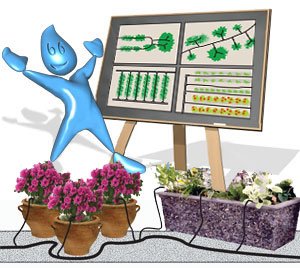
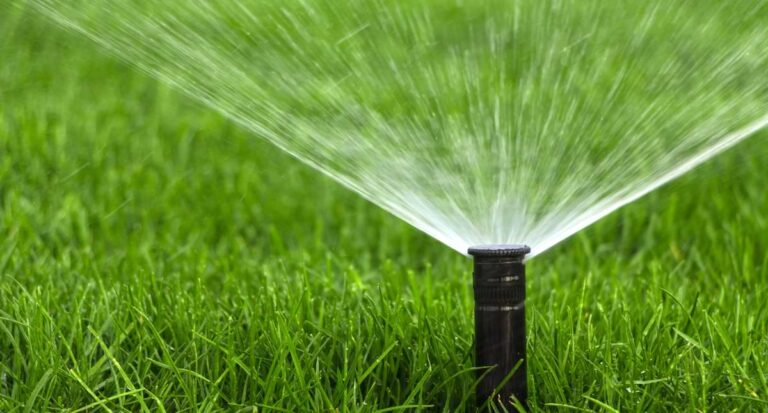
This is a step-by-step drip irrigation system installation guide. Compared to conventional sprinkler systems, drip irrigation systems are simple to design, inexpensive, and easy to install.
Traditional high-volume, high-pressure sprinkler systems require careful planning, extensive trenching, and special tools and glues. These efficient systems deliver water measured in Gallons Per Hour (GPH), and apply water only where it is needed. This can improve plant health, conserve water, and reduce the growth of weeds all at the same time.
Step 1: Planning and Designing
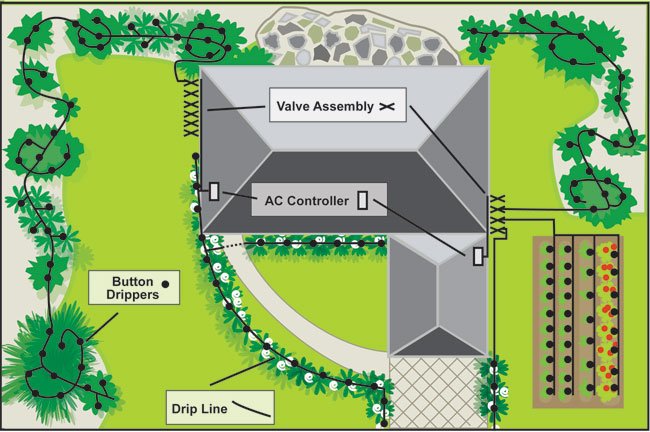
When designing an irrigation system consider the various areas and plants to be watered. We suggest using a drip irrigation application on trees, shrubs, vines, vegetables, flowerbeds, plant containers, pots, any individual plant, and narrow planting areas.
Create a plant list:
The list and locations of small and large trees, shrubs, ground cover, flowerbeds, and vegetable gardens. Then divide the plants into groups with similar watering needs and plants that are in full sun or in shaded areas.
Drip Irrigation System Layout
About The Soil:
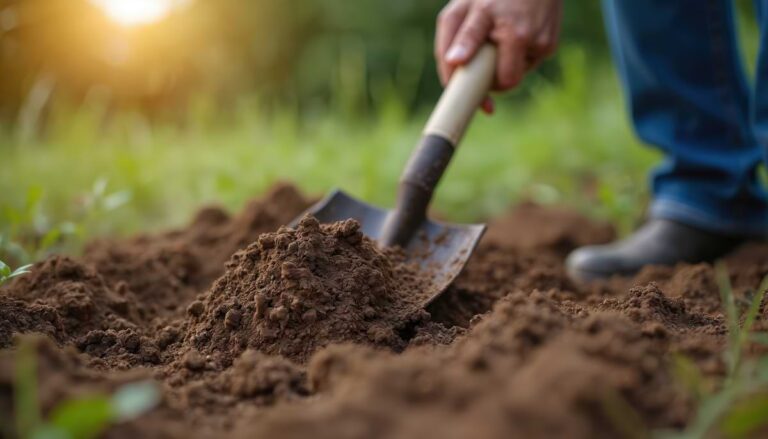
Soil is like a storage room for plant nutrients. It is the medium through which water and nutrients move. Furthermore, it anchors plants and is a reservoir of water for plant growth.
There are various types of soil with different characteristics that determine what types of drippers or micro sprinklers should be used. To determine which type of soil you have in a given area, take a handful of dry soil, grip tightly and release.
Sandy Soil:
Sandy soil will crumble and fall apart when released. Water will tend to go straight down in this type of soil. Use closely spaced 2GPH drippers 10-12″ apart or micro-sprinklers in a wider spacing configuration.
Loamy Soil:
Loam soil will hold together but then easily break apart. Water will move slowly and will spread evenly. Use 1GPH drippers with 16-18″ spacing.
Clay Soil:
Soil containing clay will hold together without breaking and water will be absorbed very slowly. Use .5 GPH or 1 GPH dripper with an 18-24″ spacing.
Click here to learn more about how to determine your soil type
Step 2: Choosing A Method To Start
Determining how to start a system and what products to select are important decisions that should be made carefully. The correct choice will depend on the size of the area, the availability of water outlets, the garden design, and the type of plant material to be irrigated. From the following three methods, you can choose the start method that is appropriate for your drip application.
Method 1 – Faucet Connection
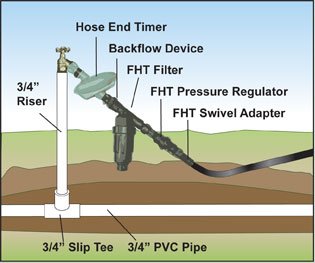
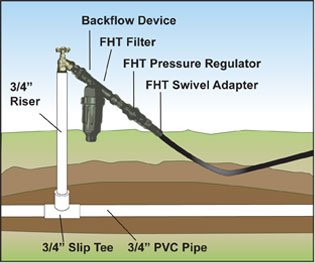
One of the easiest ways to install a drip application above ground is starting from an outdoor faucet using 1/2″ poly tubing as the main lateral line. It can be set for automation by using a hose-end-timer. Attach one of the kits below to the faucet and the 1/2″ poly tubing to the swivel adapter. Image A: SW9001D Hose Bib Kit with Timer. Image B: Kit Shown: SW9001D Hose Bib Kit with Timer SW9000 Hose Bib Kit
Shop: Sw9000 | DIG Black up to 18 GPM 30 PSI Hose Bib Connection Kit 3/4″ FHT x MNPT
Shop: Hose End Timers/Controllers
Method 2 – Connect To An Irrigation Valve
Another way to connect your drip application is to connect it to an above-ground anti-siphon valve or a below-ground valve. An anti-siphon valve is a combination valve and atmospheric backflow preventer. An in-line valve requires the use of a backflow prevention device. Remember to check local codes for either application.
Steps To Follow:
- Below ground In-line installation using a pressure regulator, mesh filter, 1/2″ riser, and adapter tee.
- Below ground In-line installation using a pressure regulator, mesh filter, 1/2″ riser, and adapter tee.
- Above-ground anti-siphon installation using a pressure regulator, mesh filter, 1/2″ riser, and adapter tee.
- Above-ground anti-siphon installation using a pressure regulator, mesh filter, 1/2″ riser, and adapter tee.
Method 3 – Retrofit A Sprinkler System Riser
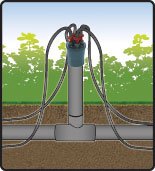
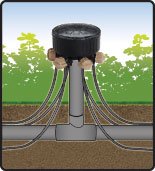
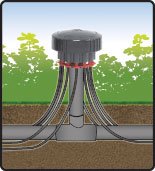
- A. 4-Outlet Emitter
- B. 6-Outlet Emitter
- C. 6-Outlet Adjustable Emitter
- D. 12-Outlet Adjustable Emitter conversion elbow, pressure regulator, and swivel adapter
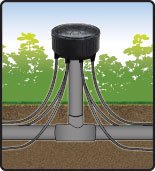

You can also use a conversion elbow, pressure regulator and swivel adapter to convert a 1/2″ sprinkler head riser directly to poly tubing.
Step 3: Distributing The Water
Now that you have selected a way to connect your drip irrigation application to a water source, it is time to roll out the hose and lay down a path for the water to travel to your plants.
Roll Out The Hose
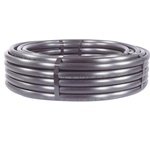
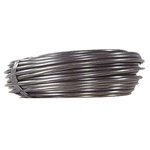
Shop Drip Tubing, Dripline, Drip Tape
After connecting to your water source, unroll the hose or drip line. Position the hose in your garden or flowerbed.

Cut The Hose To Length
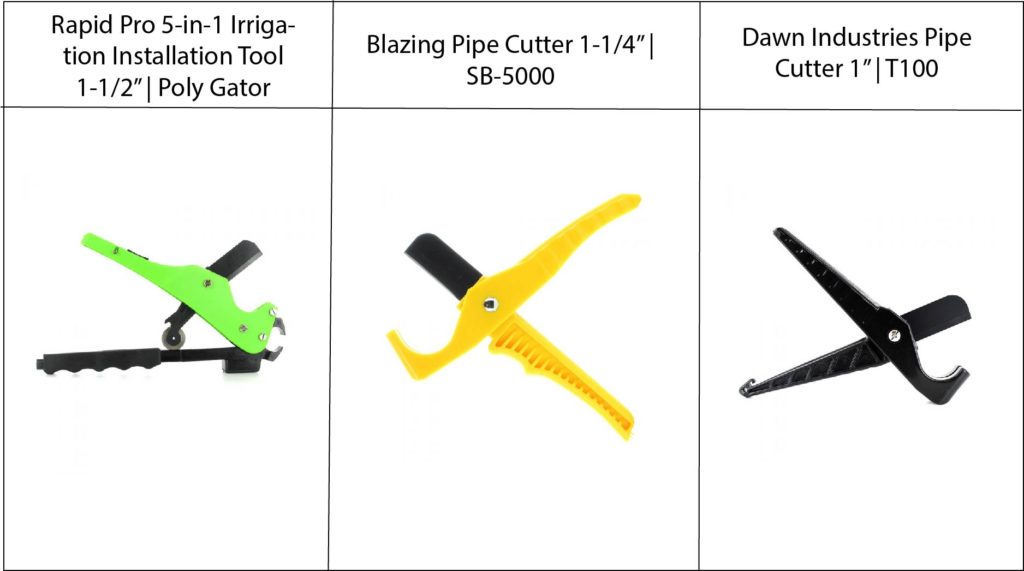
Now that you have laid out your hose, double-check to make sure the layout is correct and you are satisfied with the length. Use Poly Pipe Cutters to make clean precise cuts.
Tools available for purchase
- Rapid Pro 5-in-1 Irrigation Installation Tool 1-1/2″ |Poly-Gator
- Blazing Pipe Cutter 1-1/4″ | SB5000
- Dawn Industries Pipe Cutter 1″ | T100
Punch Holes For Emitters
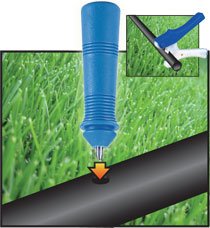
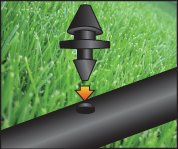
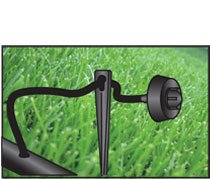
Using a punch tool, make a hole in the 1/2″ hose wherever you want to place an emitter or a 1/4″ barbed fitting for connection to distribution tubing. If you punch a hole in the wrong spot, you can seal it using a goof plug. Use 1/2″ tubing stakes to secure the 1/2″ tubing to the ground. Use 1/4″ fittings to snap directly into the holes created in the 1/2″ tubing to connect 1/4″ distribution tubing. This type of connection can be used to reach individual plants.
NOTE: Make Sure To Flush Out Any Debris Before Closing The Line With A 1/2″ Hose End.
- Use a Small Punch or a Pro Punch to pierce 1/2″ Poly Tubing. (Staking pipe for drip irrigation)
- Use 1/2″ Tubing Stakes or Stainless Steel Stakes to secure the 1/2″ Poly Tubing to the ground. (Using a goof-plug to fix a hold in drip irrigation tubing)
- If you make a hole by mistake, simply seal it with a Goof Plug (Inserting a Button Dripper into a Drip Irrigation pipe)
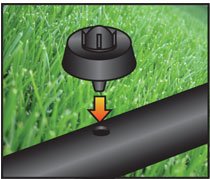
- Insert Button Drippers, PC Drip Emitters, Flag Emitters, or Adjustable Drip Emitters to distribute water to plants close to the tubing. (Example of Distributing Water to Plants via a Drip Irrigation System)
- Use 1/4″ barbed fittings, 1/4″ distribution tubing, and your choice of emitters to deliver water to plants. (Example of clamping the end of a drip irrigation pipe)
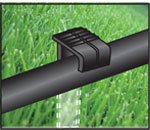
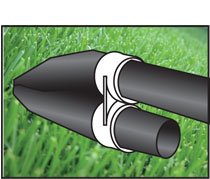
- Once you have flushed the line of all debris use a 1/2″ Hose End to stop the flow at the end of the line.
Use Emitter Button
Step 4: Water The Plants
Here are some of the possibilities when setting up your drip irrigation application. The following examples will help you better understand layout concepts and decide which application is right for you.
Drip Irrigation Tubing Layout
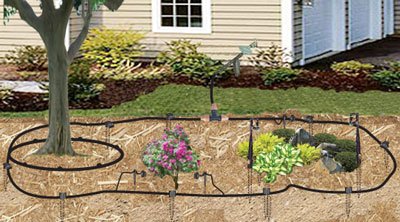
1. Layout the 1/2″ tubing and secure it with 1/2″ tubing stakes.
2. For hard-to-reach trees or shrubs, connect 1/4″ distribution tubing to 1/2″ hose using 1/4″ barb fittings.
3. Use 1/4″ drip line to loop around trees. Connect the drip line to the 1/2″ hose using a 1/4″ barbed tee.
4. Use Jet Sprays or Micro-sprinkler on a spike with a 12″ spike for flowers or ground cover.
Using stakes to secure drip tubing
- Use 1/2″ tubing stakes or stainless steel stakes to secure the hose. (Distributing water via tubing to hard to reach plants)
- Use 1/4″ barbed fittings to connect 1/4″ distribution tubing and emitters for hard-to-reach plants. (Example of where to put a Drip Irrigation Emitter)
- After that, place emitters halfway between the base of the plant and the edge of its canopy. (Picture of a Micro Sprayer for flowers and ground cover)
- Micro-sprinklers and jet sprays on spikes are great for flowers and ground cover.

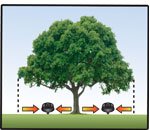
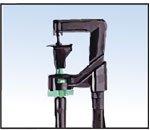
Drip Irrigation Installation Guide: Vegetable Garden, Flower Beds & Ground Cover
- Roll out the 1/2″ Drip Line in rows spaced approximately 12″ apart.
- Use 1/2″ Nut Lock Elbows and Tees to connect hose pieces. (bottom left)
- Use 1/2″ tubing stakes or stainless steel stakes to anchor the drip line to the ground.
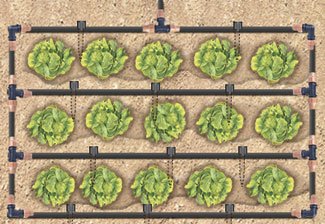
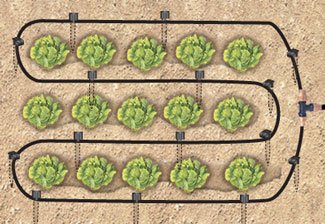
Using a Drip Irrigation emitter, for example:
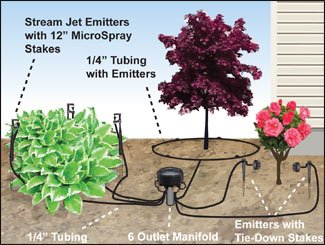
1. Thread the Drip Head Outlet Manifold onto the 1/2″ riser.
2. Connect 1/4″ tubing to the outlet manifold. Layout the tubing to the base of the plants and cut it to the desired length.
3. Connect emitters, drip line (tubing with emitters), jet sprays, or micro-sprinklers as shown to the right.
Patio Containers:
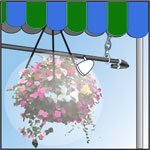
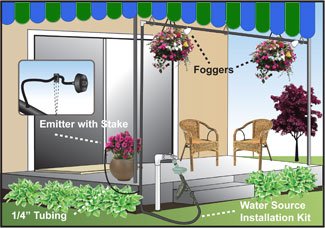
- Run 1/2″ hose to the patio from the water source. If needed, run the tubing up or along beams. Secure in place. Use an elbow fitting to get around corners. Secure the end of the hose using a 1/2″ hose end clamp as shown in the diagram.
- Connect 1/4″ tubing to the 1/2″ tubing hose using a coupler or elbow and run it to container plants. Thread a 1/4″ stake onto tubing and insert an emitter into the end. Push the stake down into the container.
- If using foggers, install them directly into a 1/2″ hose above each hanging container to mist the plants.
Initial System Start-Up:
Follow the instructions below

Before turning the system on the first time, leave all 1/2″ poly tubing ends open and turn the water on and allow it to run freely for a few minutes. This will flush out any dirt or other debris that may be in the system. Close the end of the line using either hose end clamp or end cap.
Check to see that the drippers and micro-sprinklers are operating correctly and that there are no leaks in the system. If leakage occurs on 1/2″ poly tubing at the base of a dripper or micro sprinkler, remove that dripper / micro-sprinkler and insert a goof plug to close the hole. Reinsert the dripper or micro-sprinkler in another area.
Trouble Shooting For The Drip Irrigation Installation Guide:
AC Valve Does Not Operate Properly:
- Potential Cause: Wrong valve size, flow too low.
- Solution:
- Replace with the correct size valve.
- The diaphragm orifice is plugged
- Clean or replace the diaphragm
- Solenoid faulty
- Check to wire or replace the solenoid
Battery Operated Controller Does Not Operate Properly:
- Potential Cause: the 9-Volt battery is low or no longer good
- Solution: Replace with a new 9-volt battery
Battery Operated Controller Does Not Close:
Cause: Puppet is missing “O” ring is missing, the lever is open or the diaphragm is torn or worn out. Solution: Replace the diaphragm
Cause: Valve is installed backward. Solution: Turn the valve around
Pressure Regulator Leaking:
Cause: Dirt inside the pressure regulator. Solution: Remove from the line, remove the washer, and clean.
Cause: Regulator is installed on mainline Solution: Move to the downstream side of the control valve
Drippers or Micro-Sprinklers Have Uneven or No Flow
Cause: Line broken. Solution: Fix broken line
Cause: Filter or dripper clogged Solution: Clean dripper nozzle – Clean or replace the filter
Cause: Pressure too low Solution: Check the pressure regulator
Dripper Or Micro-Sprinklers Have No Flow At End Of The Line
Cause: Too many drippers on the line Solution: Make sure you did not exceed the total maximum recommended flow fate (220 GPH)


