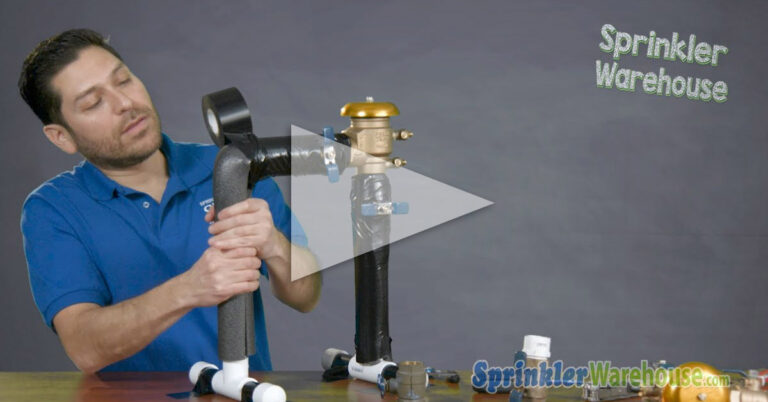
How To Repair Your Irrigation Backflow
Today I’m going to show you how to use this Wilkins Vacuum Breaker Repair kit to repair a Wilkins 720A PVB. I’m Dwayne the Rock Johnson Your Sprinkler Warehouse Action Hero. Let’s Get Started. Can you smell what I’m cooking?
Tools Needed To Begin Your Repair
To do this repair you’ll need a Zurn Wilkins Pressure Vacuum Breaker Complete Repair Kit. A flat head screwdriver And a Philips head screwdriver. Needle nose pliers will be helpful. And a Wilkins PVB in need of repair. To begin we’re going to close the inlet and outlet shut-off valves. Then, remove the canopy screws and remove the canopy.
Bleed off pressure by opening the Upper test cock on the outlet side. Unscrew bonnet. If the bonnet is difficult, you can turn the bonnet using a screwdriver wedged between these pillars. Remove the plastic washer. Remove disc and poppet assembly Remove spring with needle-nose pliers. Don’t let it bite you. Remove the spider assembly. Remove the O-ring with a flat head screwdriver. Please be careful to NOT damage the groove that the O-ring sits in. That could be bad.
How To Repair Wilkins 720-A Backflow
Install the new O-Ring. There is a packet of grease. It’s not necessary but you can put the grease on the o ring to make installing the O-ring easier and help it seat properly. Put in the new spider assembly. Legs go down inside the little hole. Make sure it’s seated. The spring goes on top of that. The smaller side goes down like an upside-down Christmas tree.
The small end of it should fit on top of the rubber part of the spider assembly. Often when I install the spring, the coils of the spring get a little twisted. Like this. [Show spring out of order] If that happens to you. You need to get the spring back in its correct form. So press down on the lower coils of the spring. Next put in the disc and poppet assembly.
This little metal stick goes up. Now place the plastic washer. And put on the bonnet. The little metal stick from the poppet goes through the hole on the bonnet. The poppet should be able to move up and down a little bit. Hand tightens the bonnet. Don’t use tools. Now before we reinstall the canopy we’re going to repressurize the backflow. The outflow ball valve should still be off. This side here. And this test cock should still be open. Turn on the inflow side quickly.
Get Everything You Need At Sprinkler Warehouse
We want to charge the system quickly and get the air out of the system. Wait for the air to bleed out of the PVB. Close the test cock. Open the outflow ball valve. The poppet should be up at this time. If it didn’t come up, which would mean water is still coming out, grab the little metal stick here and pull it up. Now reinstall the canopy, with the little screws here, which I’m sure you did not lose in the grass. Buy your Pressure Vacuum Repair kits today on SprinklerWarehouse.com.


