Table of Contents
Replacing a Rotor in Your Sprinkler System
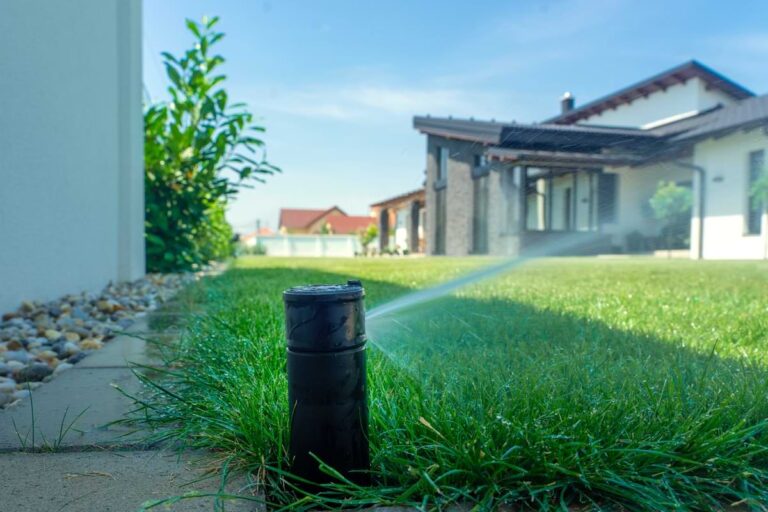
Over time, sprinkler rotors can wear down or become clogged, leading to poor or inconsistent watering. By monitoring your rotors and fixing them up when necessary, you can save both time and money on your lawn and irrigation system. Common signs of trouble include uneven watering, dry spots, a rotor that won’t pop up or retract properly, weak water pressure, leaks around the base, or a head that’s stuck and won’t rotate. If you notice any of these issues, it may be time for a repair or, in some cases, a full replacement. Keeping your sprinkler system in top shape is key to maintaining a healthy, green lawn, so let’s review a few common sprinkler replacement scenarios and how best to proceed.
Replacing a Rotor That’s Too High
Sometimes a sprinkler rotor ends up sitting too high above the soil. Not only does this create a trip hazard, but it also leaves the head vulnerable to damage from lawnmowers or foot traffic. If the sprinkler has already been damaged because of its protruding nature, replacement may be the best option.
The process starts with careful digging around the head to expose the connection. Make sure not to damage any nearby plants or piping! Once the body is clear, the rotor can be unscrewed from the lateral line. In many systems, laterals are flexible poly pipe, which can make it tricky to set the rotor at the right height. To fix this, a swing joint can be added, allowing the head to be adjusted lower and set flush with the soil surface. The new rotor is then threaded on by hand and aligned to ensure proper water coverage. After confirming the new height and placement of the sprinkler, the hole is backfilled, leaving the head level with the ground for safe, efficient watering.
Replacing a Leaking Rotor Sprinkler Head
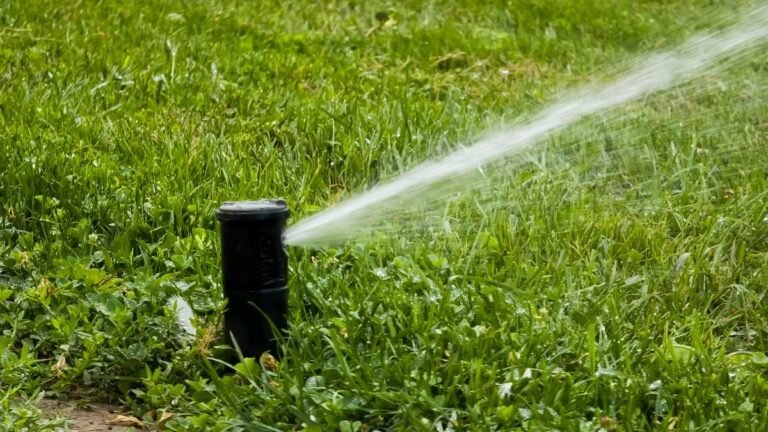
When a sprinkler rotor develops a leaking seal, water often pools around the head or sprays unevenly. Oftentimes, the simplest solution is to replace the rotor altogether. Start by unscrewing the faulty head from the riser. If it’s stuck, use a rotor removal tool or a pair of pliers to gently work it free. This is usually a good time to check the riser for cracks and clear away any dirt that could interfere with the new seal. After that, you can thread the replacement rotor onto the riser by hand, tightening just enough to secure it without stressing the pipe. Take care not to over-tighten, cross-thread, or put too much pressure on the riser, as these parts are easy to damage.
Adjusting a New Irrigation Rotor
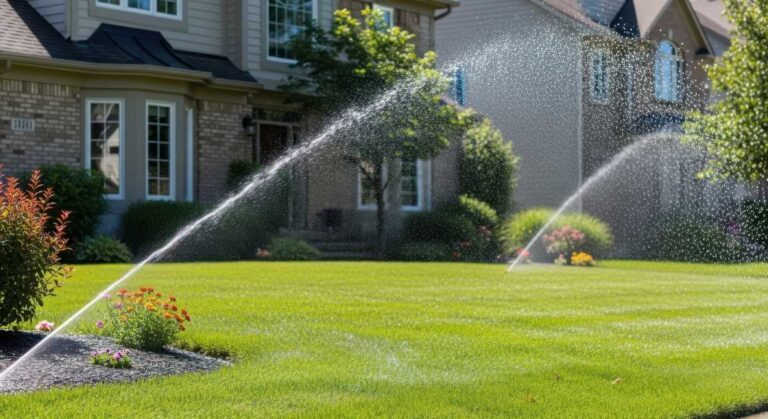
After installing a new rotor, the next step is to adjust its spray pattern. Start by setting the direction of travel. Rotate the rotor to its natural left stop and align it with the farthest left edge of the lawn you want watered. From there, you can use a small screwdriver to adjust the arc, increasing or decreasing the angle to cover only the area you want watered. With the arc set, you can start to fine-tune the distance. Turning the radius screw slightly inward will shorten the spray, while the inverse allows for maximum distance. Always check the coverage while the system is running, making sure the spray reaches the next nearest rotor for balanced, head-to-head watering.
Shopping for New Sprinkler Rotors
At Sprinkler Warehouse, you can find a wide variety of sprinkler rotors and other irrigation supplies to keep your system in top shape. You can shop for sprinkler rotors from all of the top brands, such as Rain Bird, Hunter, and K-Rain, all in one place. With over 100 rotors to choose from, Sprinkler Warehouse is confident that you’ll find a new rotor head that fits the needs of your sprinkler system. Order irrigation rotors and other sprinkler supplies today!