Today we’re replacing the top of a jar Top valve. This is the Irritrol Jar top valve. The procedures we’re doing here will be exactly the same for most jar top valves.
In order to replace just the top of a valve, you will need to purchase an identical brand and model of the valve to the one that needs to be repaired. If the identical valve is not available then you will need to replace the entire valve.
How to Repair a Jar-Top Sprinkler Valve
We’ll start by digging out the valve box. If your valve box is large enough to allow you to work inside then you can do this entire procedure without pulling the valve box. However, pulling the valve box out of the way often makes the job quicker and easier.
Before you begin, you need to turn off the water to your irrigation system at the backflow device or at your main valve, which is often located near the water main. Here the technician is siphoning water out of the hole so he can work. Hand siphon pumps like these are available on SprinklerWarehouse.com.
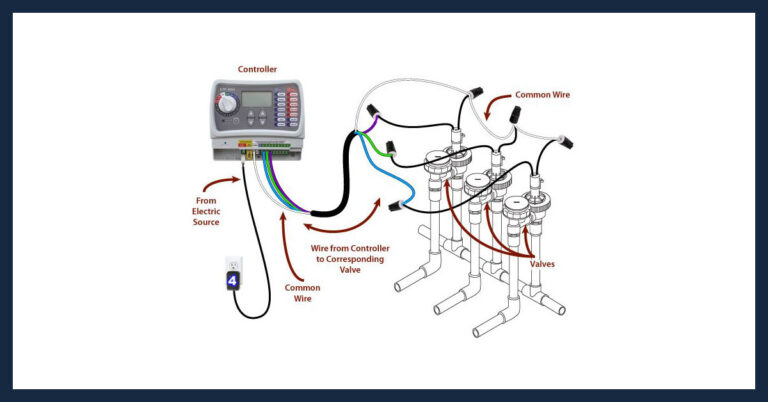
Next, our technician is cutting the wire connectors that connect the wires to the leads from the solenoid. It’s very important to relieve the pressure in the lines before trying to remove the valve or valve top. One way to relieve the pressure is to unscrew the solenoid. Unscrew the top of the valve. Now, remove the spring, the diaphragm, and the ring inside the valve.
Once you remove the diaphragm, water from the irrigation pipe will flow into the hole. This is normal. Siphon it out if it covers the valve or makes it difficult to work. You need to keep dirt out of the valve, so clean around the top of the valve, before replacing the parts. Now you can purchase valve parts separately but it’s usually cheaper and more effective just to purchase a brand new matching valve. Remove the diaphragm, spring, and ring from the new valve. Put the ring in place next to the diaphragm.
On many valves, there may be a hole something in the diaphragm that needs to be lined up in a certain direction. However, on this irritrol jar-top valve the hole is directly in the center so you only have to worry about getting it right side up.
Put the new spring in place. Screw down the collar. You only need to get it hand-tight. Next, strip and connect the common wire, that is the white wire or wires, to one of the leads of the solenoid. It does not matter which lead. Always use a waterproof wire connector to connect the wires. Connect the hot wire to the other lead coming from the solenoid. Replace the valve box and fill in your hole.


