Table of Contents: Best Way to Sharpen Pruning Shears
How to Sharpen Pruning Shears
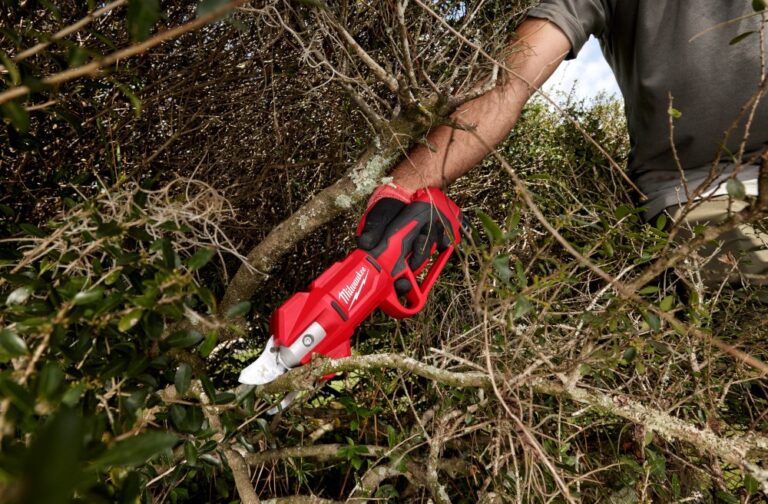
Whether you’re trimming roots near sprinkler lines, snipping overgrown shrubs, or shaping drip irrigation tubing, sharp pruning shears are essential. Sharp tools make for clean cuts. And in the world of irrigation and landscaping, clean cuts mean healthier plants, safer workflows, and more efficient installs. Fortunately, sharpening pruning shears is quick, affordable, and easy with the right approach. Here’s how to sharpen those shears safely and effectively.

What You’ll Need to Sharpen Pruning Shears
Before you get to sharpening, make sure you’ve got the right tools on hand. Having everything ready not only makes the job quicker; it also keeps it safer and more precise. Here’s what you’ll need to get started.
- A sharpening tool (flat file, whetstone, or carbide sharpener)
- Steel wool or wire brush
- Lubricating oil (3-in-1 oil or WD-40)
- Rag or paper towel
- Protective gloves
- A vise or clamp (optional)
Step-by-Step Guide to Sharpening Pruning Shears
Sharp pruning shears reduce strain on your hands and promote healthier plant growth while dull blades crush instead of cut, leading to plant damage and unnecessary strain on your hands and wrists. Whether you’re a weekend gardener or a landscaping pro, regular sharpening keeps your tools working like new. Follow these simple steps to bring your blades back to life.
1. Clean the Blades
Before sharpening, scrub off any dirt, sap, or rust using steel wool or a wire brush. A clean blade lets you sharpen more evenly and accurately.
If there’s stubborn residue, try soaking the blades in warm soapy water or using a bit of rubbing alcohol. Cleaning first ensures you don’t trap debris under the file, which can scratch or pit the blade.
2. Inspect for Damage
Check for chips, nicks, or any signs of warping. Small imperfections can often be filed out, especially if they’re near the edge.
However, if your shears are severely damaged, bent, or cracked at the pivot, it may be safer to replace them. Always sharpen tools that are structurally sound to avoid injury or ineffective cutting.
3. Disassemble (If Possible)
If your shears easily come apart, take them apart to get full access to the blades. This allows you to sharpen more precisely and thoroughly clean each part.
If disassembly isn’t an option, open the shears fully and secure them on a stable surface. For safety, we highly recommend using clamps or a vise to prevent them from slipping while you work.
4. Find the Beveled Edge
Most pruning shears have one blade that has a beveled (angled) cutting edge and one blade that has a flat surface. You’ll only sharpen the blade with the beveled edge.
The flat blade is meant to push and support during cuts, so avoid reshaping it. You’ll only want to lightly smooth it to remove any burrs.
5. Sharpen the Beveled Blade
Using a sharpening file, carbide tool, or diamond stone, follow the original angle of the beveled blade. Swipe in one direction, away from your body, with consistent pressure.
Avoid back-and-forth motions, which can dull the edge. It may take 10–20 passes depending on how dull or nicked the blade is. You’re aiming for a clean, even edge that feels sharp to the touch (touch carefully, of course).
6. Remove Burrs on the Flat Blade
A slight burr (a tiny, raised metal lip) may form on the flat blade through regular use. Lightly the flat blade once or twice with the file or a fine stone to remove any burrs.
Don’t overdo it: you’re not trying to sharpen this blade, just smooth it out so it doesn’t interfere with clean cuts.
7. Oil and Reassemble
Apply a few drops of lubricating oil to the blades and pivot joint to prevent rust and restore smooth motion. This also helps protect your sharpening work.
Wipe off any excess oil with a clean cloth. If you disassembled your shears, reassemble them carefully and check that the blades open and close freely without resistance.
When Is It Time to Sharpen My Shears?
If you notice your shears snagging on branches, crushing stems, or tiring your hand more than usual, it’s time to sharpen them.
For professionals working on irrigation installs or landscaping projects, weekly or bi-weekly sharpening might be necessary. For casual gardeners, every few months is usually enough.
Sharpen Your Pruning Shears for a Healthy Yard
Sharp shears help maintain plant health and give you more control when trimming around sensitive irrigation components.
Keep a pocket sharpener or carbide tool in your irrigation tool kit for quick touch-ups in the field. It’s a small investment that pays off in faster, cleaner, and safer work—whether you’re pruning a hedge or prepping for your next sprinkler system install.
FAQs for Pruning Shears
What is the difference between pruning shears and pruners?
There is no real difference. “Pruning shears” and “pruners” are two names for the same tool. Both refer to handheld cutters used for trimming plants and small branches.
What is the use of pruning shears?
Pruning shears are used to trim, shape, and remove dead or overgrown stems, branches, and foliage. They help promote healthy plant growth and maintain tidy landscaping.
What else are pruning shears called?
Pruning shears are also known as hand pruners, secateurs, or garden shears. The term used often depends on the region or type of gardening.
If you want to stay up-to-date on the latest Sprinkler Warehouse news and make the most of all of our one-of-a-kind promotions, join the Irri-Gator community today. Happy watering, Irri-Gators!